
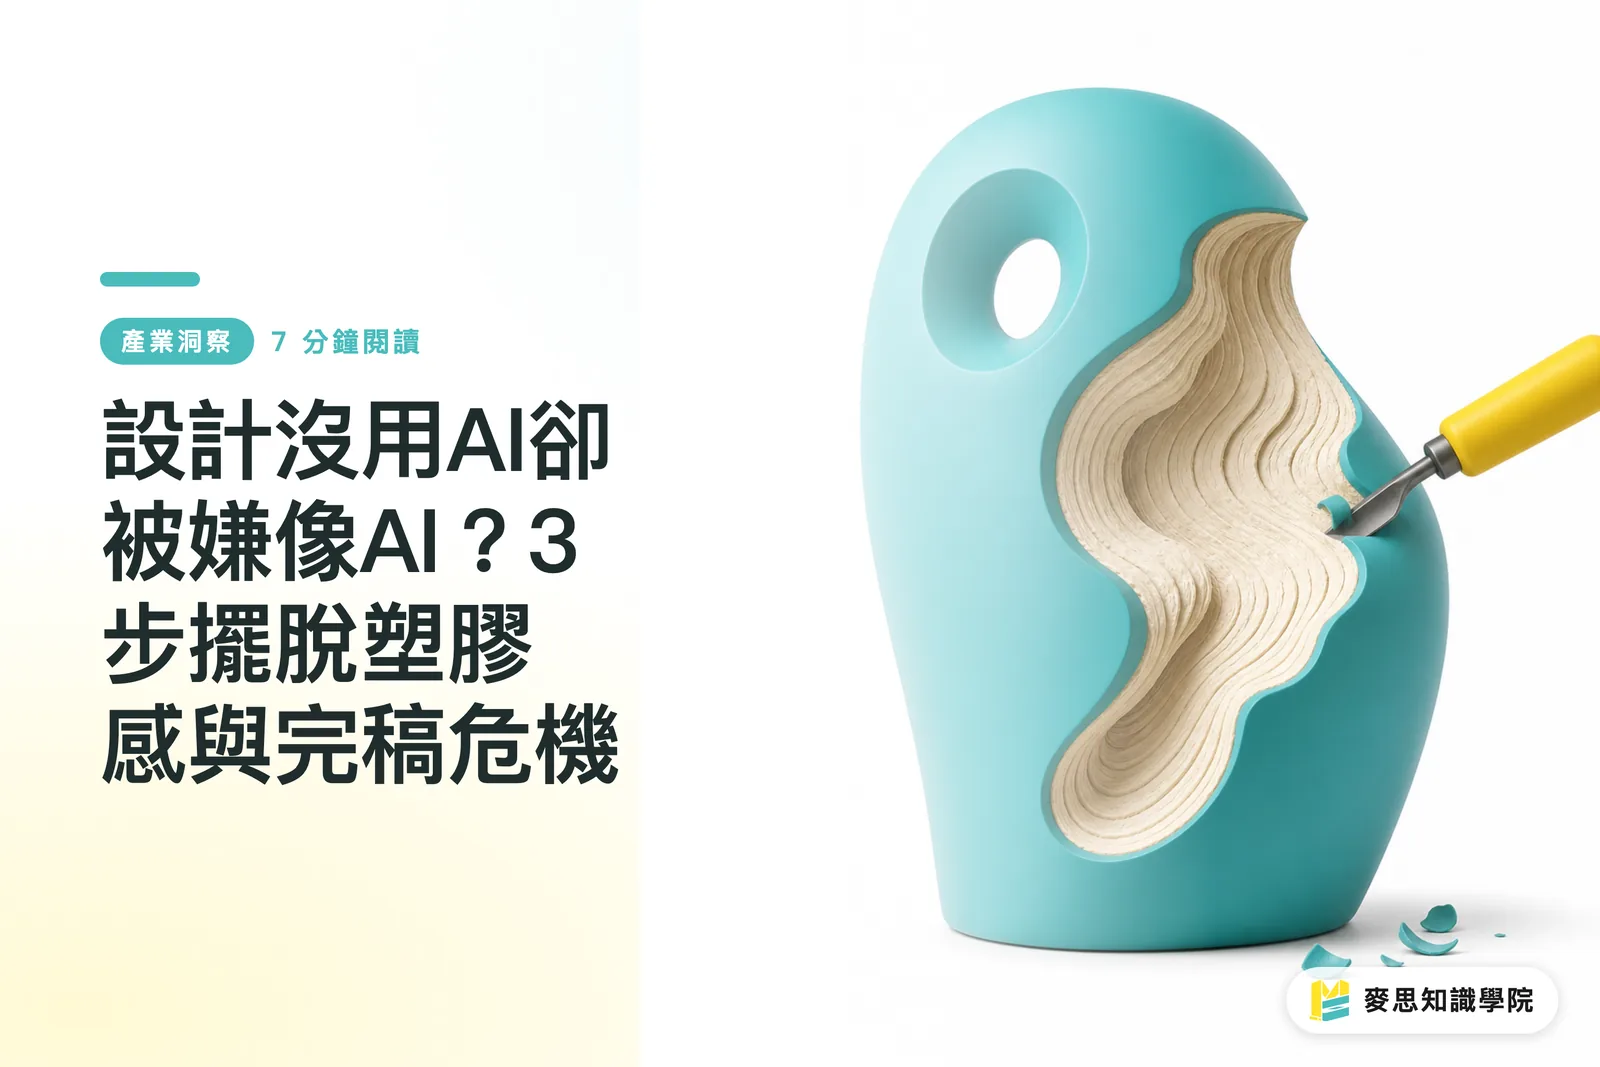
Warum wirkt Design ohne KI manchmal trotzdem wie billiger KI-Schrott?
Dass Designs ohne KI bezweifelt werden, liegt meist an der übermäßigen Nutzung von Composing-Stockmaterial, zu glatten Farbverläufen und dem Fehlen echter Texturen sowie Druckspuren
Der Grund ist simpel
In den letzten Monaten habe ich in der Produktion und bei Kundenprojekten miterlebt, wie viele Designer echten Frust erleben: Obwohl alles von Grund auf selbst in Illustrator oder Photoshop ausgearbeitet wurde, lehnt der Kunde den Entwurf mit dem Spruch ab: „Das sieht aus wie billige KI-Generierung.“ Schaut man sich diese fälschlich verurteilten Arbeiten genauer an, liegt es selten an fehlendem Können, sondern an der Plastik-Optik durch Überbearbeitung
In der heutigen kommerziellen Gestaltung kommen viele Composing-Elemente aus den Stock-Archiven von Microsoft oder Adobe zum Einsatz. Wenn bei der Bildbearbeitung Hautstrukturen zu glatt gebügelt oder übermäßig gleichmäßige 3D-Lichter und harte Verläufe hinzugefügt werden, bedient das genau das KI-Klischee. Gemäß ISO 12647 Farbstandards und der Druckpraxis folgt reales Licht selten perfekt symmetrischen Kurven. Rein rechnerische Glanzlichter und Schatten wirken auf dem Bildschirm schick, auf gedrucktem Papier aber einfach steril und tot
Ein weiterer Schwachpunkt sind fehlende Vektorknoten und Oberflächenstrukturen. KI-Bildern wird oft vorgeworfen, dass Details unlogisch verschmelzen oder Rauschen aufweisen. Wenn Designer beim Fotocomposing mit automatischen Auswahlwerkzeugen Kanten hart freistellen, entstehen unnatürlich scharfe oder merkwürdig gezackte Ränder. Genau diese Kantenverarbeitung deckt sich mit typischen KI-Fehlern und führt zu schnellen Fehlschlüssen
Prepress (Druckvorstufe): Alle technischen Schritte vor dem Druck wie Auflösungsprüfung, Farbraumkonvertierung, Beschnittzugabe und Schwarzaufbau, damit die Daten für CTP-Bilderzeugung und Druckmaschinen passen
Wie belegen Designer die Originalität und Handarbeit ihrer Werke?
Der effektivste Beweis für Originalität ist das Beibehalten von Vektorpfad-Knoten, Skizzenebenen und Ebenenstrukturen in Präsentation und Reinzeichnung, damit Kunden den menschlichen Entscheidungsprozess sofort erkennen
Wer den KI-Verdacht ausräumen will, baut bei Übergabe und Präsentation eine lückenlose Nachweiskette auf:
・Skizzen und Vektorknoten behalten: Wer in Adobe Illustrator zeichnet, sollte die ursprünglichen Skizzen-Ebenen und Ankerpunkte (Anchor Points) sichern. Ein Screenshot mit sichtbaren Bézier-Kurven in der Präsentation ist der beste visuelle Beweis gegen KI
・Klare Ebenenstruktur und Benennung nutzen: Sauber strukturierte Ebenen zeigen professionelle Reinzeichnungslogik. Hintergrund, Rasterbilder, Vektorelemente, Text und Veredelungen gehören auf getrennte Ebenen mit Standardbezeichnung. Solch einen Aufbau liefert kein KI-Bildgenerator automatisch
・Lizenzcodes und eigene Bausteine angeben: Bei Nutzung von Stockmaterial gehören Lizenznachweis und Bearbeitungsprotokoll in die Übergabedokumentation. Wer klar angibt, was manuell freigestellt oder gezeichnet wurde, schafft echtes Vertrauen
Falls du Fragen zu komplexen Vektor-Reinzeichnungen oder Dateistrukturen hast, berät dich das Beraterteam der Mai Strategy Wissensakademie. Die Experten helfen dir, deinen Workflow zu optimieren, damit die Daten druckgerecht sind und ihren eigenen Wert zeigen
Vektorebene (Vector Layer): Ein Dateiformat auf Basis geometrischer Ankerpunkte und Bézier-Kurven. Es ist beliebig skalierbar ohne Qualitätsverlust und gilt als Standard in der Reinzeichnung sowie als Herkunftsnachweis
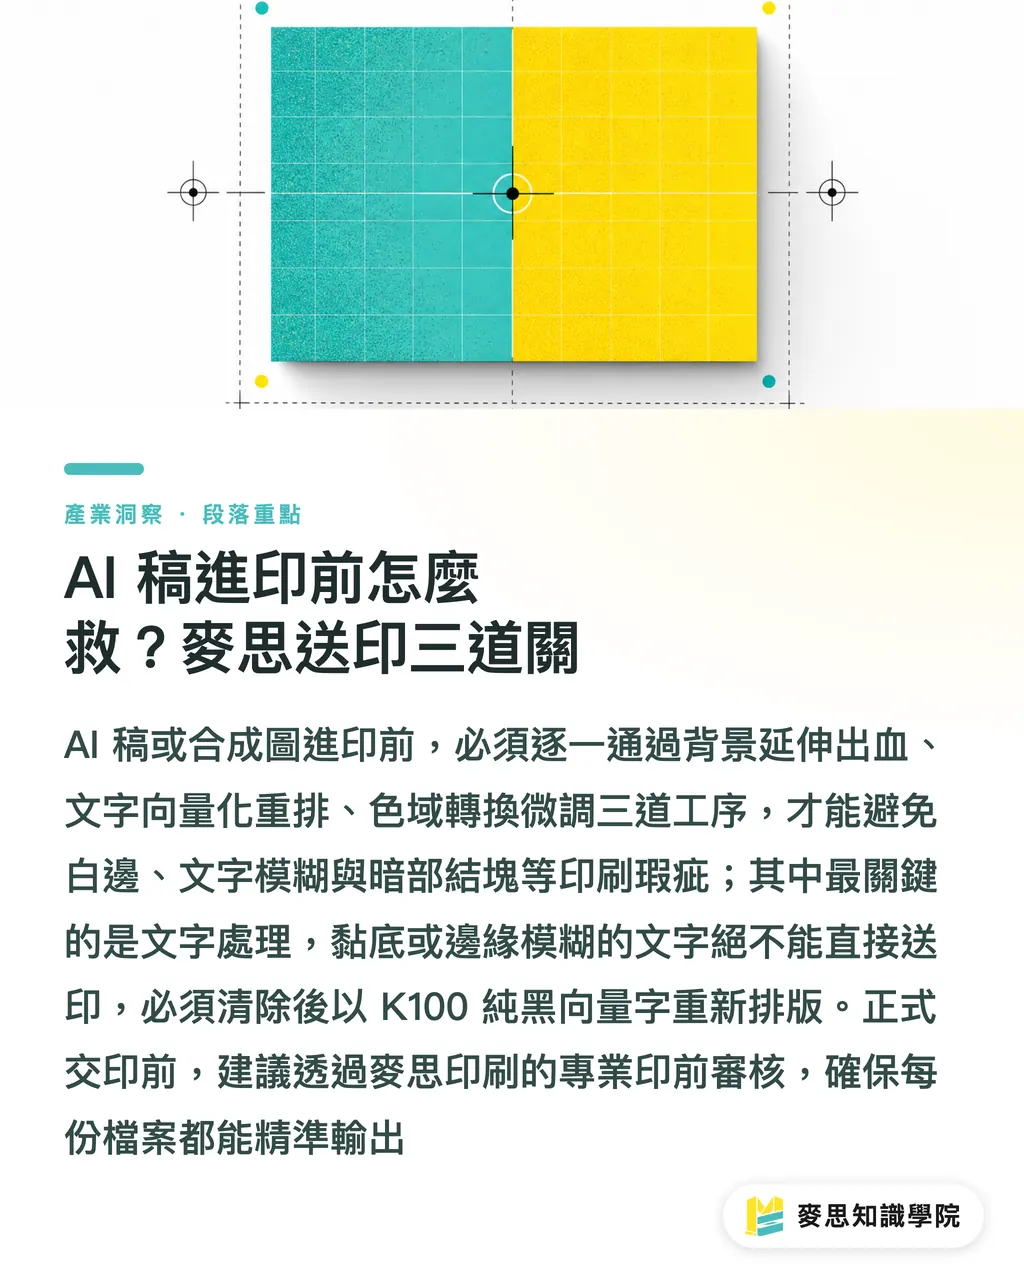
KI-Dateien in der Druckvorstufe retten: Die drei Prüfschritte von MINDS
Gelangen KI-Dateien oder plastisch wirkende Grafiken in die Druckvorstufe, sind drei Schritte nötig: Anschnitt erweitern, Text neu setzen und Vektoren nachbearbeiten. Erst dann stimmen sie für den Akzidenzdruck
Wenn ein künstlich wirkendes KI-Motiv vom Kunden bereits freigegeben wurde, retten Prepress-Techniker und Designer die Daten über die drei Prüfschritte von MINDS (hochwertiger Custom-Druck):
・① Erster Schritt „Hintergrunderweiterung und Beschnitt“: Im Akzidenzdruck sind rundum 3 mm Beschnitt nötig. Viele Composing-Bilder sind an den Rändern fest abgeschnitten. Bloßes Skalieren verzerrt das Bild. Der Hintergrund muss in Photoshop manuell getrennt und mit Pfad- sowie Stempeltechniken erweitert werden, damit beim Schneiden keine Blitzer entstehen
・② Zweiter Schritt „Text trennen und neu setzen“: Klebt der Text am Hintergrund oder ist er unscharf, darf die Datei so nicht in den Druck. Der alte Text wird entfernt und mit Vektorschriften in Reinschwarz K100 neu aufgebaut. Die Auflösung bleibt über 300 dpi für gestochen scharfe Kanten
・③ Dritter Schritt „Farbraumkonvertierung und Verlaufsoptimierung“: Beim Wechsel von RGB zu CMYK laufen Dunkeltöne leicht zu und helle Verläufe tonwertabreißen. Mit der Gradationskurve wird der Farbauftrag angepasst. 1 % bis 2 % Rauschen (Noise) brechen den glatten Plastik-Effekt und bringen die natürliche Haptik der Druckfarbe zurück
Vergleich der Druckeignung und des Bearbeitungsaufwands je nach Datenbasis:
・Composing-Rastergrafik: Auflösung oft unter 300 dpi, Text auf einer Ebene nicht trennbar, RGB-Farbraum erfordert Korrektur, Reinzeichnung extrem aufwendig
・Vektor-Reinzeichnung: Unbegrenzte Auflösung, Text und Grafik sauber getrennt, CMYK-Standardkonfiguration, reibungslose Weiterverarbeitung
Keine Eile beim Drucken
Vor dem finalen Druck empfiehlt sich eine Vorstufenprüfung bei MINDS. Über professionelle CTP-Bilderzeugung und Farbmanagement wird die Ausgabequalität jeder Druckdatei abgesichert
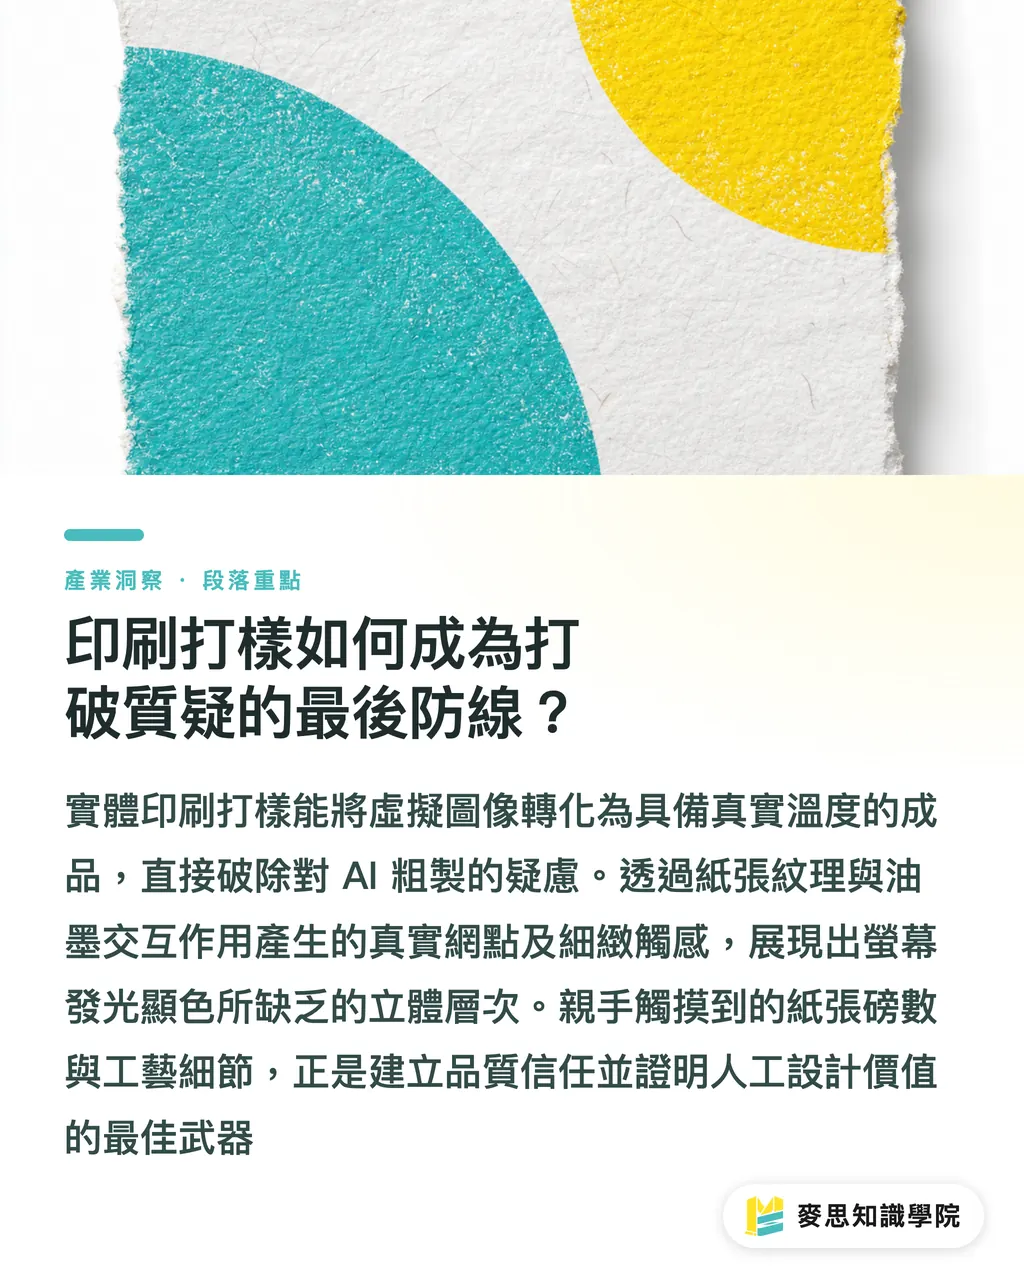
Wie wird der Andruck zur letzten Bastion gegen Zweifel?
Ein physischer Andruck verwandelt das Bild vom Monitor in ein greifbares Produkt mit Papierstruktur und Farbauftrag. Das räumt jeden Verdacht auf billige KI-Ware aus
Der leuchtende RGB-Modus am Bildschirm verstärkt den Plastik-Eindruck, weil Verläufe dort makellos glatt wirken. Auf echtem Papier erzeugen Druckfarbe und Papierfasern ein physisches Zusammenspiel, das dem Werk ganz neues Leben einhaucht
Drei entscheidende Punkte beim physischen Andruck:
・Papierfaser und Farbauftrag spüren: Ein Andruck auf Feinpapier oder ungestrichenem Papier mit feiner Haptik bricht die Kälte überarbeiteter Motive. Die Papiermaserung verleiht den Farben eine natürliche Tiefe
・Haptische Effekte prüfen: Partielle Blindprägung, Folienprägung oder Strukturprägung schaffen Räumlichkeit, die kein Display zeigt. Solche Details verlangen präzise Klischees und Handwerk. Sie sind der beste Beweis für echtes Design
・Vertrauen in das echte Produkt aufbauen: Der Andruck zeigt echte Rasterpunkte (Halftone Dots). Wenn der Kunde die Grammatur fühlt, scharfe Schriftränder sieht und die Rasterstruktur erkennt, verfliegen alle Bedenken gegen KI-Schrott sofort
Das Wichtigste auf einen Blick
・Haut und Licht nicht übermäßig glätten: Echte optische Unperfektionen beseitigen die Plastik-Optik
・Bei Präsentation und Reinzeichnung Ankerpunkte zeigen und saubere Ebenenstrukturen offenlegen
・Vor dem Druck die drei MINDS-Prüfschritte für Beschnitt, Textvektorisierung und Farbraum anwenden
・Andrucke auf Feinpapier nutzen, um KI-Zweifel durch echte Haptik zu entkräften
Weiterführende Gedanken
Während Ermüdung und Skepsis gegenüber KI-Inhalten wachsen, bietet sich für Druckbranche und Designer die Chance zur Neupositionierung. Der Wettbewerb entscheidet sich künftig nicht über die Geschwindigkeit der Bildgenerierung, sondern über Detailkontrolle und Materialverständnis. Designer sollten Prepress-Wissen als Kernkompetenz aufbauen und bereits beim digitalen Zeichnen an Rasterung und Papiereigenschaften denken. Druckereien wiederum müssen sich vom reinen Dienstleister zum Qualitätsgaranten wandeln, der digitale Entwürfe in hochwertige Printprodukte übersetzt
Weiterführende Links
FAQ
- Was tun, wenn der Kunde ein Design ohne KI fälschlicherweise für KI-generiert hält?
- Nicht streiten. Stattdessen Screenshots mit Skizzen, Vektor-Ankerpunkten (Anchor Points) und Ebenenstruktur zeigen sowie die Lizenznachweise der Stockfotos beilegen. Das belegt die Originalität sofort
- Warum wirkt das Motiv auf dem Bildschirm edel, im Druck aber künstlich und billig?
- Das selbstleuchtende RGB-Display verdeckt zu glatte Übergänge. Druck nutzt CMYK-Reflexionsfarben. Ohne echte Rasterung und Papierhaptik führen verstopfte Tiefen und harte Stufen nach der Konvertierung zum sichtbaren Plastik-Effekt
- Lassen sich KI-Rastergrafiken direkt für den gewerblichen Verpackungsdruck nutzen?
- Nein. KI-Rasterbilder haben selten 3 mm Beschnitt, hinken unter 300 dpi und verschmelzen Text mit dem Hintergrund. Sie erfordern Vektor-Nachzeichnung und Prepress-Aufbereitung für den Druckstandard
Verwandte Artikel
Der wöchentliche Druck-×-KI-Newsletter
Praxiswissen zu Druck und KI, das Designer, Marken und Unternehmen vor dem ersten Schritt gebrauchen können – jede Woche kompakt in einer E-Mail in Ihrem Postfach
MINDS Gratis-Tools
AI background removal, brand stamping, and a LINE sticker maker — free design tools, right in your browser, no upload.
MINDS Gruppe
Benötigen Sie konkrete Druck- oder Geschenkdienstleistungen?
Vom Wissen zur Umsetzung — das übernehmen die Schwestermarken der MINDS Gruppe: von hochwertigem Druck über Online-Bestellungen bis zu Festtagsgeschenken