
Overview
Canva PDF print jobs fail mainly because the wide RGB color space turns print CMYK dark, combined with missing 3mm bleeds and text not converted to vector layers. We recommend using the 'MINDS (MS, mid-to-high-end fully customized commercial printing) Three-Step Pre-Print Check' export process standardized by the MINDS team to control color shift and cutting risks from the source
Bleed refers to an extra 3mm area extending beyond the trimmed edges of the finished product, preventing white borders caused by cutting variances
Hold on
On the front line of print production, I have seen too many non-designer marketers and buyers create stunning event posters or corporate flyers in Canva, only to find dull grayish colors, exposed white borders, or blurry text when prepress technicians unpackage the files

Why Do Canva Designs Often Show Color Shifts and White Edges After Printing?
Screens display images using RGB primary lights, offering a wide color gamut and self-emitting light. Physical paper printing relies on CMYK 4-color inks reflecting light, inherently cutting color coverage by over 30 percent compared to screens
When you export using Canva's default 'PDF Standard' on a free account, the file gets forced into an RGB color space. Prepress computers automatically convert it to CMYK upon arrival. This unmanaged secondary conversion is the culprit behind vivid red turning dark red and bright blue turning dull purple
Another frequent issue is cutting variance
Heavy industrial paper cutters used in factories have a physical tolerance of 1 to 2 mm when dropping the blade
If your design aligns flush with the final dimensions (such as A4 at 210x297mm) without extending background elements, a tiny outward shift of the blade directly exposes the unprinted white paper edge
That is why every professional print specialist insists on leaving a 3mm bleed border
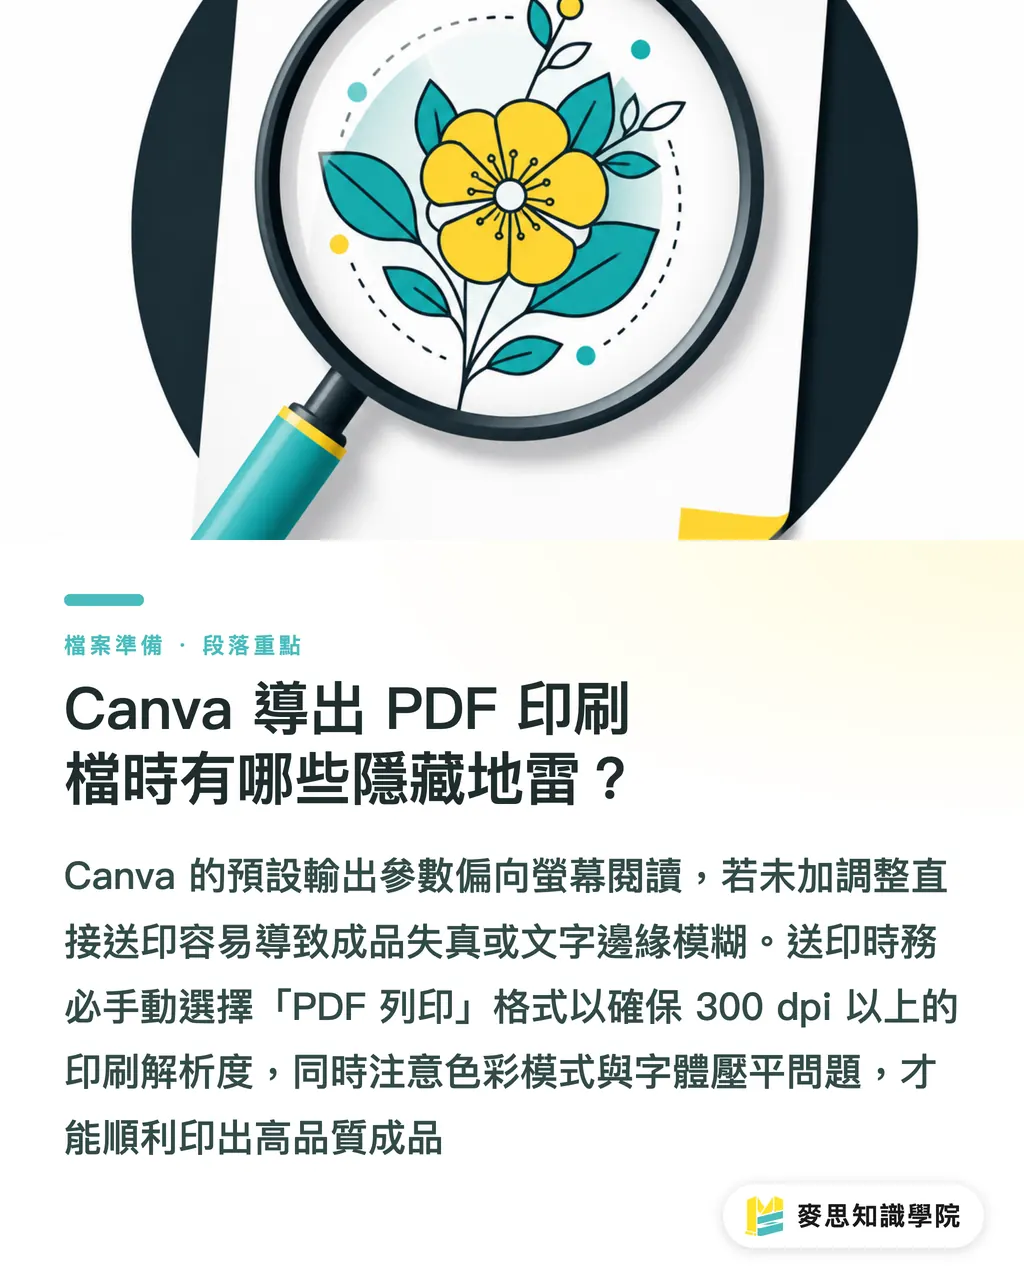
What Hidden Pitfalls Exist When Exporting PDFs from Canva for Print?
Many non-designers assume clicking download and selecting PDF is all it takes, ignoring that Canva's default export settings target screen viewing and digital sharing
The first pitfall is choosing the wrong download format
'PDF Standard' compresses images down to 96 to 150 dpi to shrink file size. That works fine on screens, but physical printing requires at least 300 dpi to keep lines sharp without pixelated grid artifacts
For print jobs, you must manually select 'PDF Print'
The second pitfall is color profile switching and paid features
Only Canva Pro supports native CMYK color export
If you export RGB directly from the free version, the print shop's prepress system will forcibly tear color gradations. Even if you use Pro to switch to CMYK, Canva's built-in color profile remains a generic web profile. Check paper characteristics with Mai Printing online prepress customer support before placing an order
The third pitfall is text layers getting rasterized automatically into bitmap images
When your file uses non-standard Chinese fonts, exporting high-resolution files from Canva without proper format transcoding flattens text into pixel images, causing jagged edges on warning notices or tiny labels
How to Perform Professional Preflight Checks with MINDS Three-Step Pre-Print Check?
To help non-designers submit files smoothly, the Mai Strategy Knowledge Academy consulting team simplified professional prepress preflight checks into an actionable 'MINDS (MS) Three-Step Pre-Print Check' workflow:
・① Color Environment Check: Always choose 'PDF Print' when exporting from Canva, and manually select 'CMYK (best for printing)' in the color palette to avoid high-fluorescence screen colors
・② Physical Bounds Check: Go to file settings and enable 'Show print bleed' before designing, making sure background images or fill colors extend 3mm into the bleed area, then check 'Crop marks and bleed' during export
・③ Layer Structure Check: Select 'Flatten PDF' or convert to vector format to ensure fonts do not distort or swap due to missing font files
It's simple
Spending ten seconds checking these three steps before clicking download catches over 90 percent of prepress rejections and output discrepancies
How Can You Thoroughly Fix Blurry Text and Rich Black Issues?
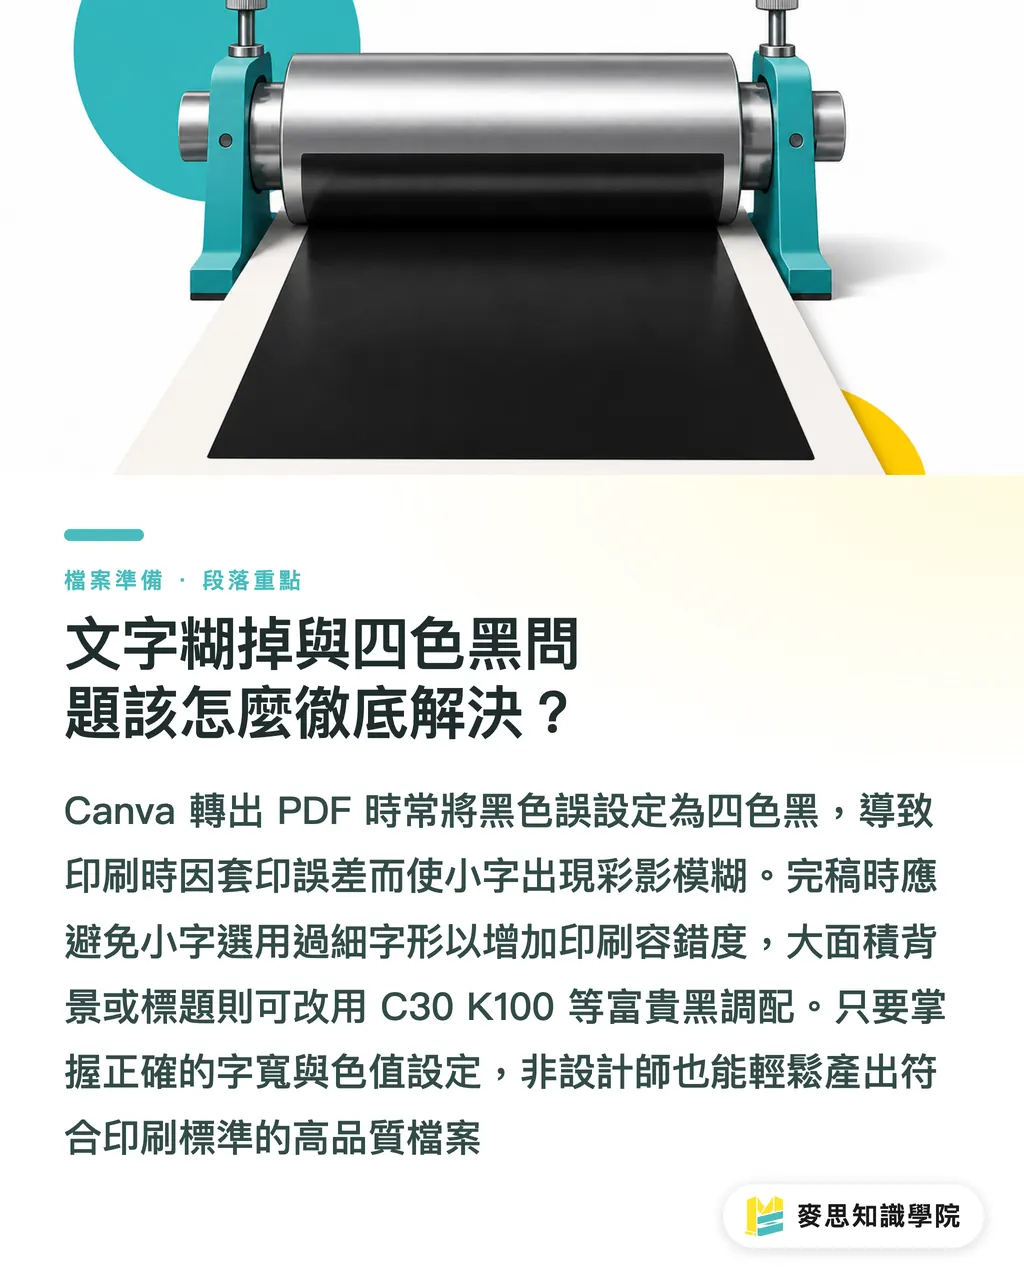
On the print shop floor, besides color shift and white edges, the issue that gives prepress engineers the biggest headache is 4-color black text (K100 vs C100 M100 Y100 K100)
Canva default black fonts easily get converted by the system into a heavy dark black made of cyan, magenta, yellow, and black inks layered together when exported to PDF
When presses run at high speeds, slight registration errors across four plates are inevitable. Applying 4-color black to small text under 9pt produces color ghosting and blur along font edges, or even thick ink buildup that prevents proper drying on the back of the paper
To avoid this issue, apply two practical workarounds in Canva
First, avoid overly thin typefaces for small text (such as light fonts or extra-fine serifs). Slightly increasing font weight improves ink adhesion tolerance
Second, if large black backgrounds or headings need a rich black look, set them to single-color black plus a touch of cyan (such as rich black with C30 K100). This delivers a deep texture without causing excessive ink buildup
That's enough
Master these principles, and non-designers can also produce high-spec PDF files that meet print shop standards
Key Takeaways
・Default RGB export in free Canva makes print colors look dark and distorted; upgrading or adjusting to the CMYK color space is mandatory
・Omitting a 3mm bleed area exposes raw paper edges after trimming; always check crop marks and bleed during export
・Print image resolution must reach at least 300 dpi; select 'PDF Print' instead of file-shrinking 'PDF Standard' when exporting
・Avoid 4-color black overprinting on small text under 9pt; setting single-color black K100 prevents ghosting and blur
・Use the MINDS (MS) Three-Step Pre-Print Check for prepress inspection to catch over 90 percent of submission risks in ten seconds
Final Thoughts
With AI tools and accessible design software like Canva becoming widespread, non-design staff across companies are producing promotional materials at a rapid pace
However, a professional gap remains between the flexibility of digital screens and the physical limits of commercial printing
For SaaS developers and prepress automation software vendors, the core opportunity lies in integrating prepress preflighting directly into online export workflows, letting color conversion and bleed padding run automatically in the background
For corporate purchasing and design teams, creating a standardized delivery checklist and collaborating with professional print partners capable of real-time online file review is the best way to maintain visual quality without falling into traps
FAQ
- Why do colors seen on Canva screens look dull and distorted after printing?
- Screens use RGB lighting, while printing uses CMYK 4-color inks. CMYK displays 30 percent less color range than RGB. Failing to convert to CMYK on export leaves automatic system conversion to cause color shifts and dull gray tones
- Should I select PDF Standard or PDF Print when exporting PDF files from Canva?
- You must select 'PDF Print'. PDF Standard compresses images to 96-150 dpi to save space, creating blurry pixelated prints, while PDF Print preserves high 300 dpi print resolution
- What is the 3mm bleed commonly mentioned in printing, and how do I set it in Canva?
- Bleed is an extra 3mm area extending past final trim borders, preventing raw paper edges from showing due to 1 to 2mm physical cutting variances. In Canva file settings, turn on 'Show print bleed' and extend background images to fill that border
- What should I do if small text in my Canva design prints out with blurry ghosting edges?
- This happens when small text is converted by the system into C100 M100 Y100 K100 4-color black, causing misregistration ghosting. Choose appropriate font weight for small text and make sure text is converted to vector layers or single-color K100 black on export
Related articles

The Print × AI weekly
The print and AI know-how designers, brands and enterprises can use before they commit — one email, every week
MINDS Free Tools
Imposition calculator and preflight file check — free prepress tools, right in your browser.
MINDS Group
Need actual printing or gifting services?
From premium printing to online ordering and festive gifts — the MINDS Group sister brands take it from here.