
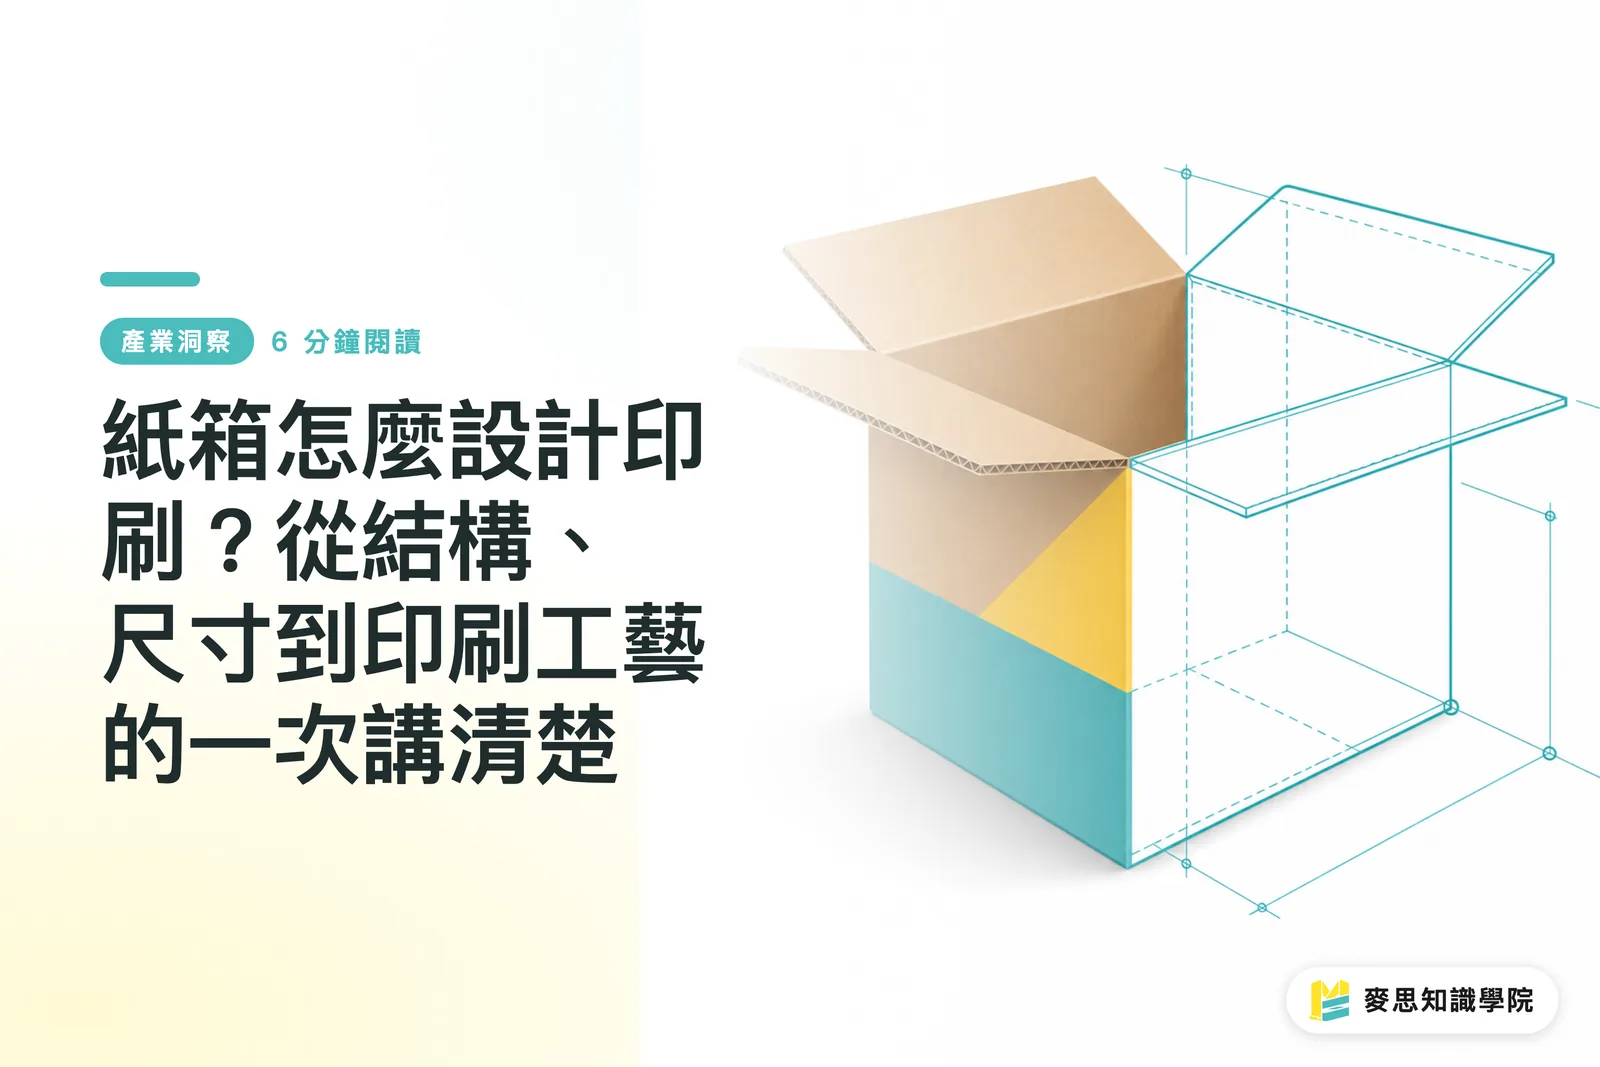
The First Step in Box Design Isn't Drawing, It's Deciding What Goes Inside
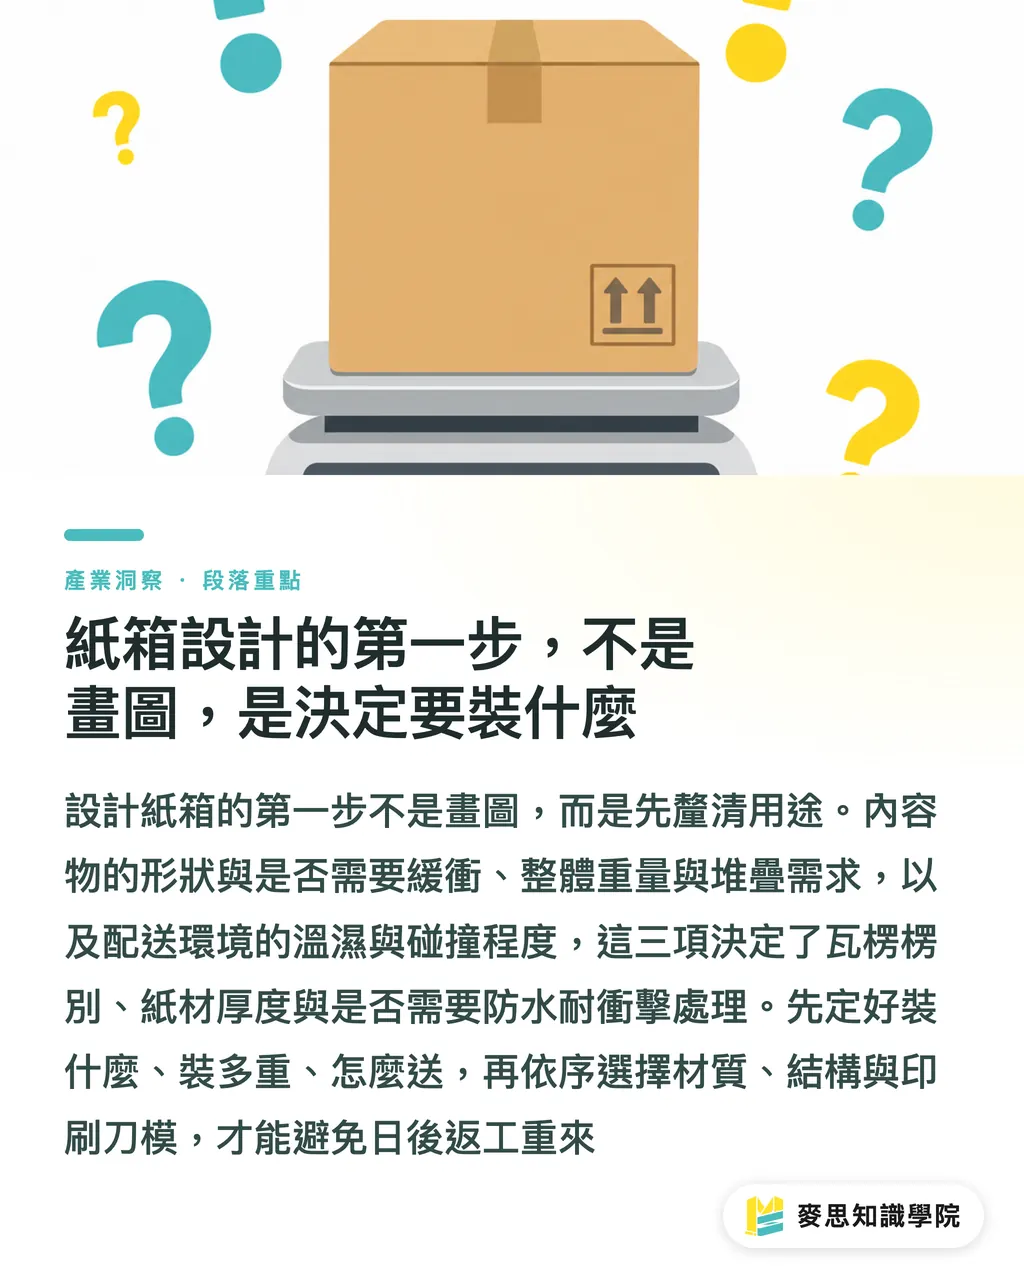
When designing and printing boxes, getting the sequence wrong often means starting over from scratch. In practice, I ask clients to answer three questions first: What are you packing, how heavy is it, and how will it be shipped? Whether you're packing bottles or unboxed parts, whether items have sharp corners, or if boxes will be stacked determines structural strength and compression resistance. Weight directly correlates with flute type and paper thickness. Shipping methods (courier vs ambient storage) dictate whether you need waterproofing or impact protection
Nail down these three questions first so you don't pick the wrong materials, structure, or printing methods later
・Contents: Shape, cushioning needs, and oil/stain presence
・Weight and stacking layers: Determines the choice between B-flute, E-flute, or AB double wall
・Logistics environment: Ambient, cold storage, ocean export, or rough courier handling
Define usage and weight first, select material and structure next, and enter printing and dielines last. This is the safest workflow I've seen
How to Choose Box Structure? Understand These Common Types First
Boxes are not just simple rectangular containers. If you pick the wrong structure, even the best printing won't save it. Here are the five most common types for export and domestic markets. Confirm which one you're building before starting your design
・RSC (Regular Slotted Carton): The most common box style with equal top and bottom flaps. Offers minimum die-cutting waste and lowest cost
・HSC (Half Slotted Carton): Missing a top flap, making it ideal for open display and loading
・FOL (Full Overlap): Top and bottom flaps overlap completely. Delivers maximum compression strength, perfect for heavy items and long-distance shipping
・Tuck Top / Telescope (Two-piece box): Separate lid and base, widely used for premium gift packaging and electronics
・Die-cut Custom Box: Formed via custom dielines. Can feature windows, handles, and custom inserts, offering maximum structural freedom
In practice, e-commerce parcels usually use RSC or die-cut boxes; home appliances and heavy goods favor FOL; premium gift boxes often use telescope boxes. Once the structure is set, paper material and printing specifications can fall into place
How to Calculate Dimensions? Factor in Inner, Outer, and Paper Thickness Together
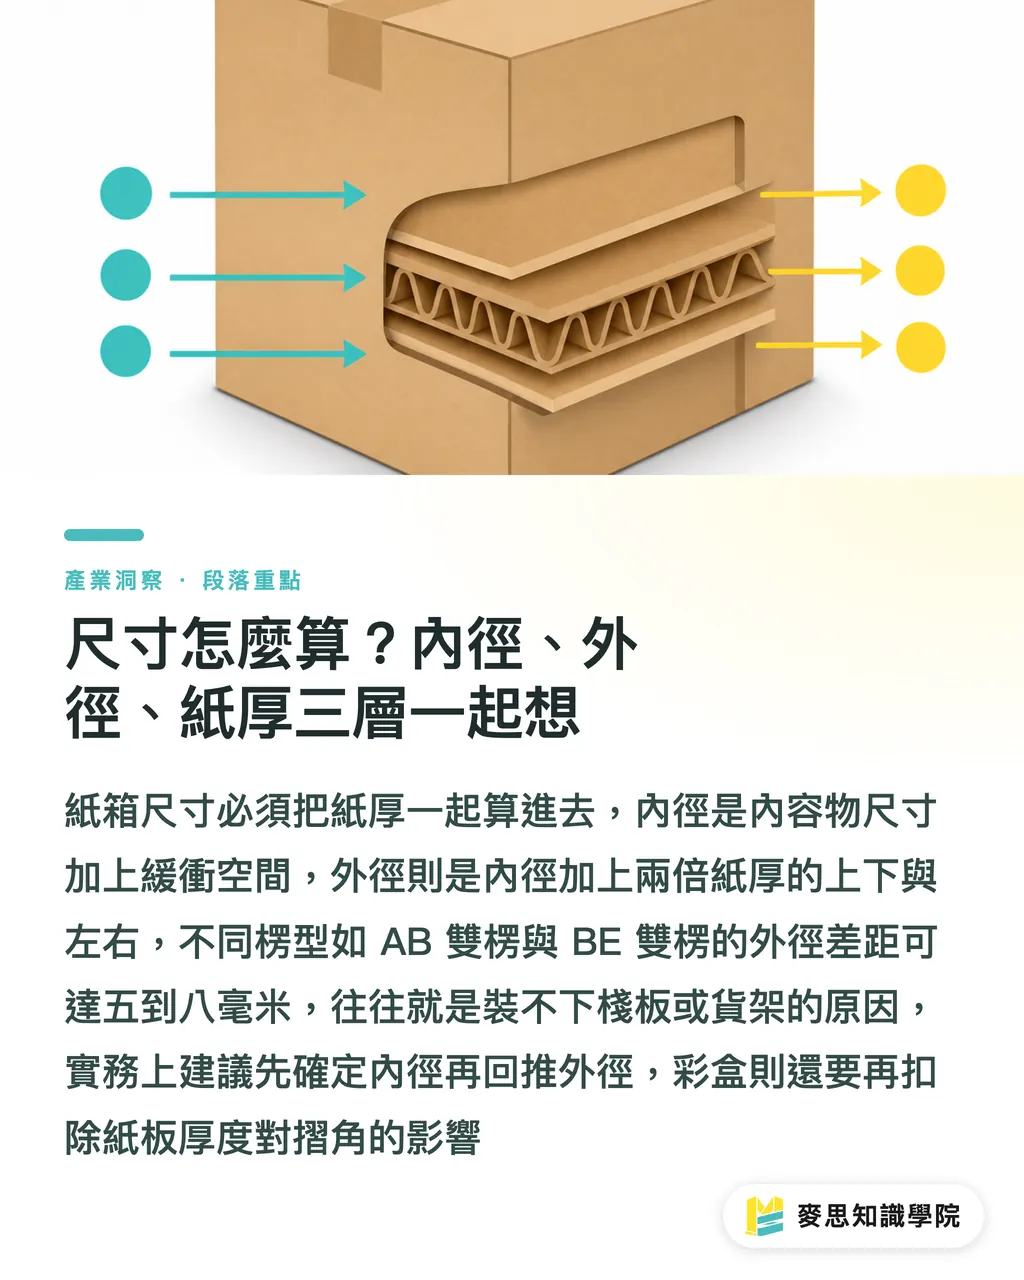
Box dimensions aren't drawn on intuition; you must factor in paper thickness. With the exact same inner dimension, the outer dimension difference between AB double wall and BE double wall can reach 5 to 8 mm. This is often why packed boxes fail to fit on pallets or shelves
・Inner Dimension: The usable space inside, equal to item dimensions plus 5-10 mm cushioning
・Outer Dimension: Inner dimension plus twice the paper thickness (top/bottom) + twice the paper thickness (left/right)
・Paper Thickness (Calipers): B-flute approx. 3 mm, E-flute approx. 1.5 mm, AB double wall approx. 6 mm, BE double wall approx. 4.5 mm
・Flaps and Joints: The top and bottom flap overlap area in an RSC is about 25-40 mm, which eats into internal usable height
My own approach is to calculate inner dimensions first, work backward to outer dimensions, and finally hand the numbers to the dieline maker. If you're making folding cartons, remember to subtract paperboard thickness effects on folded corners, a detail frequently overlooked
How to Pick Printing Crafts? Look at Quantity, Artwork, and Material
Printing on corrugated boxes differs from folding cartons because the substrate is corrugated board rather than coated paper. Choosing the wrong craft leads to inaccurate colors and warped boards. Here are the four main box printing methods
・Flexographic Printing (Flexo): Mainstay for mass box production. Fast speed, excellent ink adhesion, best for solid colors, text, and lines
・Digital Printing: Top choice for short runs, custom orders, samples, and rush jobs. Almost all orders under 500 boxes rely on this
・Pre-printing (Pre-print): Printing on linerboard before mounting onto flutes. High color quality, ideal for large full-color graphics on outer boxes
・Screen Printing (Screen): Spot colors, metallic inks, heavy ink coverage, and glow-in-the-dark inks. Great for local spot enhancement and gift items
In the local market, small orders lean toward digital + flexo proofing; orders exceeding 2,000 boxes use flexo mass production; premium and export color boxes frequently feature pre-print combined with mounting. If you need Pantone spot colors or large gradients, confirm achievable color gamut and creasing deformation tolerance with your printer beforehand
What to Watch Out for in Artwork Files and Proofs? Pitfalls I've Seen Too Often
A gorgeous design with flawed file structure will still stall on the production line. Because corrugated boxes involve dielines, fold lines, and print bleed, file specifications are stricter than standard print jobs. Here are items you must inspect yourself before submitting to the plant
・Bleed: Keep 3 mm bleed on all four sides. Position key text and color blocks at least 5 mm away from fold lines
・Dielines: Provide bleed artwork, cut lines, and fold lines on separate layers. Keep cut lines from overlapping printed artwork
・Color Mode: Flexo uses CMYK, with spot colors labeled separately. Specify whether Pantone colors are Solid Coated or Uncoated
・Resolution: 300 DPI or higher. Embed gradients and photo files instead of linking them
・Proofing: Make a Digital Proof first for color checking, then build a physical mockup to test structure and tactile feel
・Outline Fonts: Create outlines for all text to prevent missing characters if the printing plant lacks your fonts
My own routine before proofing is conducting a 'physical sample fit test': place actual contents inside the sample box, shake it, press it, and stack three layers high to check for looseness, crushing, or sliding. Many designs that look flawless in print reveal structural flaws only at this stage
What Comes After Design? Plan Mass Production, Assembly, and Warehousing Together
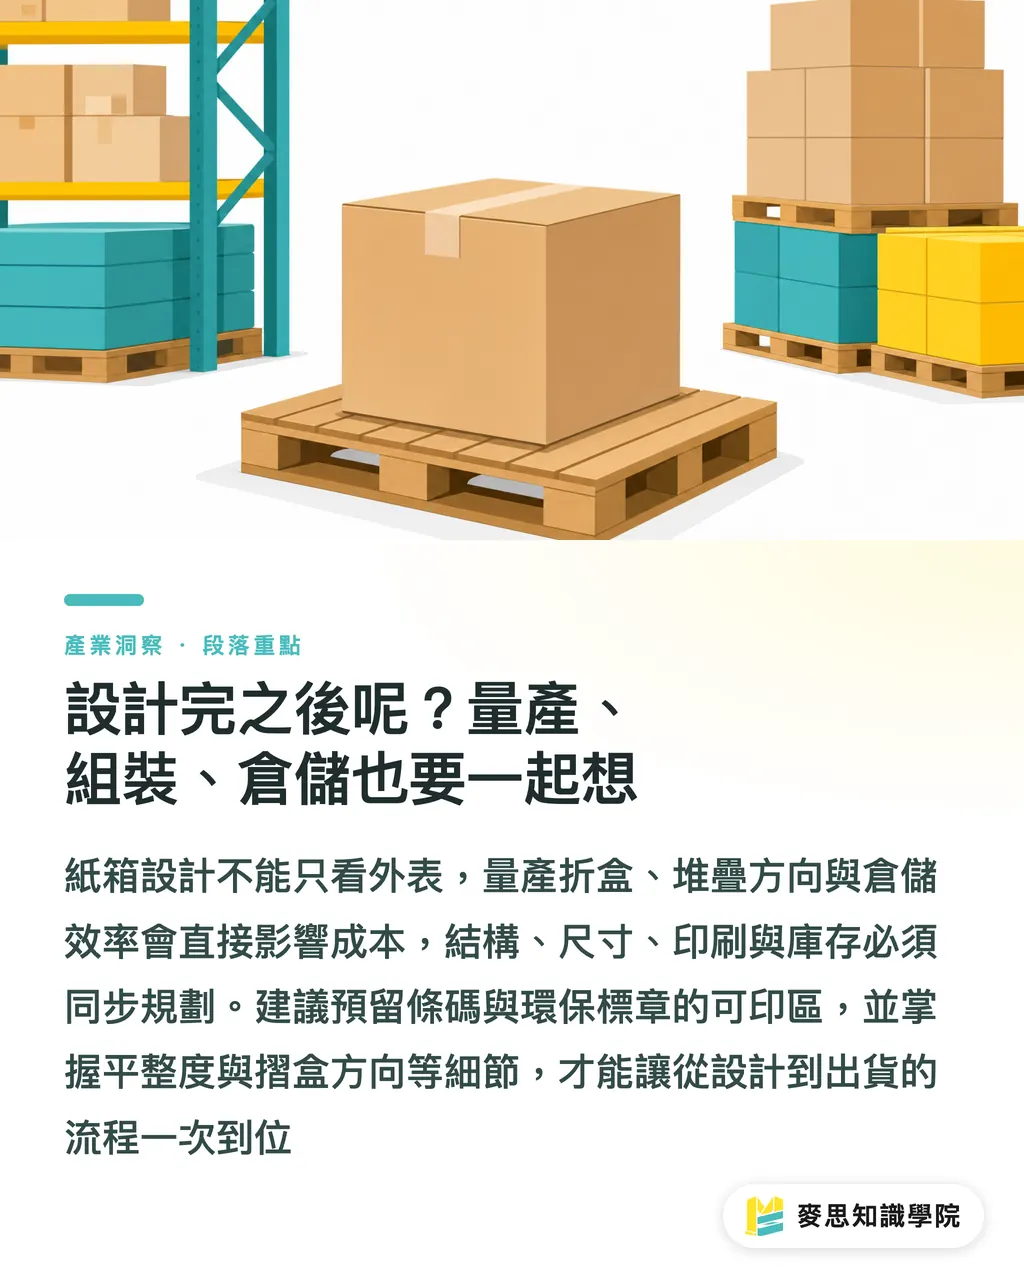
Box design isn't just about appearance and structure. Folding efficiency during mass production, glue bonding, stacking orientation, and warehouse space all affect cost. I've seen too many projects where design looked great, but warehouse staff complained that irregular box shapes couldn't fill pallets properly, leading to rejected shipments and costly redesigns
・Flatness: Stacking skew rate should be under 1%. Anything higher requires checking dielines and creasing
・Folding Orientation: Side-opening or top/bottom opening should align with operational habits of warehouse and sealing staff
・Print Content: Reserve clear printable areas for barcodes, warning labels, recycling symbols, and ingredient lists
・Eco Markings: FSC and PEFC certifications along with recycling symbols are export standards. Taiwan has introduced extended producer responsibility regulations for select packaging starting in 2025, so check the latest coverage scope with your printer
・Inventory Management: Stock box styles keep unit prices down, while urgent short runs rely on digital printing for replenishment
From design to delivery, corrugated packaging is an unbroken chain. A break at any step forces you to start over. Address structure, dimensions, printing, artwork files, proofing, and mass production together, and your entire project will run smoothly
Key Takeaways
・Correct sequence for box design: Define usage and weight first, select material and structure next, enter printing and dielines last
・Factor in paper thickness for box sizing: Calculate inner dimension, outer dimension, and paper thickness together to ensure pallet fit
・Flexo dominates corrugated printing: Use digital for short runs and pre-print mounting for large full-color graphics
・Inspect bleed, dielines, color modes, and outlined fonts before submitting files to the factory
・Always conduct a physical sample fit test during proofing: Perfect printing does not guarantee structural integrity
Further Considerations
The essence of corrugated box design and printing is condensing four disciplines, structural mechanics, packaging engineering, print manufacturing, and logistics warehousing, into a single box. For designers, rather than chasing flashy visuals, mastering the nuances of materials, dielines, and proofing is what truly determines whether a project gets bogged down in endless revisions. For printing plants, turning common design mistakes into customer education is the fastest way to build long-term trust. For teams adopting AI and SaaS, box design file specifications (bleed, dielines, fold lines, color) offer the ideal entry point for standardization. Turning specifications into automated checks and converting processes into traceable workflows is precisely what MINDS has been doing all along. Next time you receive a box project, open this guide and run through the checklist, saving your project at least one round of re-printing
FAQ
- What is the correct order for box design?
- Define usage and weight first, choose flute type and material second, then proceed to structure, dielines, and printing design. Reversing this sequence often forces a complete restart later
- How do I choose between B-flute, E-flute, and AB double wall?
- B-flute is approx. 3 mm thick with high compression resistance, making it top choice for outer shipping boxes and heavy items. E-flute is approx. 1.5 mm, thin and flat, ideal for color boxes and small parcels. AB double wall is approx. 6 mm with maximum strength, commonly used for home appliances and long-distance export shipping
- How do I calculate box dimensions so the contents actually fit?
- Determine inner dimensions first (item dimensions plus 5-10 mm cushioning), work backward to calculate outer dimensions (inner dimension plus twice paper thickness and flap overlap), then hand these figures to the dieline manufacturer
- Should I choose flexo or digital printing for custom boxes?
- Go digital for under 500 boxes, samples, or rush orders. Use flexo for mass production over 2,000 boxes. Choose pre-print mounting for large outer full-color artwork. Screen printing is commonly used for localized spot effects on luxury and gift items
- What files do I need to prepare for the printing plant?
- Provide bleed artwork, cut lines, and fold lines on separate layers; 300 DPI resolution; CMYK color mode with spot colors marked; outline all fonts; and include both digital proof and physical mockup for double confirmation
Related articles
The Print × AI weekly
The print and AI know-how designers, brands and enterprises can use before they commit — one email, every week
MINDS Free Tools
Spine width and imposition calculators — skip the manual math, free in your browser.
MINDS Group
Need actual printing or gifting services?
From premium printing to online ordering and festive gifts — the MINDS Group sister brands take it from here.