
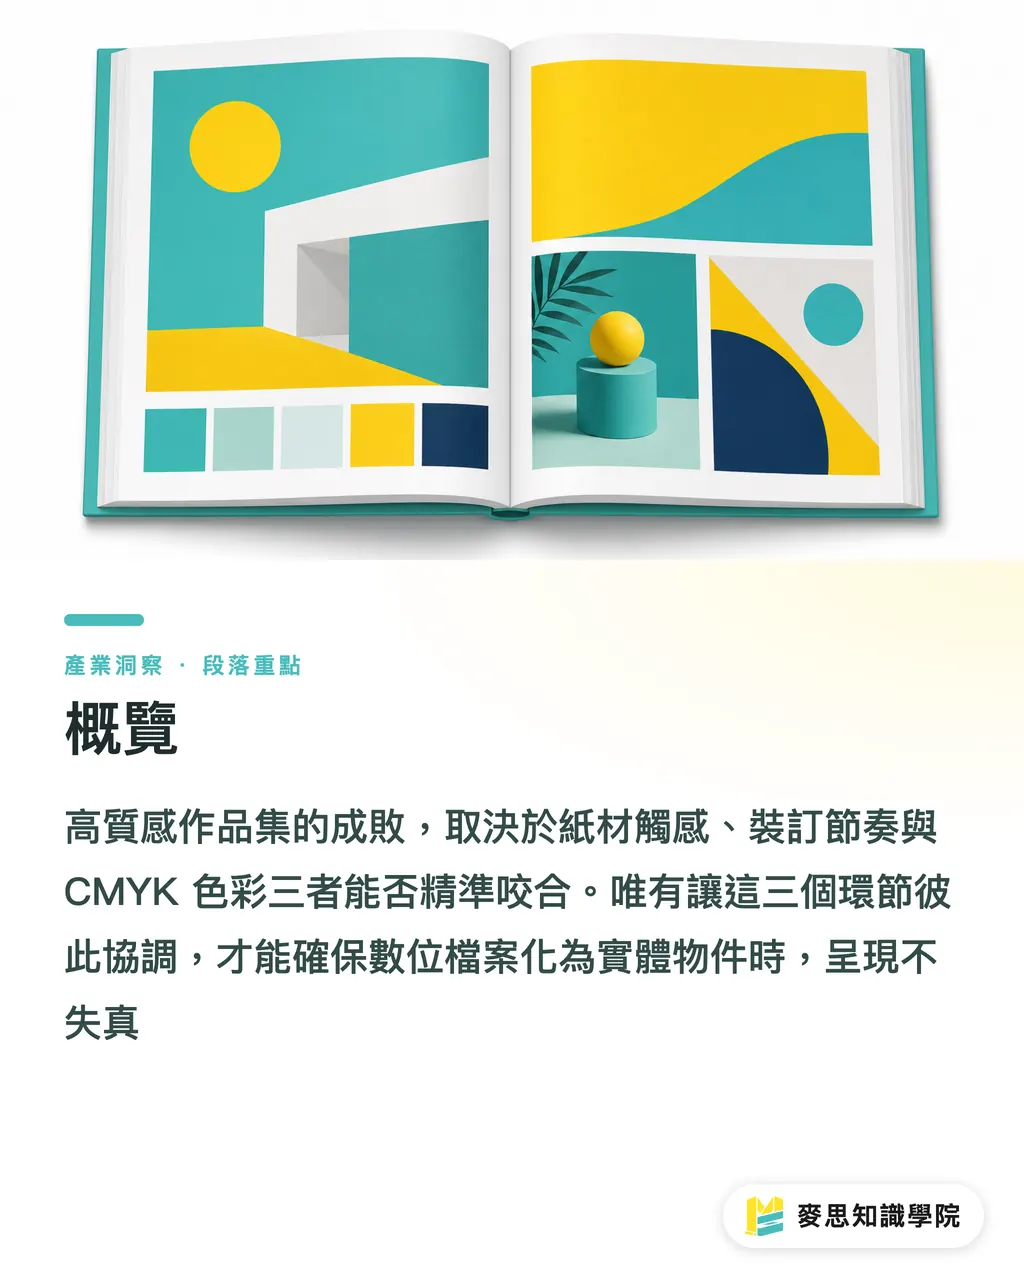
Overview
The core of printing a high-end portfolio lies in pairing paper feel, binding rhythm, and precise CMYK color alignment. It is the only way to ensure your digital files translate into physical objects without losing fidelity
How to Choose Portfolio Size and Binding Method?
From my years of working between the factory floor and clients, most designers immediately default to A4. In reality, a slightly smaller 190x260mm format feels much more refined in hand
Your binding method directly dictates how smoothly readers flip through pages and how complete the visuals look. Always decide based on your total page count
・Saddle stitching: Ideal for slim books under 64 pages. It is cheap, lies completely flat, and works best for lightweight, highlight-only portfolios
・Perfect binding: The most common choice. However, if your page count nears 100 pages, the binding spine will swallow about 5mm of the margin. If you have full-spread layouts, keep key visuals away from the gutter
・Exposed thread sewing: A great option if you have the budget and want top-tier craftsmanship. The book opens flat at a full 180 degrees, bringing out the full impact of wide spreads
Which Paper Best Highlights Design Quality?
Paper sets the tone for your portfolio. Different coating treatments can either absorb or amplify your design details
For inner pages, use 120g to 150g weight to prevent show-through. The cover needs to be at least 250g to provide structural support
・Coated paper (such as matte coated or gloss coated): Features a smooth, calendered surface that renders ink colors vivid and sharp. Great for 3D renders or high-contrast commercial photography
・Uncoated paper (such as ivory paper or woodfree paper): Larger fiber pores soak up ink, yielding muted colors with a warm, tactile feel. Perfect for illustrations or minimalist typography
・Specialty art paper (such as watercolor paper or tracing paper): Works best for covers or section dividers, creating tactile and visual surprises through texture contrast as people turn the pages
Why Does Printed Color Always Look Different From the Screen?
This is the single question I have answered most often over the past decade
Your monitor is an RGB light emitter, while paper relies on CMYK ink absorption and reflection. Without color standards at the source, color shift disasters are inevitable
・Set CMYK right from file creation: Apply color profiles commonly used by print providers (such as Japan Color 2001 Coated) directly inside your design software
・Handling large areas of black: Avoid setting it to just K100, which prints out looking grayish. Use C30 M30 Y30 K100 for a rich, solid black
・Keep body text off rich black: If body text contains CMY values, tiny misalignments at high press speeds will cause ghosting. Stick strictly to 100% K for body text
What Is on the Pre-Print Preflight Checklist?
In recent months, I have seen more designers turning to AI as an untiring prepress assistant
Checking files used to swallow half a day. Combined with automation and AI assistance, we can focus our energy on layout and creativity
・Lossless image scaling: If client assets are low resolution, AI upscaling tools can easily bump them up to the 300dpi print standard
・Simulating ink absorption shift: Next-generation color prediction software can preview how specific art papers absorb ink directly on screen, saving time on repeated proofing
・Automatic bleed checking: Prepress scripts can instantly scan the entire file to verify 3mm bleed margins or spot unoutlined fonts
Key Takeaways
・Page count drives binding: Pick saddle stitching for thin books, and go with thread-sewn perfect binding for thicker books with spreads
・Paper sets the vibe: Choose coated paper for sharp photo color, and pick uncoated paper for illustrator-friendly texture
・Manage colors from the start: Set CMYK upon file setup, keep text off rich black, and add underlying colors for large black blocks
Final Thoughts
Turning design files into physical portfolios is a relay race combining digital precision with physical material properties
When ink finally bites into paper, success relies on your prior understanding of materials and processes
If you consult an experienced, end-to-end printing provider like MINDS (custom high-end commercial printing) during your sketching or layout phase to clarify imposition and paper limits early, you will save considerable mental friction and costly reprints
FAQ
- Can I use special binding or foil stamping for a small run of portfolios (like 10 copies)?
- With digital printing now widespread, small runs are completely doable. However, traditional plate fees for foil stamping get split across few copies, which drives up the cost per book significantly
- Why is the text in my portfolio blurry and unclear at the edges?
- Check if your black text is set to rich black (four-color black). High-speed printing presses easily cause registration shifts. Always keep plain text set to 100% K single-color black
- Why is my print pixelated even though I set the resolution to 300dpi?
- A 300dpi resolution must be based on the actual target print size at a 1:1 scale. If you stretch a business-card-sized image up to A4 size, there simply will not be enough pixels
- What is bleed, and why is it important for portfolios?
- Trimming equipment has a physical tolerance of 1 to 2mm. Background colors or full-bleed images must extend outward by an extra 3mm bleed margin, or you risk ugly white edges after cutting
Related articles



The Print × AI weekly
The print and AI know-how designers, brands and enterprises can use before they commit — one email, every week
MINDS Free Tools
Imposition calculator and preflight file check — free prepress tools, right in your browser.
MINDS Group
Need actual printing or gifting services?
From premium printing to online ordering and festive gifts — the MINDS Group sister brands take it from here.