

Overview
For multi-page catalogs, let Illustrator go and move the layout fully into InDesign. Once you enter prepress, follow the three MINDS (MS, mid- to high-end fully custom commercial printing) print-file checkpoints: export as single pages, confirm bleed on the binding edge, and check page-number logic
After working with so many corporate clients and design teams every year, the file I dread most is a 100-plus-page product manual built in Illustrator (AI). The moment the file opens, the computer fan goes wild, artboards jump all over the place, and the bleed setup is often a mess. Then the printed spread image does not line up, a white strip appears along the binding edge, and everyone ends up staring at the proof at the print shop with nothing good to say
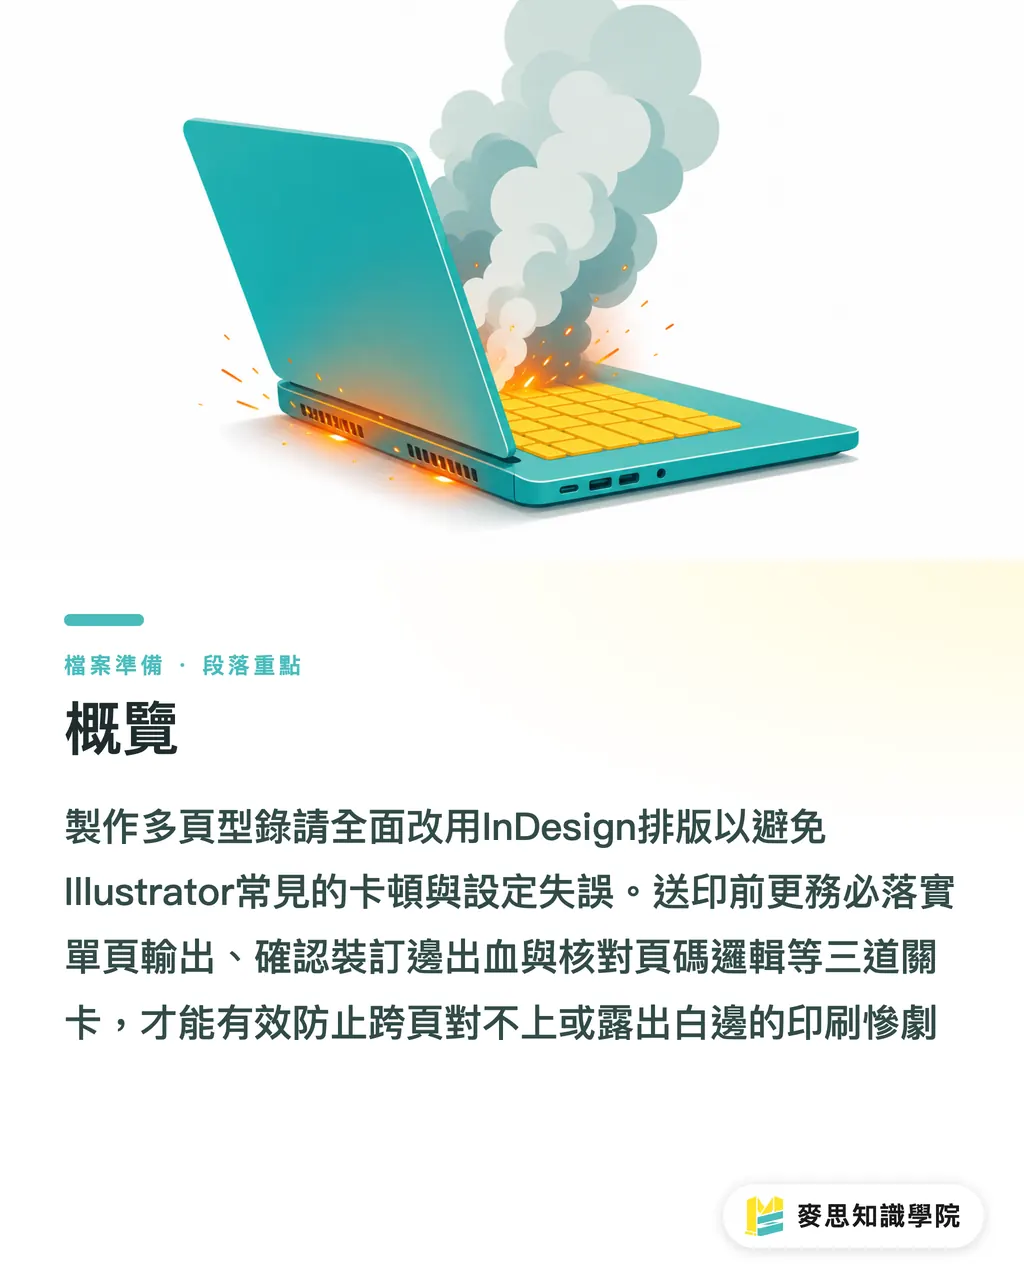
Why Is Using Illustrator for Multi-Page Catalog Layout a Disaster?
I often tell designers that AI is for vector illustration and single-page posters. Using it to build a manual with dozens of pages is like using a sports car to haul bricks. From the shop floor, there are a few walls you simply cannot get around:
・Performance disaster: once AI holds a few dozen high-resolution images, saving becomes painfully slow, crashes and sudden quits are common, and the designer's youth gets spent watching the spinning rainbow wheel
・Bleed and spread blind spots: AI artboards do not really understand Facing Pages, so bleed across spreads is extremely hard to manage. During imposition at the print shop, if the artwork on the binding edge has not been extended properly, any cutting tolerance will reveal white immediately
・Page-number and table-of-contents hell: there are no automatic page numbers and no linked Master Page workflow. If the client asks to add two pages in the middle, every page number has to be retyped by hand. That kind of handcraft will absolutely drive people mad near deadline
Why Are Long Manuals InDesign's Home Turf?
InDesign was built for multi-page editing. It may feel like there is a learning curve at the start, but once you get through the first two days, the efficiency multiplies
・Excellent memory management: images are previewed through Links, so even a several-hundred-page annual report can still run smoothly
・Master pages and paragraph styles: set headers, footers, and page numbers once, then apply them across the whole book. Change one paragraph style and the body text throughout the book changes with it. During revisions, this is a lifesaver
・Precise facing-page layout: it natively supports left-bound or right-bound facing-page modes, and the software automatically calculates bleed for large spread images. Sending this to the print shop will not get your file rejected
In practice, I now also suggest that teams use large language models or image-generation tools as creative assistants during early ideation and visual direction. But once you move into final layout, switch back to InDesign. You can refer to the field experience of the Mai Strategy Knowledge Academy consulting team. We help companies build this kind of hybrid layout workflow
How Exactly Should a Multi-Page Print-Ready PDF Be Saved?
Picking the right software is only the first step. The final PDF export is where the real test begins. Print shops have their own imposition software. If your PDF settings are wrong, our backend team has to manually take the file apart for you. Keep these specs in mind:
・It must be saved as "single pages," not "spreads": uncheck "Spreads" and export a continuous page-by-page PDF. The in-house system needs to take those single pages and impose them again based on the binding method. If you send a spread file, we basically cannot impose it
・Bleed must include the binding edge: top, bottom, left, and right all need at least 3mm of bleed. Many people think the binding edge in perfect binding will be wrapped into the spine, so they skip the bleed there. That is wrong. If the cutting blade shifts even slightly, the inside edge will flash white
・Page order must match the physical book: from the cover (P 1), inside front cover (P 2), table of contents, all the way to the inside back cover and back cover, the order must stay continuous. If there is a blank page, keep a real blank page in the PDF. Never skip the numbering yourself
What Is Different About Bleed for Saddle Stitching and Perfect Binding?
Once the binding method is chosen, final-file details change with it. This is also where designers most often fall into trouble
・Saddle-stitched page counts must be multiples of 4: one large sheet is folded into 4 pages and then stitched. If the paper is thick or the page count is higher, such as 64 pages, watch for creep. The innermost pages are pushed outward and trimmed more, so important text and images need to move inward
・Spread images in perfect binding must avoid being swallowed by the gutter: perfect binding applies glue at the spine, and about 5 to 8mm near the binding edge sinks into the groove and becomes hard to see. If you have a face or a large headline crossing the spread, move the image and text slightly outward in InDesign so the printed visual stays complete
If you are not confident about your own artwork files, consider asking the MINDS (MS) prepress team for help directly. For mid- to high-end custom commercial printing, the in-house technicians will lock down these bleed and imposition details tightly, so you do not have to worry blindly on your own
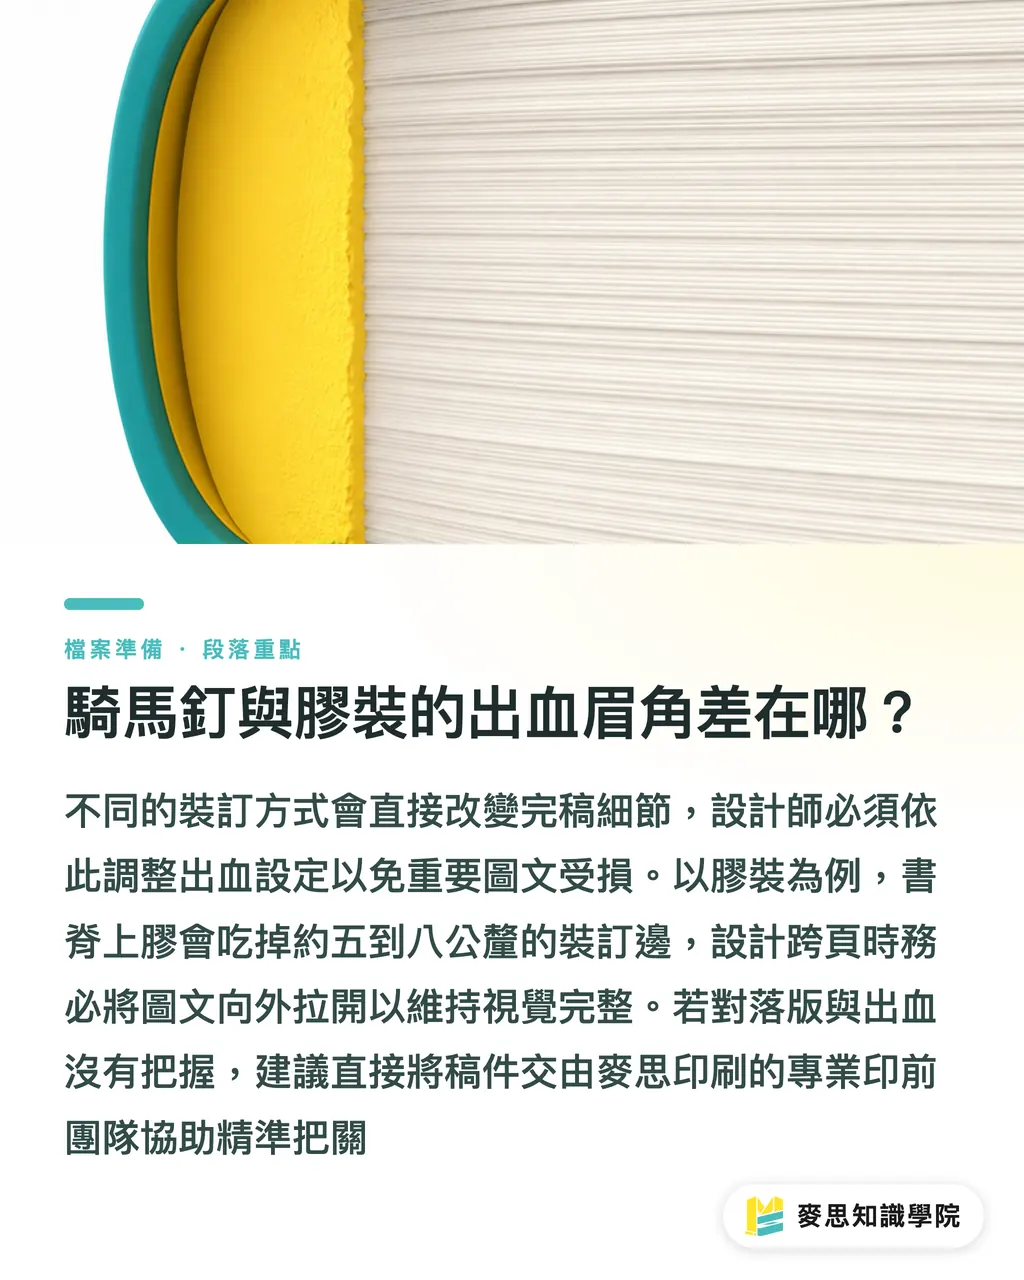
Key Takeaways
For multi-page manual layout, let Illustrator go. InDesign is the only real antidote to crashes, sudden quits, and revision hell
PDF export rule: output single pages, not spreads, with at least 3mm bleed on all four sides
For saddle stitching, calculate multiples of 4 and creep. For perfect binding, watch the spine gutter, and keep large spread images away from the binding edge
Further Thought
The layout tool a team chooses reflects the ceiling of its production capacity. If your designer is still carving out hundreds of manual pages in Illustrator, the problem is not their ability. The workflow needs an upgrade. Bring in InDesign, pair it with automation scripts, and hand the tedious prepress checks to a professional print shop. Only then can the design team truly keep its time for creativity and layout aesthetics
FAQ
- I made a 24-page catalog in Illustrator. Can it still be sent to print?
- Yes, but you must manually convert every artboard into an independent single-page PDF and make sure the binding edge has a full 3mm bleed. The process is very easy to get wrong, so I strongly recommend switching to InDesign in the future
- Why does the print shop keep asking me to split my "spread" PDF into "single pages"?
- Because the shop's automatic imposition system needs single-page assets before it can rearrange pages according to the logic of saddle stitching or perfect binding. If you send a spread file, the imposition workflow gets stuck
- My manual has 100 pages, and some areas use spread images. If I export single pages, will the image in the middle be cut off?
- When you export single pages from InDesign with bleed included, the software automatically captures the artwork extended from the facing page as bleed. The image may look cut off when viewed as single pages, but after the print shop imposes and binds it, the visual will join cleanly
Related articles



The Print × AI weekly
The print and AI know-how designers, brands and enterprises can use before they commit — one email, every week
MINDS Free Tools
Imposition calculator and preflight file check — free prepress tools, right in your browser.
MINDS Group
Need actual printing or gifting services?
From premium printing to online ordering and festive gifts — the MINDS Group sister brands take it from here.