

Why do color edges in packaging print keep showing harsh white gaps?
Trapping is a preventive prepress method that slightly expands or reduces the edges where adjacent colors meet, so press vibration and paper expansion or contraction do not expose the white paper underneath
From years of production-line observation at MINDS, one of the most common scenes is a designer bringing in a carefully built folding-carton file with full confidence, only to see a white hairline appear between a black graphic and a red background after printing. The press is not broken. This is simply what happens in the physical world. Paper expands when it absorbs moisture during printing. High-speed presses vibrate at the micron level. During four-color registration, a shift of only 0.1mm is enough for the white paper base to show through
These white gaps are especially damaging in packaging print. The white card stock used for folding cartons, and the board used for corrugated boxes, are both much thicker and more absorbent than ordinary flyers. Pulling and deformation during printing are far more obvious. In cases reviewed by the Mai Strategy Knowledge Academy consulting team, more than 60 percent of reprints caused by poor registration traced back to one root cause: the prepress file had no trapping settings
Do not rush. Once you understand the expansion and reduction logic behind prepress trapping, these problems can be stopped on screen before they ever reach the press

How should Spread and Choke be chosen in prepress settings?
The core principle of trapping is this: make the lighter color overlap into the darker color
・Spread: When a light-colored object sits on top of a dark background, slightly enlarge the edge of the light object outward so it bleeds underneath the dark background, while keeping the outer contour of the dark color unchanged
・Choke: When a dark object sits on top of a light background, reduce the knockout opening in the light background inward, allowing the light base to tuck underneath the dark object while preserving the shape of the dark subject
Simple enough. Control always belongs to the color with higher lightness. When the edge of a lighter color expands or contracts, the shape change is hard to notice visually. By contrast, if you let a dark color expand into a light color, the outline of the graphic will visibly gain weight and deform
The right values depend on the printing process and the paper stock:
・Offset printing for card-stock folding cartons: registration accuracy is higher, so trap width is usually set to 0.05mm to 0.1mm, about 0.14pt to 0.28pt
・Flexographic printing for corrugated boxes, using water-based ink: because the corrugated board surface is more uneven and elastic, mechanical registration error is larger, so trap width must be increased to 0.3mm to 0.5mm for effective coverage
・Kraft paper and rough stocks: very high absorbency causes dot gain, so trap settings must also account for color shifts caused by ink overlap
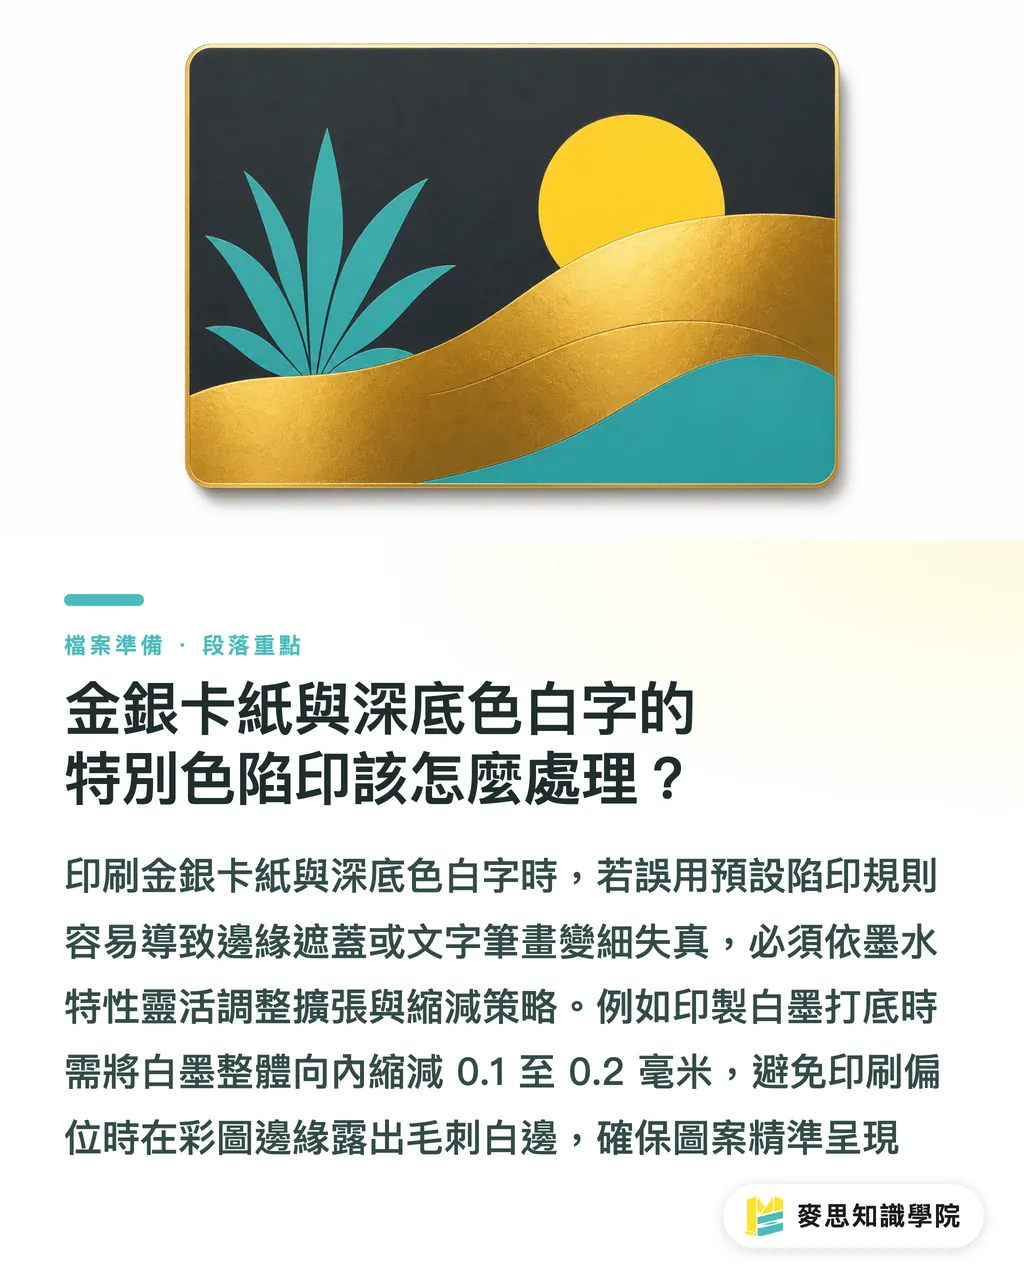
How should spot-color trapping be handled for metallic card stock and reversed white text on dark backgrounds?
When metallic card stock, Pantone spot colors, or reversed white text on a dark background are involved, traditional default trapping rules often fail
Metallic card stock and spot-color inks have much stronger opacity than standard CMYK inks. When a spot color, such as metallic gold, meets CMYK, the more transparent CMYK color area must spread into the spot color. If the gold ink spreads into CMYK instead, its strong covering power will directly cover the CMYK edge and create an extremely unnatural dark outline
Small reversed white text on a dark background is another kind of disaster. When tiny reversed text is printed over a dark base, for example C60 M60 Y60 K 100, an incorrect Spread setting can squeeze the letter strokes until they become too thin or even disappear. The right approach is to apply a suitable Choke to the base color block, make sure the reversed text stays as an independent keepout, and never apply broad expansion carelessly when fine lines are below 0.2mm
There is also a specific method for white ink underprinting on transparent stickers and color packaging boxes. The white ink plate must be reduced inward as a whole 0.1mm to 0.2mm. This is called white ink pullback. Otherwise, after the color image is printed on top, a white ink misregistration of only 0.05mm can create ragged white edges around the color artwork
How do print-shop prepress engineers carry out trapping checks?
In real production artwork workflows, prepress engineers strictly follow the error-prevention mechanism known as the "MINDS (MS, mid- to high-end fully custom commercial printing) three-gate prepress check" to review every packaging file:
・① Lightness hierarchy analysis: First, review the lightness relationships of all overlapping objects in the file and determine which color block should carry the Spread or Choke responsibility
・② Matching press and paper coefficients: Based on the final printing equipment, whether a four-color offset press or a water-based corrugated press, and the paper's expansion and contraction rate, enter the exact width value into the Illustrator trapping tool or Acrobat trapping style
・③ Final separation and Overprint preflight: Turn on Separation Preview in the prepress software, switch through each single-color plate, and check every edge for the correct overprinted overlap, while making sure small text has not been damaged by expansion
That is enough. Spending three extra minutes confirming trap parameters before printing can save tens of thousands in waste and reprint costs on the production line
Key Takeaways
・The core physical logic of trapping is to let colors with higher lightness or higher transparency overlap and spread toward darker color edges
・For sheet-fed card-stock folding cartons, the recommended trap value is 0.05mm to 0.1mm. For water-based printing on corrugated boxes, it should be increased to 0.3mm to 0.5mm
・When trapping spot colors and metallic card stock, the lighter CMYK color must spread toward the high-opacity spot color
・When printing packaging with a white ink underbase, the white ink plate must use 0.1mm to 0.2mm of white ink pullback to prevent the base ink from spilling past the color artwork
・Small reversed white text on dark backgrounds should not be over-expanded. Use prepress separation preview to confirm that the stroke outlines remain intact
Further Thoughts
For designers and brand-side print buyers, trapping should not be a passive fix made only after a print shop rejects the file. It should be part of the standard final-artwork workflow. As packaging print moves toward short runs, high variety, and online ordering, designers who build the right Spread and Choke mindset during the Illustrator finalization stage can greatly shorten review lead times and keep packaging quality stable when switching between different papers and presses. For print teams bringing in AI-powered automated prepress inspection systems, turning these physical rules into an automated calculation rule base is the core key to unmanned file checking and lower waste rates
Further Reading
FAQ
- When setting trapping in Illustrator, should I use Overprint or the built-in trapping function?
- For simple objects, you can manually set an appropriate pt width for the stroke and turn on Overprint Stroke. For complex packaging artwork, it is better to use the Trapping function in Pathfinder, which automatically calculates Spread and Choke based on lightness
- Does dark K100 text printed on a color background also need trapping?
- No. Single-color K100 text is normally set by the prepress system to Overprint Black by default. The black ink prints directly over the background color without knocking it out, so there is no white-gap issue
- Why do prepress engineers often say that a white ink underbase needs pullback?
- White ink has different viscosity and flow behavior from CMYK ink, and it can spread slightly outward under pressure. Reducing the white ink plate inward by 0.1mm to 0.2mm ensures the color ink fully covers the white ink and prevents it from protruding beyond the color artwork edge
Related articles





The Print × AI weekly
The print and AI know-how designers, brands and enterprises can use before they commit — one email, every week
MINDS Free Tools
Imposition calculator and preflight file check — free prepress tools, right in your browser.
MINDS Group
Need actual printing or gifting services?
From premium printing to online ordering and festive gifts — the MINDS Group sister brands take it from here.