

Resolution Is Not About the DPI Number. It Is About What the Paper Can Hold
On the production floor, when we receive files from clients, one of the most common things we hear is: "This image is 300 DPI, so it should be fine, right?"
That sentence has two blind spots:
・First, 300 DPI is a setting inside design software. What really determines print detail is the effective pixel count at the final printed size
・Second, many people ignore the physical properties of the paper itself. That is the real ceiling for resolution
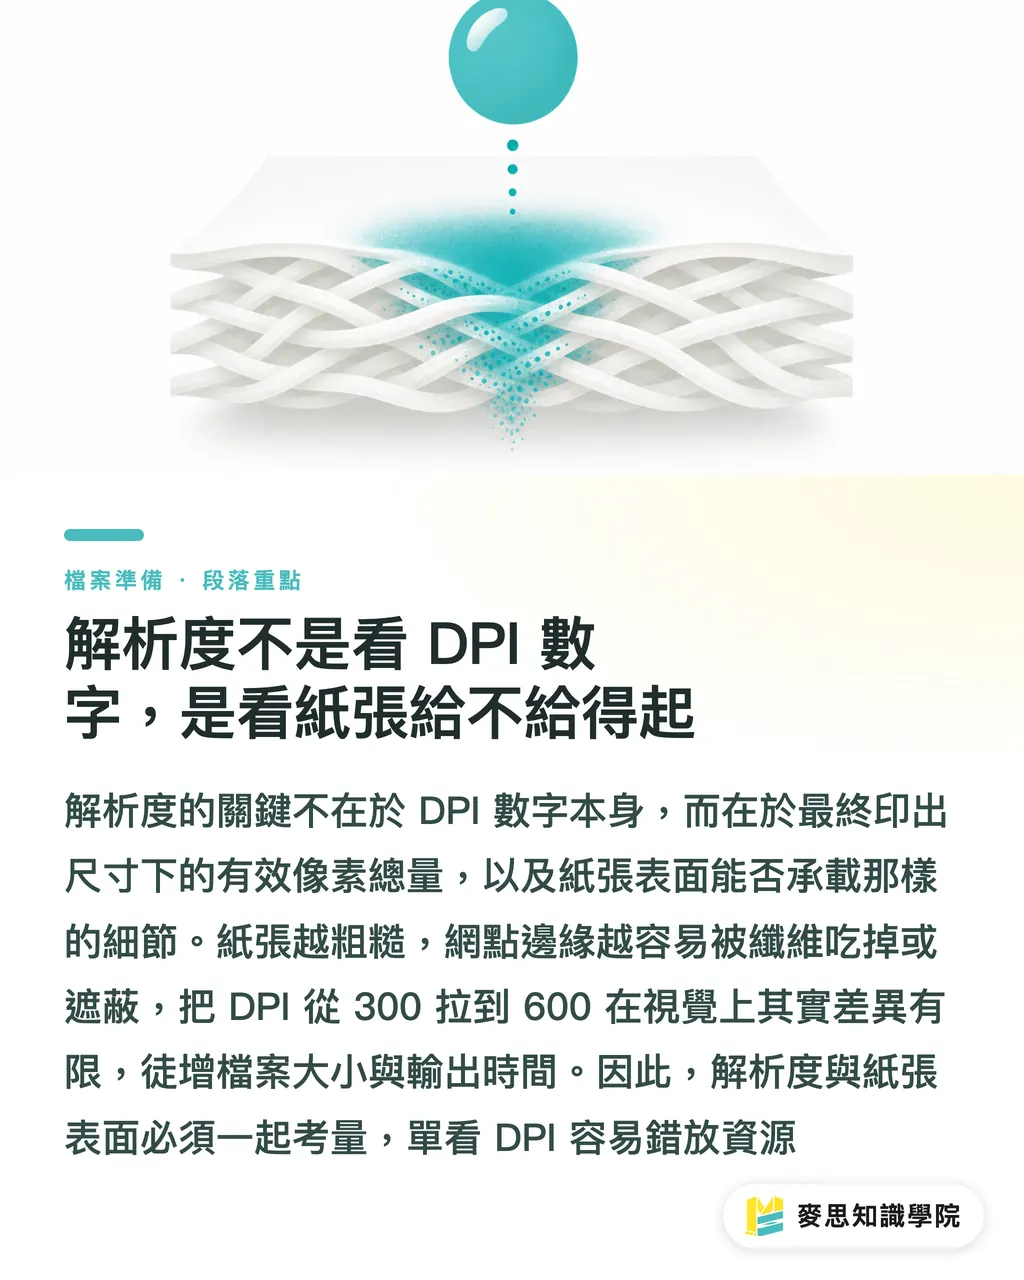
The smoother the paper surface, the sharper the dot edges. The rougher the paper, the more the fibers absorb or obscure the ink the moment it lands. At that point, raising DPI from 300 to 600 makes only a limited visible difference on paper. It just increases file size and output time
Over the past few years on the production line, I have seen this very clearly: many jobs look muddy not because the resolution is too low, but because the paper simply cannot support that level of detail. Or a client sends a 5MB high-resolution artwork file and prints it on rough kraft paper, which is just wasted effort
Resolution times paper surface is the full decision model. Looking only at the DPI number makes you put resources in the wrong place
Three Main Paper Types and How to Set the Resolution Threshold
From a printing perspective, paper can be roughly divided into three types: smooth, semi-rough, and visibly fibrous. Each type tolerates resolution differently. This is where the "reverse selection" method starts
・Smooth papers (coated paper, glossy art paper, synthetic paper): The surface is flat, ink sits evenly, and dot reproduction is the strongest. The standard match is 300 DPI. For high-end printing such as premium catalogs or photo books, 350-400 DPI can make a visible difference
・Semi-rough papers (woodfree writing paper, some art papers, lightweight coated paper): The surface has a slight fiber texture, so fine detail is affected a little. In practice, 250-300 DPI is enough. Anything higher is hard for the eye to tell apart
・Visibly fibrous papers (kraft paper, recycled paper, rough art paper, cotton paper): The fibers and paper texture are part of the visual character. 200-250 DPI is already the upper limit. Higher resolution gets swallowed by the paper, so the extra work goes nowhere
Here is a common misconception: some people think that the rougher the paper, the higher the resolution should be, to "make up for it." The opposite is true. Rough paper already hides half the detail with its texture. Forcing in higher resolution only makes the file heavier and slows output, with no visible gain
The rule is simple: the visible detail limit of the paper is the DPI limit worth paying for
How gsm, Surface Treatment, and Fiber Coarseness Affect the Setting
When you break down paper characteristics, three variables mainly decide how much resolution the paper can tolerate: gsm, surface treatment, and fiber coarseness. They affect one another, so in real work you need to look at them together
・gsm (grams per square meter): This affects stiffness and thickness. Thin paper under 100gsm tends to have looser fibers and a less even surface, so resolution requirements drop slightly. Heavy cardstock above 200gsm is usually more finely calendered, so standard resolution settings can apply
・Surface treatment: coated or uncoated. Coated paper, such as coated stock, has a coating layer, so dots stay sharp. Uncoated paper, such as woodfree paper or kraft paper, absorbs ink directly, and edges spread. Coated paper suits higher resolution. Uncoated paper should be brought down one level
・Fiber coarseness: This is the hardest factor to judge by eye, but it is also the key one. Even within art paper, cotton paper has longer, more visible fibers, while wood-pulp art paper is relatively fine. Their tolerance for DPI can differ by as much as 50%
A field example: a client wanted to make a photo book using heavyweight cotton art paper for a tactile feel. The designer prepared every image at 400 DPI, and the total file size reached 1.2 GB. RIP, or raster image processing, which turns files into dot data the press can read, ran all night. In the final print, there was no visible difference between 300 DPI and 400 DPI on cotton paper
In the end, we standardized the images at 300 DPI. The file dropped to 600MB, RIP time was cut in half, and the print quality was exactly the same. That is the value of the "reverse selection" method: work backward from paper characteristics and avoid overprocessing

How Much DPI These Common Papers Actually Need
The table below covers the papers most often seen on the production floor. These numbers are practical recommendations, not absolute rules. But when you are not sure where to start, starting here will not steer you wrong
・Coated paper (gloss or matte coated): 150-250gsm, the mainstay of standard commercial printing. Match it with 300 DPI. Gloss stock can go up to around 350. For high-quality photography or premium catalogs, prepare files at 350 DPI from the file stage
・Woodfree paper (uncoated writing paper): 70-120gsm, often used for inside pages, notebooks, and DM (Direct Mail, direct-mail advertising) inserts. 250-300 DPI is enough. The paper naturally absorbs part of the detail, so raising the resolution brings limited value
・Kraft paper (natural or bleached): 80-150gsm, common for packaging bags, hang tags, and vintage-style designs. Match it with 200-250 DPI. The paper texture itself is part of the design, and too much sharpness can kill the character
・Art paper (cotton, wood pulp, special fibers): Available from 100gsm to 300gsm. Match it with 200-300 DPI depending on surface treatment. The rougher the surface, the lower the number should go
・Pearlescent paper / gold and silver foil paper: Reflective materials, where the key is the interaction between ink and paper rather than fine detail. 200-250 DPI is enough. Too much resolution can distort the metallic sheen
・Synthetic paper (PP / PET): Waterproof and tear-resistant, often used for hang tags and menus. The surface is extremely smooth and can support 300-350 DPI
The core of this matching logic is this: put file-preparation effort in line with what the paper can carry, not with the client's anxiety
Designers often worry, "What if it isn't enough?" so they start everything at 300 DPI. That habit is fine on coated paper. On kraft paper, it is wasted work. The reverse selection method flips the thinking: first check what paper you chose, then decide how much detail the image needs
The Hidden Waste of Overprocessing Is Clearest on the Production Floor
In the jobs I have handled on the production floor over the past decade-plus, the most common waste is not insufficient resolution. It is overprocessing. The three most common cases each represent a different paper type
・Scenario One: a photo book on heavyweight cotton art paper, with original image files at 400-600 DPI and a total file size of 1.2GB. In actual printing, there was no difference between 300 DPI and 400 DPI. After switching to 300 DPI, the file size dropped by 50%, RIP time was cut in half, and quality stayed the same
・Scenario two: a logo design for a kraft paper hang tag. The designer converted a vector file into a 600 DPI raster image, making an 80MB file. Actual printing only needed 200 DPI. After output from the vector file, 2MB was enough. The extra 78MB was work with no payoff
・Scenario three: a large number of illustrations for woodfree-paper inside pages. Every illustration was supplied at 400 DPI, with a total file size of 500MB. After dropping back to 250 DPI, the file became 300MB, and the book felt and looked the same in hand
The common thread in all three cases is this: the paper's own characteristics had already set the ceiling for detail. Preparing beyond that was a bad investment
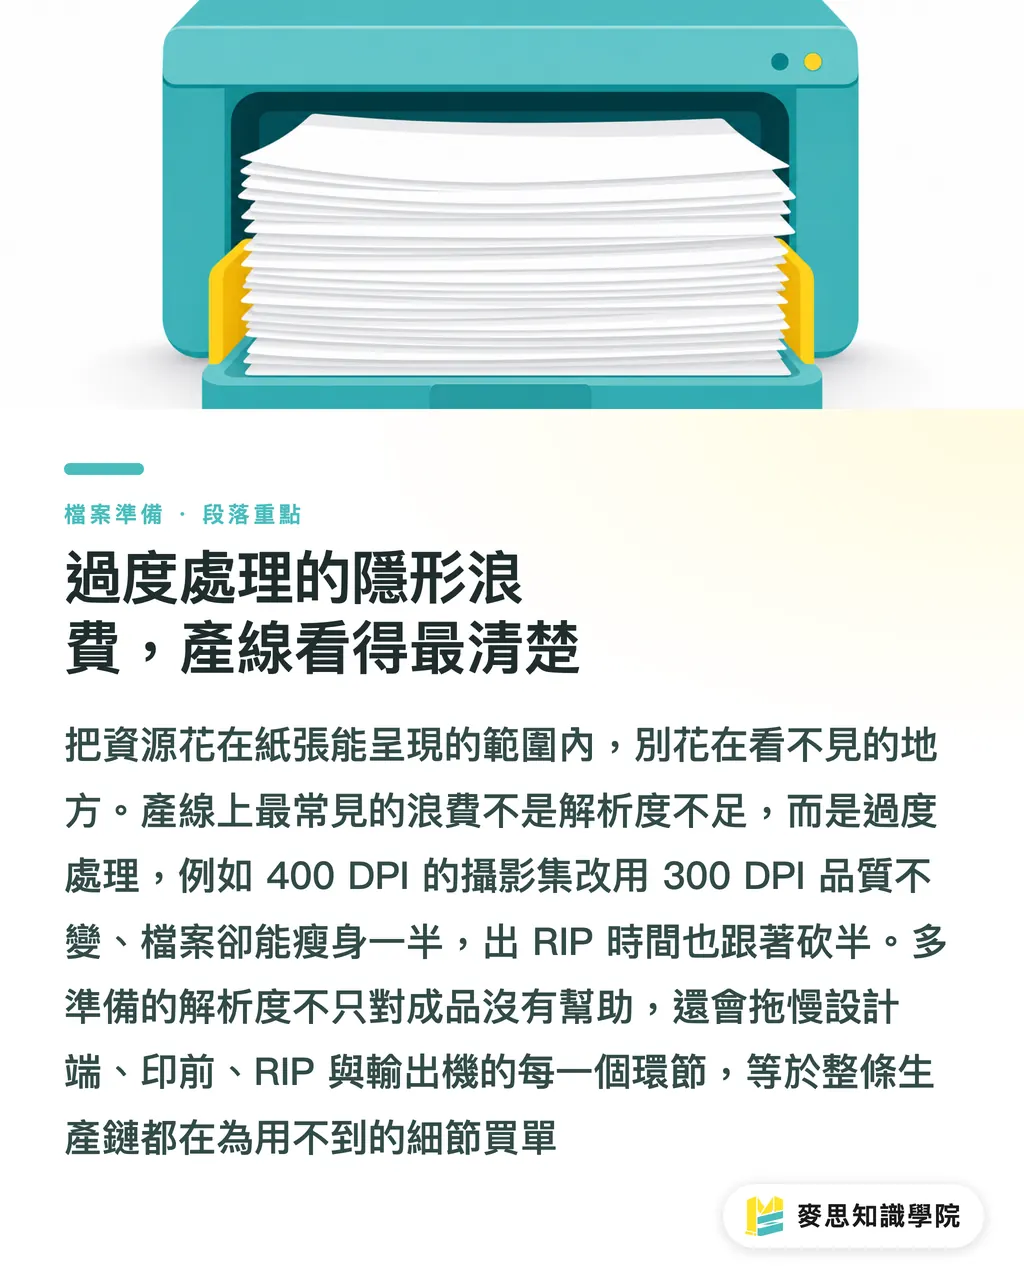
There is another cost in real production that often gets missed: oversized files slow down the entire production chain. Designers' computers get sluggish, prepress checks take longer, RIP processing increases, and output devices run tight on memory. Every step is paying for resolution that will never be used
The core idea of the reverse selection method: spend resources within the range the paper can actually show. Do not spend them where nobody can see the difference
If you need to test print samples on several paper types, you can refer to the paper sample service from MINDS. Holding, seeing, and printing the paper in real life is far more accurate than guessing from a screen
Key Takeaways
・Paper characteristics set the ceiling for resolution. The DPI number is only a design-side setting
・Smooth papers work with 300-400 DPI. Visibly fibrous papers only need 200-250 DPI
・300 DPI for coated paper, 250-300 DPI for woodfree paper, and 200-250 DPI for kraft paper are practical baselines
・Overprocessing is hidden waste. A file can shrink by 50% with no quality loss at all
・Reverse selection method: check the paper first, then decide the image resolution, so resources do not land in the wrong place
Further Thinking
This "working backward from paper to resolution" logic points to a broader decision habit: resource allocation should match the carrying limit, not psychological anxiety
For print manufacturers, turning this method into an internal SOP (Standard Operating Procedure) can help identify overprocessed jobs during prepress checks and cut wasted RIP and output time. For designers, building a "paper → DPI" reference table means that the next time a job comes in, they can ask about the paper first before preparing image files, saving a lot of file-management time
For people working in AI applications and SaaS (Software as a Service), this case is worth studying too. Many tools have a so-called "high-precision mode," but that wording is often just industry jargon, and the actual use case does not need it at all. Naming options in user-centered terms such as "coated paper mode" and "kraft paper mode" is more intuitive than asking users to pick 300 DPI or 600 DPI themselves
A good next step: list the paper types you work with most often, mark the matching DPI range for each, and turn it into a shared team reference table. From then on, whenever a new job comes in, check the paper first and then decide the image settings. Once that habit sticks, blurry printing and overprocessing both go down
Further Reading
FAQ
- Does printing always require 300 DPI?
- No. DPI is a design-side setting. What really determines print detail is the effective pixel count at the final printed size, combined with paper characteristics. Coated paper can match 300 DPI. Kraft paper and art paper are usually fine at 200-250 DPI
- How much DPI does kraft paper printing need?
- 200-250 DPI is already the upper limit. The fiber texture of kraft paper is itself a visual element. Higher resolution gets swallowed by the paper texture, creates no visible difference, and only increases file size
- Does art paper need higher resolution than coated paper?
- It is the other way around. Art paper usually has a rougher surface than coated paper, so the resolution requirement should be lowered. Cotton art paper works at 200-250 DPI. Finer wood-pulp art paper can go up to 300 DPI
- What if an AI-generated image does not have enough resolution?
- First check what paper it will be printed on. Coated paper needs around 300 DPI, and AI output is often short of that. Kraft paper and art paper only need 200-250 DPI, so AI upscaling, meaning enlarging a low-resolution image and adding detail, or even the original image may pass. Raising resolution blindly has no point. Paper capacity is the ceiling
- How do I decide how much DPI a paper should use?
- Use the reverse selection method: first check the paper type, smooth, semi-rough, or visibly fibrous. Then check the surface treatment, coated or uncoated. Finally, check fiber coarseness. These three factors together decide the DPI ceiling. Do not work backward from the DPI number
Related articles





The Print × AI weekly
The print and AI know-how designers, brands and enterprises can use before they commit — one email, every week
MINDS Free Tools
Imposition calculator and preflight file check — free prepress tools, right in your browser.
MINDS Group
Need actual printing or gifting services?
From premium printing to online ordering and festive gifts — the MINDS Group sister brands take it from here.