
Overview
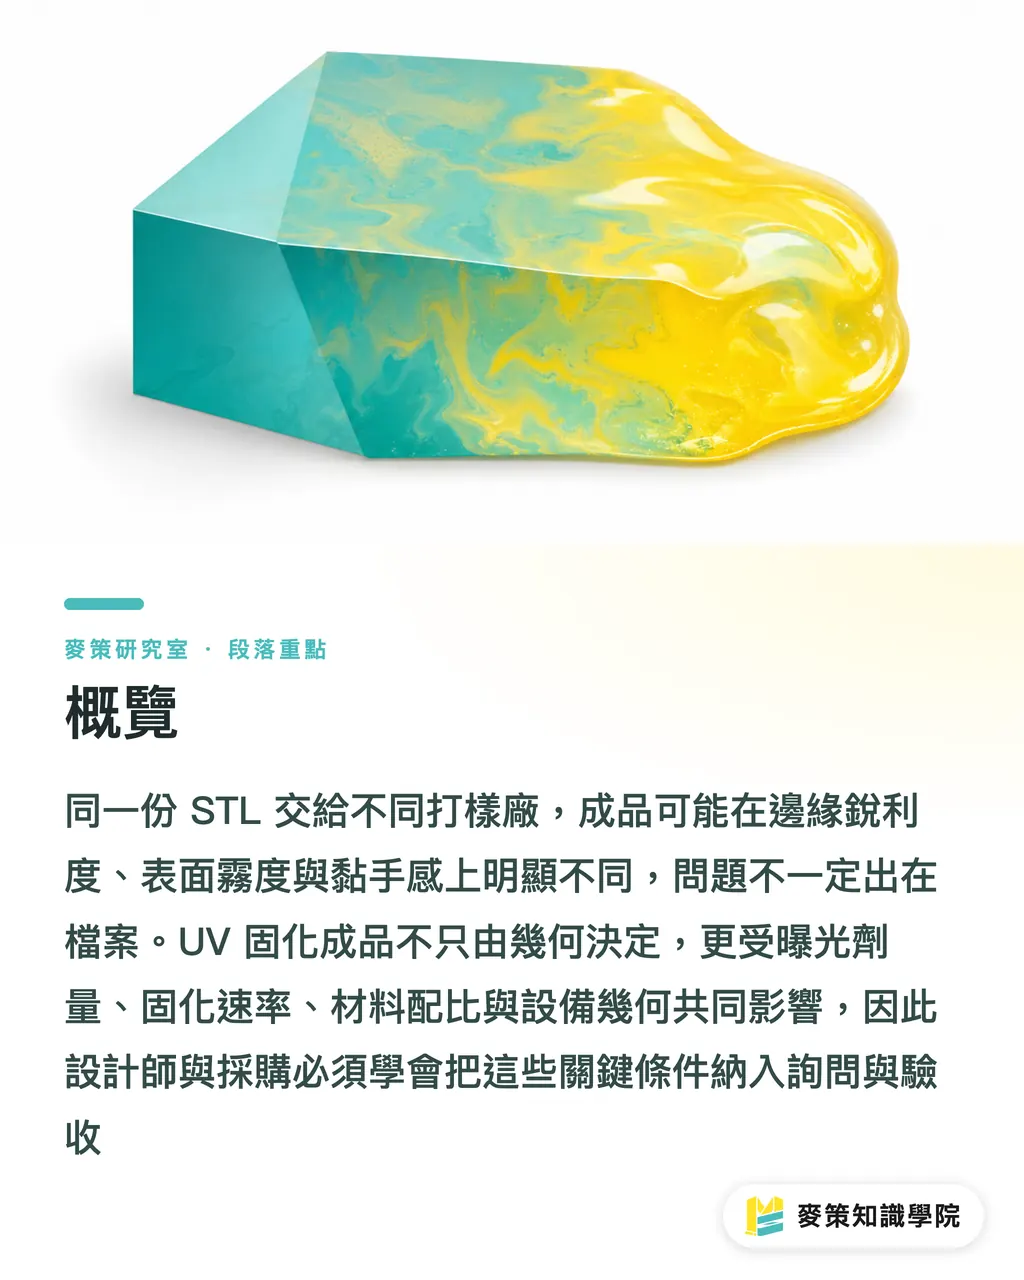
You send the same STL file to two prototyping shops. A week later, two samples that look nearly identical sit on your desk, but measure noticeably differently: one has crisp edges and a matte surface, while the other's contours have rounded off and a fingernail scrape still leaves a tacky feel. You check the file. Nothing is wrong with it
This happens every day with packaging-structure prototypes, product appearance models, and small point-of-sale display pieces. The root of the problem is that we carry over a flat-printing mindset and assume the file we hand over is the specification. But in a UV-curing process, the file describes only the geometry. The final shape of the sample is also affected by exposure dose, curing rate, material formulation, and machine geometry
So what should a designer or buyer who never touches the machine ask and check to bring this under control?
Why Does the Same File Not Mean the Same Finished Part?
Because in a UV-curing system, geometric accuracy is a function of process parameters, not a function of the file
A parameter-optimization study of a UV-curing 3D printing system using a composite made of UV resin and hydroxyapatite particles ran 27 experiments with a Box-Behnken design, scanning four variables together: nozzle orifice diameter, printing speed, layer height, and nozzle-to-material distance. The best combination was a 2.2 mm orifice, a speed of 32.52 mm/s, a layer height of 1.2 mm, and a nozzle distance of 0.5 mm, producing a dimensional error of 3.08% [1]
That 3.08% is the residual error measured under the best parameter settings, not a number measured under a failed condition. For a 100 mm structural prototype, that works out to roughly 3 mm of variation. If the tolerance on your snap-fit, latch, or alignment hole is tighter than that, and you later run into "the prototype passed, but the production part won't fit," look first at whether the tolerance budget allowed for that 3% error
The same study also identifies the process's original motivation: because DIW extrusion forming cured too slowly, the material would shrink first and then crack, which is why a UV light source was introduced to accelerate curing [1]. In plain production-line language, shrinkage and cracking are not material defects. They are a timing gap between the curing rate and the stacking speed. This is the same physical story in two versions as a conventional screen-printed spot UV varnish that is laid on too thick, then cracks and delaminates at the fold. The material is asked to withstand stress before it has stabilized
What Exactly Does Exposure Affect? It Is Not Just About Whether It Is Dry
Many people judge exposure by one thing: whether the surface feels dry. In practice, exposure also affects the finished part's mechanical properties
Not feeling tacky often means only that the surface layer has reached a sufficiently high degree of conversion. Internal cross-linking may still be incomplete. A study on stereolithography photopolymer resins directly examined how UV post-curing affects mechanical properties [5]. Post-curing changes the strength of the finished part, so it cannot be treated as a final quick blast of light
The curing degree can also be actively controlled. One study used control over the curing degree of a hybrid UV-curing resin to enable continuous printing [6], showing that "how far to cure" is an engineering dial, not a binary cured/uncured state. Another route uses projected UV-resin curing to achieve self-supported printing [3], letting the curing sequence take the place of some support structures
Once the curing degree becomes adjustable, different vendors may set it at different points. Shop A cuts post-curing down to 10 minutes to shorten lead time, while Shop B runs it for the full 30 minutes. The two samples may both pass visual inspection, but drop resistance, clamping behavior, and long-term dimensional stability can head in different directions. On the quotation, this field is usually blank
Why Is Material Formulation a Hidden Variable?
Because fillers change how far light travels through the resin, they rewrite every exposure parameter that follows
The composite formulation cited above uses hydroxyapatite at 30% w/v with resin at 100% v/v [1]. Once solid particles are added, light is scattered and absorbed, reducing penetration depth. An exposure setting that works for pure resin may under-cure a high-filler formulation. A study optimizing the curing behavior of Si₃N₄ UV resin treated the curing performance of a ceramic-filled system as a problem requiring its own optimization [4]
For the design side, the implication is direct: "switch to another color" or "use a harder material" is never free. Any change that alters the resin's optical properties, adding colorant, adding filler, or changing transparency, should be treated as a change that triggers a new prototype, not as simply swapping one material code. UV-curing resin can even be engineered to produce continuous color changes in elastomers [2]. That, in turn, shows that color and resin chemistry are tied together. Color is not a coating layer added afterward
What Can Someone Who Never Touches the Machine Actually Verify?
At a minimum, your job brief should spell out critical dimensions, the post-curing record, and consistency within the same batch. All of these can be checked without touching the machine
Four questions to ask when commissioning the job
・What are this machine's layer-height and nozzle-orifice settings? Research has confirmed that both are directly related to dimensional error [1]
・How long is the post-cure, and what light source is used? The effect of post-curing on mechanical properties has been validated [5], so it must be recorded as a process parameter, not left to the technician's feel
・Is the formulation pure resin or does it contain filler? What is the filler ratio? Filler changes curing behavior and needs independent optimization [4]
・When the color or material changes, are the parameters rerun?
Three things to measure at acceptance
・Measure 2-3 functional dimensions, such as snap-fits, hole positions, and wall thickness, rather than judging appearance by eye. Use an error on the order of 3% as a mental baseline [1], then check whether your tolerances are tighter than that
・Take at least 3 pieces from the same batch and compare their spread. A single passing piece tells you nothing about process stability
・Surface re-tackiness, marks left by finger pressure, and dimensional drift after sitting for one week are common visible signs of under-curing. This is a frontline practical judgment, not a conclusion from the literature
I call this Mai Strategy's three-gate print handoff: Gate One, ask about the parameters (who decided them, and where are they recorded). Gate Two, check variation (don't compare the best piece, compare the worst). Gate Three, track changes (any material or color change is treated as a new job). All three gates address the same thing: put the invisible process parameters into the contract so they can be traced later
Closing: Clarify the Tolerances Before Discussing Lead Time
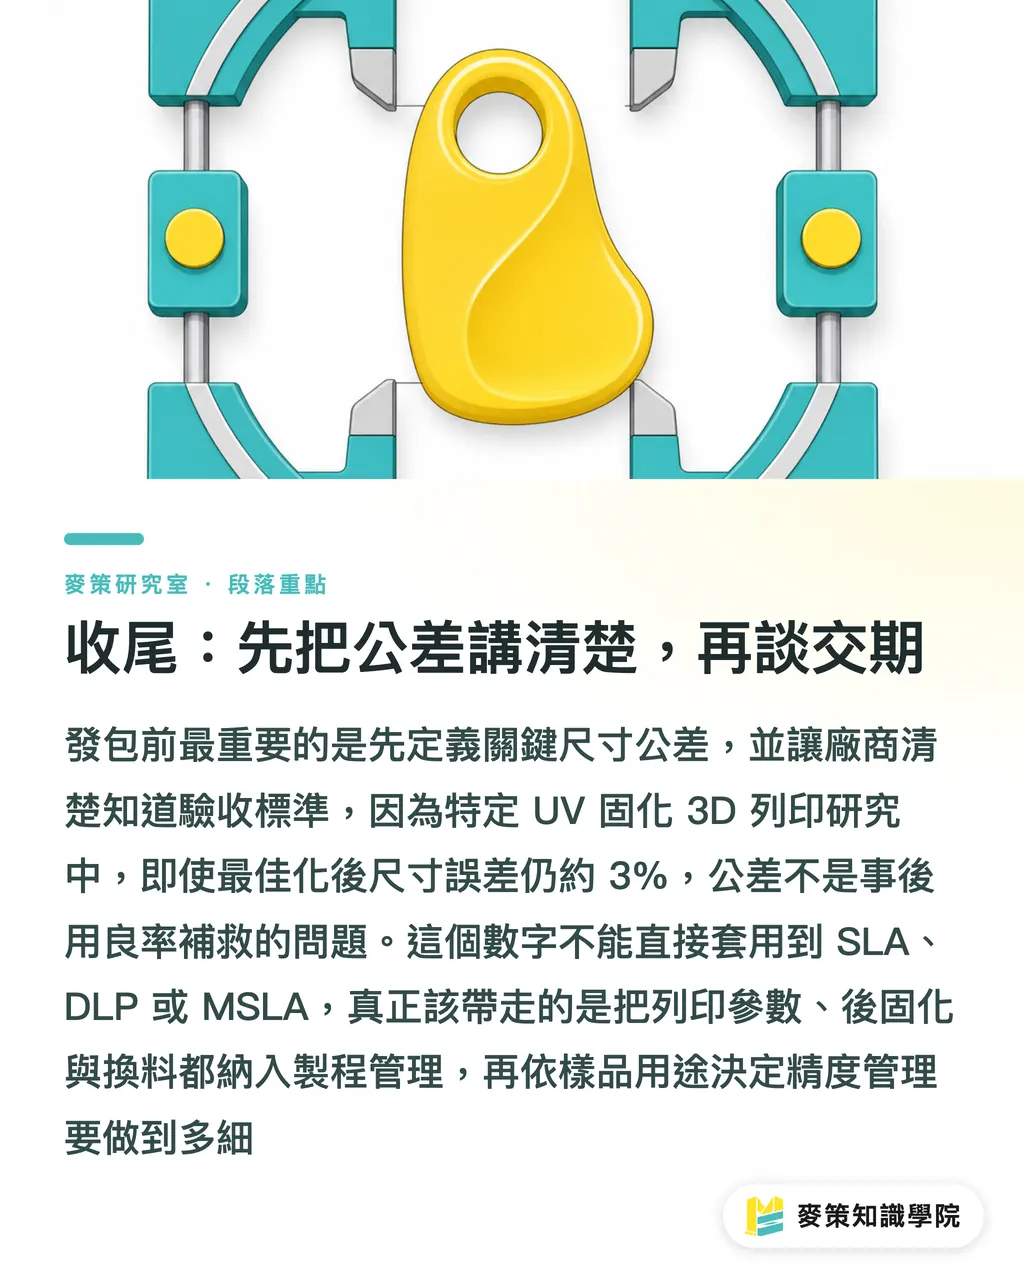
If you do only one thing, settle the tolerances for your critical dimensions before placing the order and make sure the vendor understands them. In UV-curing 3D printing, even the dimensional error after systematic optimization remains in the 3% range [1]. That means tolerances are the design team's responsibility, not a vendor yield problem. If the tolerances are not written down, no one can be held accountable for acceptance
Scope boundary: The data above comes from a specific DIW + UV-curing system and a specific composite formulation [1]. It cannot be applied directly to other UV-curing routes such as SLA, DLP, or MSLA, where the accuracy range and sources of error differ. The 3.08% figure cannot simply be carried over. What can be carried over is the management practice: treat parameters as variables to control, keep a process record for post-curing, and put material changes through change control. Also, if you only need to confirm volume or communicate the form, you can skip this entire acceptance process. How much effort to invest in accuracy management depends on what the sample is for next
Key Takeaways
Finished-part accuracy in UV-curing 3D printing is determined by process parameters. The same STL can produce different results under different settings [1]
Even after systematic optimization, dimensional error still reached 3.08%, so the design team must define critical-dimension tolerances clearly up front [1]
Post-curing is not a finishing touch. It is a process step that changes mechanical properties and should be recorded and compared [5]
Adding fillers or colorants changes the resin's optical properties and curing behavior. A material or color change should be treated as a new job that requires a new prototype [4]
Acceptance should focus on variation across multiple pieces from the same batch and measured functional dimensions, not a visual check of one piece
Further Thoughts
For print and manufacturing operations, UV-curing 3D printing is bringing "parameters are the specification" into the open. In the past, print shops sold a sequence of operations. Going forward, they will need to sell reproducible parameter sets and the corresponding tolerance commitments. That means putting exposure dose, post-curing duration, and material-batch number into the work order instead of leaving them in the technician's head. For designers, the focus of DfM is shifting from shape feasibility to tolerance awareness. Whether you can mark out during modeling which dimensions are functional and which are cosmetic will determine how many rounds of back-and-forth follow the order. AI has a clear entry point. Parameter optimization is fundamentally a multifactor response-surface problem [1], and experimental design and surrogate modeling are a natural fit for machine learning. It is worth starting with the low-risk use case of using historical prototyping data to infer parameter recommendations. At the SaaS layer, there is an unfilled gap: there is currently no standard format for recording what parameters were used to produce a given sample. If parameter records, batch traceability, and acceptance measurements could be linked in an exchangeable data structure, prototype quality could shift from an individual vendor's tacit know-how to an industry-comparable metric. The open question is how vendors willing to disclose their parameters can avoid concerns about technology leakage. This is as much a business-trust problem as a technical one
References
[1] Hoten, Tontowi, and Herianto (2027). Optimization of Process Parameters in a Newly Developed UV-Curing 3D Printing System for Printed (UV Resin/HA Particle) Composites. International Journal of Engineering. DOI: 10.5829/ije.2027.40.01a.16
[2] Gao Y., Jiang Q., and Liu Y. (2025). A 3d Printing Uv-Curing Resin that Enables Continuous Color Change of Elastomers. DOI: 10.2139/ssrn.5093607
[3] Mizuno Y., Pardivala N., and Tai B. (2018). Projected UV-resin curing for self-supported 3D printing. Manufacturing Letters. DOI: 10.1016/j.mfglet.2018.09.005
[4] Cao C., Wang C., and Zhao Z. (2019). Optimization of Curing Behavior of Si3N4 UV Resin for Photopolymerization 3D Printing. IOP Conference Series: Materials Science and Engineering. DOI: 10.1088/1757-899x/678/1/012013
[5] Bouchareb S. and Doufnoune R. (2025). Effect of UV post-curing on the mechanical properties of photopolymer resin in stereo-lithographic 3D printing. Materials Letters. DOI: 10.1016/j.matlet.2025.138587
[6] Kang X., Li X., Li Y. et al. (2021). Continuous 3D printing by controlling the curing degree of hybrid UV curing resin polymer. Polymer. DOI: 10.1016/j.polymer.2021.124284
FAQ
- Why do finished parts differ when the same 3D file is sent to different vendors?
- Because accuracy in UV-curing 3D printing depends on process parameters, not the file itself. Nozzle orifice diameter, printing speed, layer height, and nozzle-to-material distance all affect dimensional error. Even after systematic optimization, the error was still 3.08% [1]
- What is the typical dimensional error in UV-curing 3D printing?
- In a study of a DIW + UV-curing system that used a Box-Behnken design for 27 experiments, dimensional error under the best parameter combination was 3.08% [1]. This figure applies only to that specific system and material formulation. Other routes, such as SLA and DLP, have different error ranges
- Can post-curing be skipped?
- It is not recommended. Research has shown that UV post-curing affects the mechanical properties of photopolymer resin [5]. That means post-curing duration and light-source conditions are process variables that change finished-part strength. They should be recorded and compared between vendors, not left to the operator's feel
- Does changing the resin color require a new prototype?
- Yes. Colorants and fillers change the resin's optical properties and curing behavior. Ceramic-filled systems require independent optimization of curing parameters [4], so changing color or material should be treated as an engineering change that triggers a new prototype
- How should a designer who does not understand the machine inspect a 3D-printed sample?
- Measure three things: choose 2 to 3 functional dimensions, such as snap-fits, hole positions, and wall thickness, and measure them instead of judging by eye. Take at least 3 pieces from the same batch and compare their variation. Look for surface tackiness, marks left by finger pressure, and dimensional drift after one week as initial signs of under-curing
Related articles



The Print × AI weekly
The print and AI know-how designers, brands and enterprises can use before they commit — one email, every week
MINDS Free Tools
Spine width and imposition calculators — skip the manual math, free in your browser.
MINDS Group
Need actual printing or gifting services?
From premium printing to online ordering and festive gifts — the MINDS Group sister brands take it from here.