

Why do the nice shadows on screen shift color in print?
This is one of the most unfair rejections I have seen on the production floor: a designer sends over a Logo with a soft drop shadow. On screen, the layers look clean. In print, the shadow edge picks up a gray-white box around it
The root cause is that a transparency effect is a "live" calculation, not a fixed pixel or vector object
Shadows, feathering, outer glows, and blending modes are all things Illustrator calculates in real time: "What should this semi-transparent area look like when it sits on top of the object underneath?"
The problem is that PostScript and older PDF workflows used in traditional printing, the same logic behind PDF/X-1a, do not understand "transparency" at all. They only understand solid color blocks and opaque objects
So at the moment you send the file to print, those live transparency effects have to be "flattened" into something the printer can understand. That process is called flattening
During flattening, the software does two things: it cuts overlapping areas into independent small regions, then decides which regions stay as vectors and which ones become raster images. Color shifts and banding almost always happen where that cutting and conversion meet
What is the real difference between low, medium, and high resolution presets?
Illustrator has three built-in "Flatten Transparency" presets. The difference is not just image quality. It is a tradeoff between "how much vector data is preserved" and "the rasterization resolution."
・Low Resolution: rasterization is only 72 ppi, and most objects are converted to raster. It is fine for screens or internal rough drafts. Send it to print and it will look blurry
・Medium Resolution: about 150 ppi, meant for proofs, copiers, and office output. It is not enough for final print production
・High Resolution: 300 ppi or above, with vectors preserved as much as possible. This is the setting commercial printing should use
There is one number I repeat constantly in real production work: raster image resolution for print should match twice the output line screen, measured in lpi. A common color print screen is 150 lpi, so the matching resolution is 300 ppi
The real point of choosing the High Resolution preset is to keep vector elements such as text and lines from being rasterized whenever possible. Once text becomes a 300 ppi raster image, the edges start to look fuzzy when enlarged. That is also why small type in some files prints especially soft
Which areas get rasterized without you noticing? How can you spot them first?
The most dangerous part of flattening is that it makes decisions behind your back, and you may not notice before handing off the file
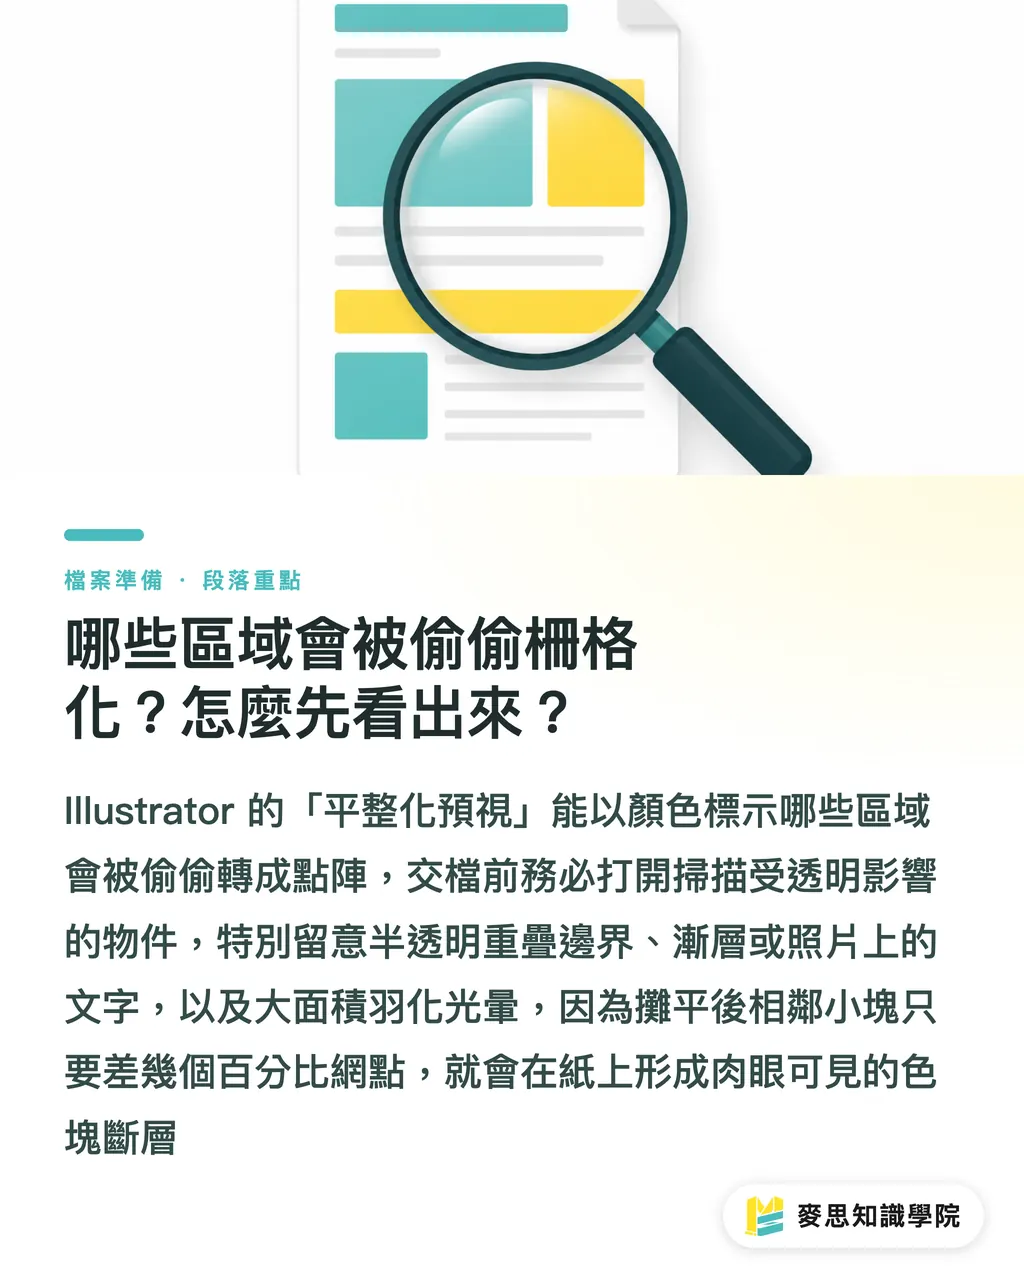
Illustrator does give you a way to reveal it: Flattener Preview under the Window menu. It can mark the layout with colors, showing which areas stay vector, which ones will become raster, and which objects are affected by transparency
When I train new designers, I always require one move: before handoff, open Flattener Preview and scan the file with "transparent objects" highlighted
Focus on three kinds of areas:
・Boundaries where semi-transparent objects overlap underlying objects. These are the easiest places for visible cut lines to appear
・Text sitting on top of gradients or photos. If the text gets rasterized, you need to raise the resolution or change the structure
・Large feathered areas or glows. After flattening, they often produce color block edges that the eye can see
The physical cause of color shifts is hidden right there: flattening takes one continuous semi-transparent area, cuts it into several adjacent pieces, and calculates each piece separately. Even a one or two percent dot difference between neighboring pieces can print on paper as visible "banding."
Why does PDF/X-4 remove half the headaches around flattening?
Instead of fighting flattening right before output, the smarter move is to use a format that supports live transparency: PDF/X-4
PDF/X-1a is a specification from the 2001 era, and it forces all transparency to be flattened. PDF/X-4 keeps live transparency and leaves the decision of "whether to flatten and how to flatten" to the print shop's RIP, the raster image processor, at the final output stage
This brings two real benefits:
・Flattening happens only after the resolution and press characteristics are known, so the risk of color shifts at cut boundaries is much lower
・The file keeps more editing flexibility, giving the print shop more room for small adjustments
But here is the on-site truth: PDF/X-4 only works if the other side's RIP can handle that specification. Many small and mid-sized print shops in Taiwan still run older equipment. Live transparency may error out or get flattened in messy ways by the RIP itself
So asking "Do you accept PDF/X-4?" before handoff is far more useful than arguing over a rejected job afterward. If the shop confirms it is an older workflow, flatten the file on your side with high resolution settings, then include a preview image of the flattened result
Why is Multiply plus CMYK black a print trap?
The blending mode that causes the most trouble is Multiply, especially when paired with CMYK black
Multiply works by multiplying the colors of the upper and lower layers, so the result is always darker. Designers often use it for overprint-like shadows or stamp effects, and it looks natural on screen
The issue is how black is defined. If that black is rich black, such as C40 M30 Y30 K100, and it is set to Multiply over a color image, the total area coverage, or TAC, can easily blow past the press limit. For coated paper, the total ink limit is usually around 300% to 340%. Go beyond that and the print may not dry, may set off on the back of the next sheet, or may turn into a muddy mess
More hidden than that: Multiply areas are always cut and recalculated during flattening, and dark color shifts at the joins are much more obvious than light ones
My safe method comes down to three moves:
・Use single-color black, K100, for pure black text and lines. Do not apply blending modes to them
・If you really need Multiply for color stacking, first confirm that the object's total ink coverage stays within the machine limit
・Before final artwork handoff, expand the Appearance, under the Object menu, so effects become actual fills and paths. This gives the RIP less room to guess
I also recommend managing effect layers separately. Keep live effects during design so they remain easy to adjust. For the final output version, save a separate copy, expand the effects, and check Flattener Preview. Store the editable version and the output version separately. You keep editing flexibility and still hand the print shop a clean file it will not misread
Key Takeaways
・Transparency effects are "live calculations." Older print workflows do not understand them, so they must be flattened into color blocks or raster data before printing
・For commercial printing, choose the High Resolution flattening preset, align it with 300 ppi, which is twice 150 lpi, and preserve vectors whenever possible
・The physical reason for color shifts and banding is that flattening cuts a continuous semi-transparent area into adjacent pieces and calculates their colors separately
・Before handoff, open Flattener Preview and check the three main risk zones first: text over images, semi-transparent boundaries, and large feathered areas
・If the equipment is new enough, use PDF/X-4 and let the RIP handle flattening. If the equipment is old, flatten on your side at high resolution and include a preview
Further Thinking
The real issue behind transparency problems is a gap in how the design side and the output side understand what a "file" is. The designer sees a real-time rendered image. The press sees fixed ink dots. Closing that gap does not require more expensive software. It depends on one or two checks before handoff. For small and mid-sized businesses and design studios, I recommend adding "scan with Flattener Preview" and "confirm whether the vendor accepts PDF/X-4" to the standard handoff checklist. Those two steps alone can block most transparency-related rejections. If your team is not large enough to support a dedicated print production role, work with an integrated partner willing to run prepress checks at file intake, instead of blindly sending the file straight to the press. The long-term savings on reprints will be much higher than you expect
FAQ
- Which resolution should I choose for Flatten Transparency in Illustrator?
- For commercial printing, always choose the High Resolution preset, with rasterization at 300 ppi or above and vectors preserved as much as possible. Medium Resolution, about 150 ppi, is only suitable for proofs or office output. Low Resolution, 72 ppi, will look blurry in print
- Why do transparency effects print with white edges or gray boxes?
- Because flattening cuts semi-transparent areas into adjacent small pieces and calculates their colors separately. Dot differences at those joins become visible edges or banding on paper. Open Flattener Preview and check overlap boundaries first to catch the issue early
- Should I send print files as PDF/X-4 or PDF/X-1a?
- If the equipment supports it, use PDF/X-4. It keeps live transparency and lets the print shop's RIP handle flattening at the final stage, which lowers the risk of color shifts. If the shop runs an older workflow that only accepts PDF/X-1a, flatten at high resolution on your side before handoff
- Why can Multiply ruin black in print?
- Multiply makes the upper and lower colors multiply together, which darkens the result. When rich black sits over a color image, it can push total ink coverage past the machine limit, about 300% to 340% on coated paper, causing drying problems or muddy print. For pure black, use K100 single-color black without blending modes
- How do I check transparency effects before file handoff?
- Use Flattener Preview in the Window menu and highlight "transparent objects." Scan three areas first: text over images, semi-transparent boundaries, and large feathered areas. For the final output version, expand Appearance so effects become real fills and paths, then save it separately from the editable version that keeps live effects
Related articles




The Print × AI weekly
The print and AI know-how designers, brands and enterprises can use before they commit — one email, every week
MINDS Free Tools
Imposition calculator and preflight file check — free prepress tools, right in your browser.
MINDS Group
Need actual printing or gifting services?
From premium printing to online ordering and festive gifts — the MINDS Group sister brands take it from here.