

How to Align AI-Generated Images on Packaging Dielines
If the die-cut dieline never lines up, check perspective distortion and bleed boundaries first. This is the AI artwork trap I see most often when advising clients at Mai Strategy Knowledge Academy
Lately, more and more e-commerce planners have been taking polished AI-generated scene images, pasting them straight onto box dielines, and sending them to print. Once they hit production, things often stop lining up
AI-generated images can look stunning, but at this stage they still lack a precise sense of 3D space and physical structure
To turn a flat AI image into tangible 3D packaging, you have to personally check the spatial perspective, fold-line alignment, and safe bleed area
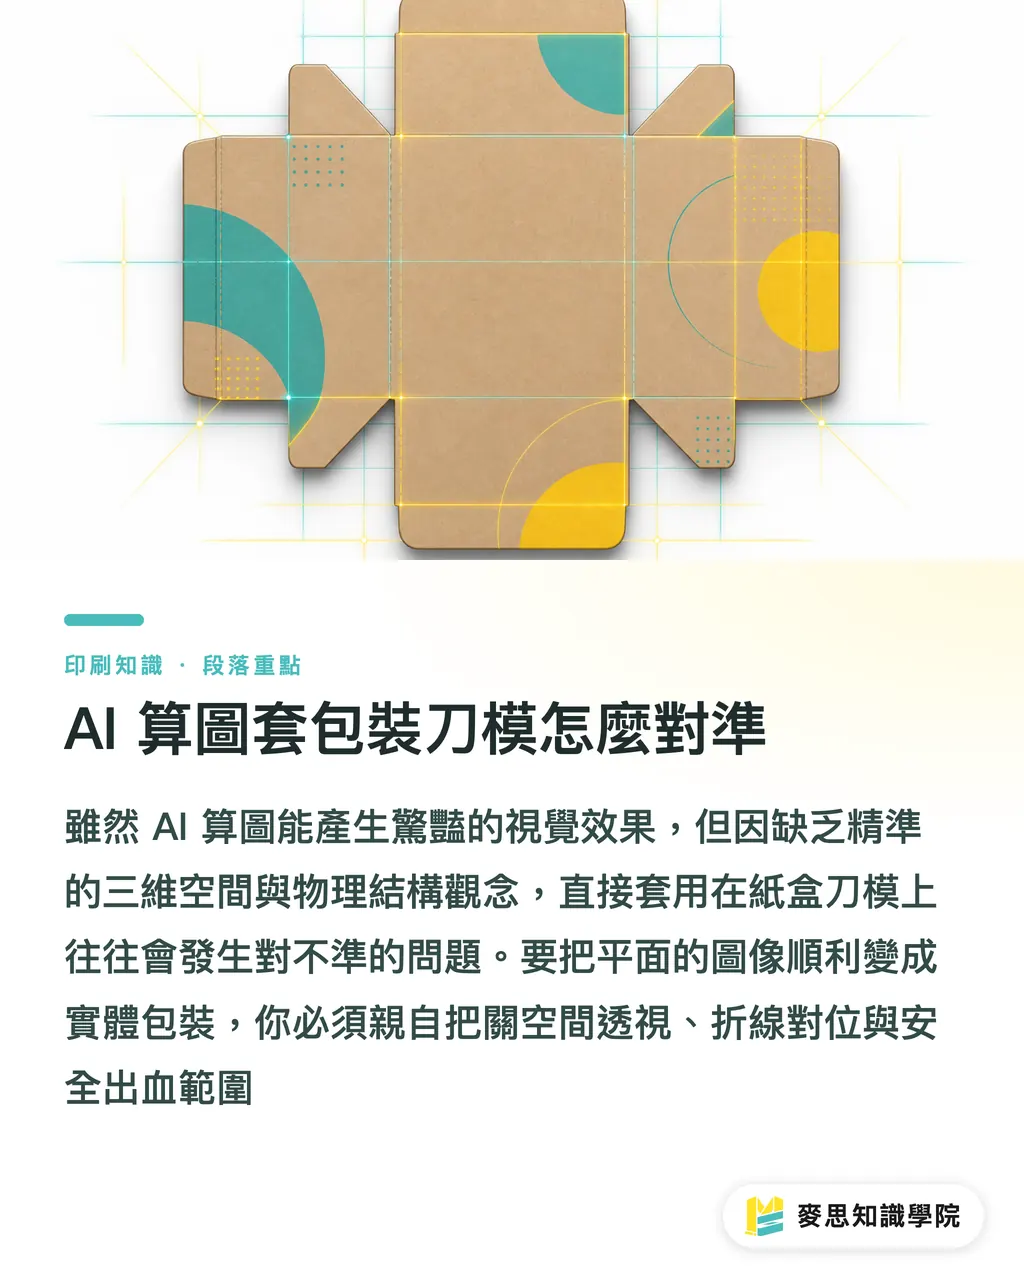
Why Patterns Crossing Fold Lines Never Quite Connect
This comes down to the gap between a 3D structure and its flat projection. When a product image with perspective is forced across a right-angle fold line on a dieline, the visual break is unavoidable
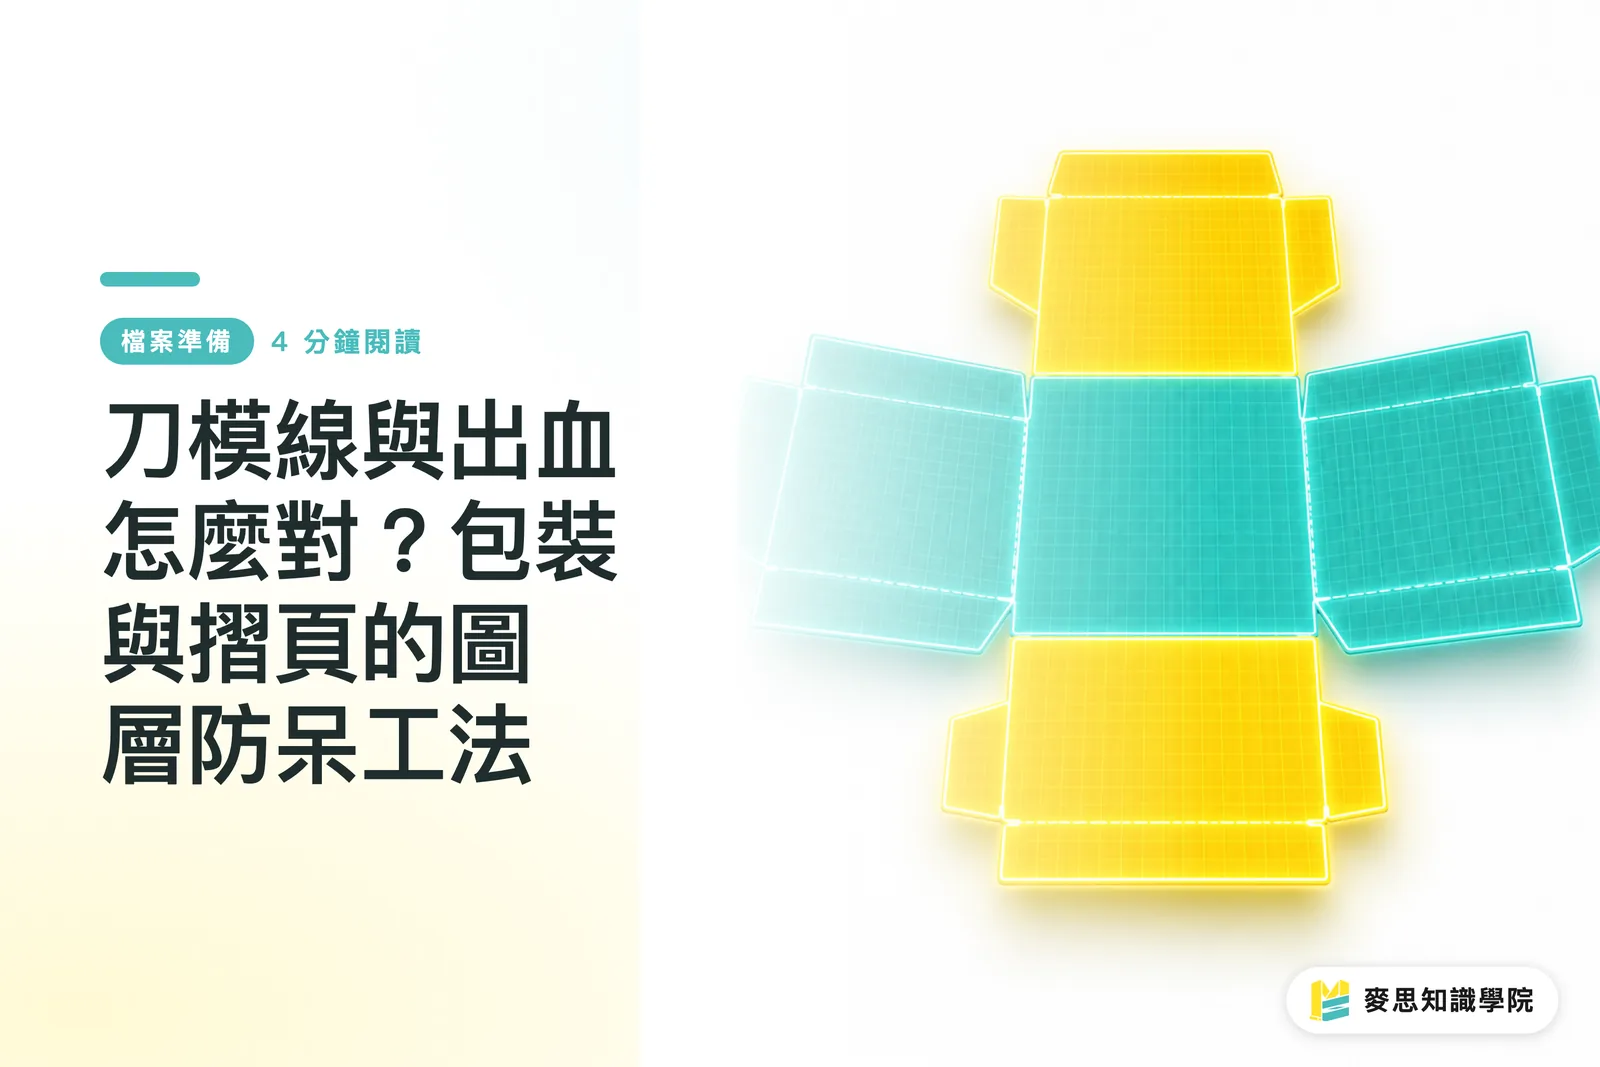
A paper box dieline is a completely flattened 2D layout, filled with crease lines and cut lines
・This is especially true for the side skirts of lid-and-base boxes or double-door boxes. If the artwork is not geometrically corrected along the fold lines during finalization, the edges will skew after folding
・Dielines from the print shop often look like unreadable maps. Crease lines and imposition instructions can easily trip up beginners and get files rejected
My method is to define the main visual faces of the packaging first, usually the front and the top, then ask the designer to get the perspective right in those core areas
For the sides and back, I usually switch to solid colors or non-directional background textures as a transition, avoiding the danger zone where cross-panel graphics meet at fold lines
Why AI-Generated Edges Cannot Be Used Directly as 3mm Bleed
Bleed: the extra image or graphic area extended beyond the final trim size to prevent white edges after cutting. In Taiwan, the industry standard is usually 3mm on all four sides
Many beginners assume that filling out the canvas with generative fill can stand in for bleed. In practice, sending that straight to print is often a disaster, because retouching tools tend to create elements at the edges that should not be there
・For example, you only wanted to extend a wood-grain tabletop, but half a cup appears near the edge
・Once the cutter shifts by even 1mm, that half cup turns into an ugly flaw on the edge of the package
Dieline: the cutting die and design drawing used for die-cutting printed materials. It includes cut lines and crease lines, and determines the final 3D structure and dimensions of the packaging
For this kind of file, the safest way to handle bleed is still traditional retouching. Use a clone stamp or mirrored extension to make sure the 3mm area contains only clean background and base color
MINDS (MS) Three Print-Ready Checks: Turning AI Images Safely into Production Files
To turn generated image files into physical packaging without surprises, I have put together a practical workflow
If you still are not confident about your final artwork, you can also ask the consulting team at Mai Strategy Knowledge Academy to review the layer setup and structural settings
The three print-ready checks used by MINDS (MS, mid-to-high-end fully custom commercial printing):
・Check 1, define the safe zone for the main visual: on the primary face of the dieline, inset 3mm to 5mm to mark the safe area, making sure key visual elements will not be damaged by crease lines
・Check 2, break down and rebuild perspective: do not try to wrap one image around the whole package. Split the generated assets into separate objects and backgrounds, then rebuild the 3D perspective with flat-layout logic
・Check 3, clean up the bleed edges: carefully inspect the 3mm area beyond the trim line, manually remove any generated clutter that could disrupt the visual, and make sure the artwork still connects naturally if the cutter shifts
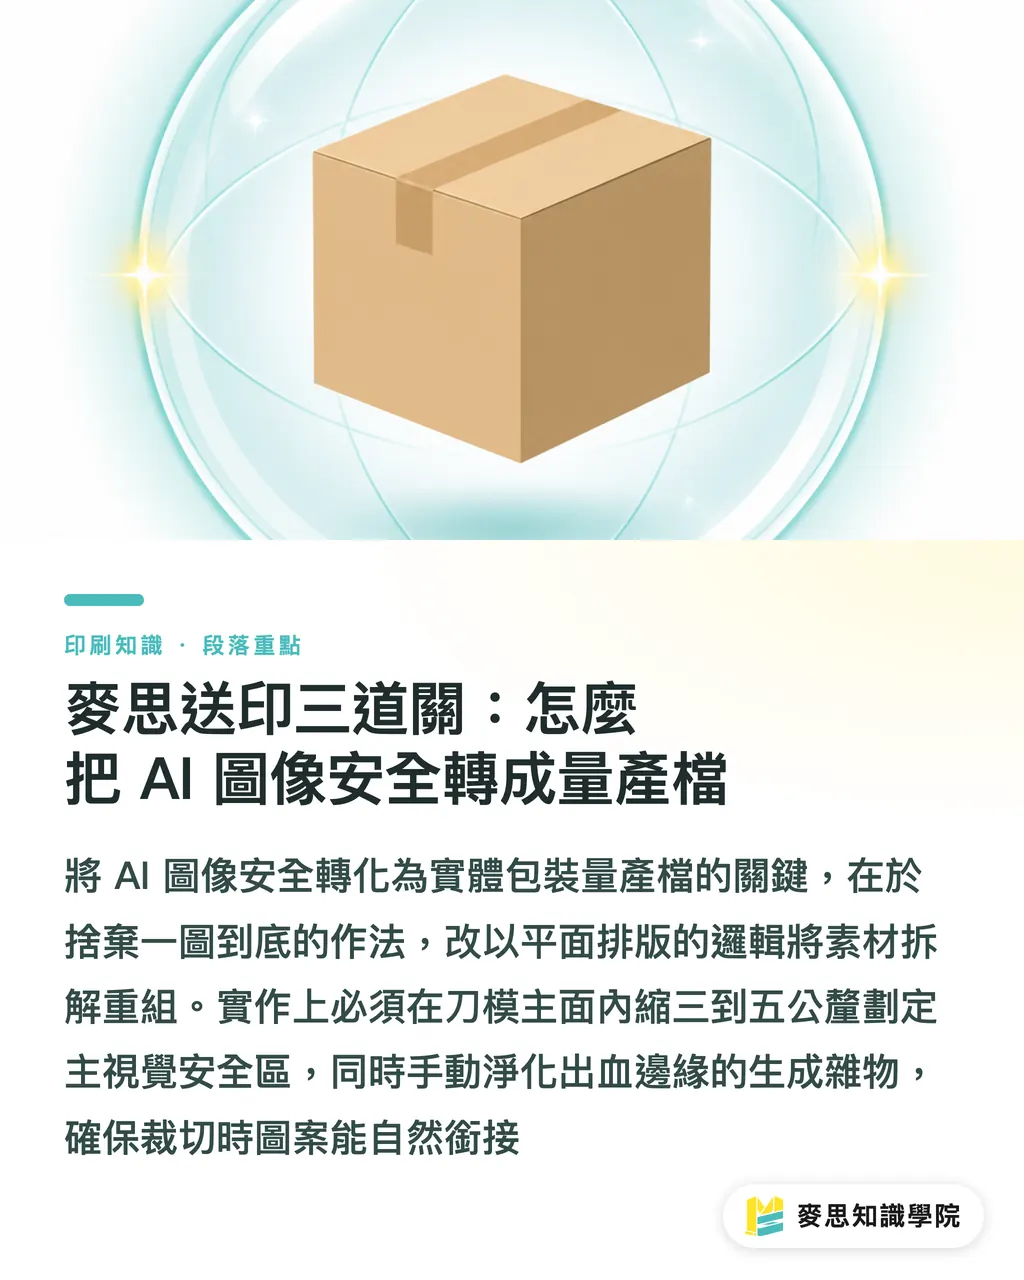
Key Takeaways
・AI is good at flat visuals, but it does not understand physical 3D structure. Before placing an image onto a dieline, you have to manually correct the perspective gap
・Patterns that cross packaging fold lines are a danger zone in final artwork. Use non-directional textures as transitions on side skirts and back panels whenever possible
・Generative fill cannot be used directly as 3mm bleed. Extra objects appearing at the edges can cause visible trimming defects
Further Thoughts
Recently, I have felt this very clearly: the faster the tools get, the stronger your fundamentals in the back-end production process need to be
AI can save us a lot of time in the early proposal stage, but the final mile, turning the idea into mass production, still depends on respect for print specifications
The next opportunity for software developers may not be generating prettier images. It may be building workflows that can read dieline layers and automatically clean up bleed edges
This is also why more and more clients, after design approval, choose to hand the final print engineering checks to teams like MINDS, with fully custom commercial printing experience
FAQ
- What should I do if I cannot understand the dieline from the print shop?
- Beginners can first try giving the file to an AI model with visual recognition and ask it to translate the red and black lines into cut lines and fold lines. Confirm which area is the front before placing the artwork
- Can AI help create a brand-new paper box dieline structure?
- Not yet. Packaging structure involves paper thickness, locking-tab load capacity, and physical limits in die-cutting. It is better to start with an existing standard dieline and make small adjustments
- Why is the print still crooked when I placed the artwork along the dieline?
- Die-cutting always has tolerance, usually around plus or minus 1mm to 2mm. Besides getting the perspective right, you also need to make sure important visuals are not placed tightly against crease lines
Related articles

The Print × AI weekly
The print and AI know-how designers, brands and enterprises can use before they commit — one email, every week
MINDS Free Tools
AI background removal, brand stamping, and a LINE sticker maker — free design tools, right in your browser, no upload.
MINDS Group
Need actual printing or gifting services?
From premium printing to online ordering and festive gifts — the MINDS Group sister brands take it from here.