
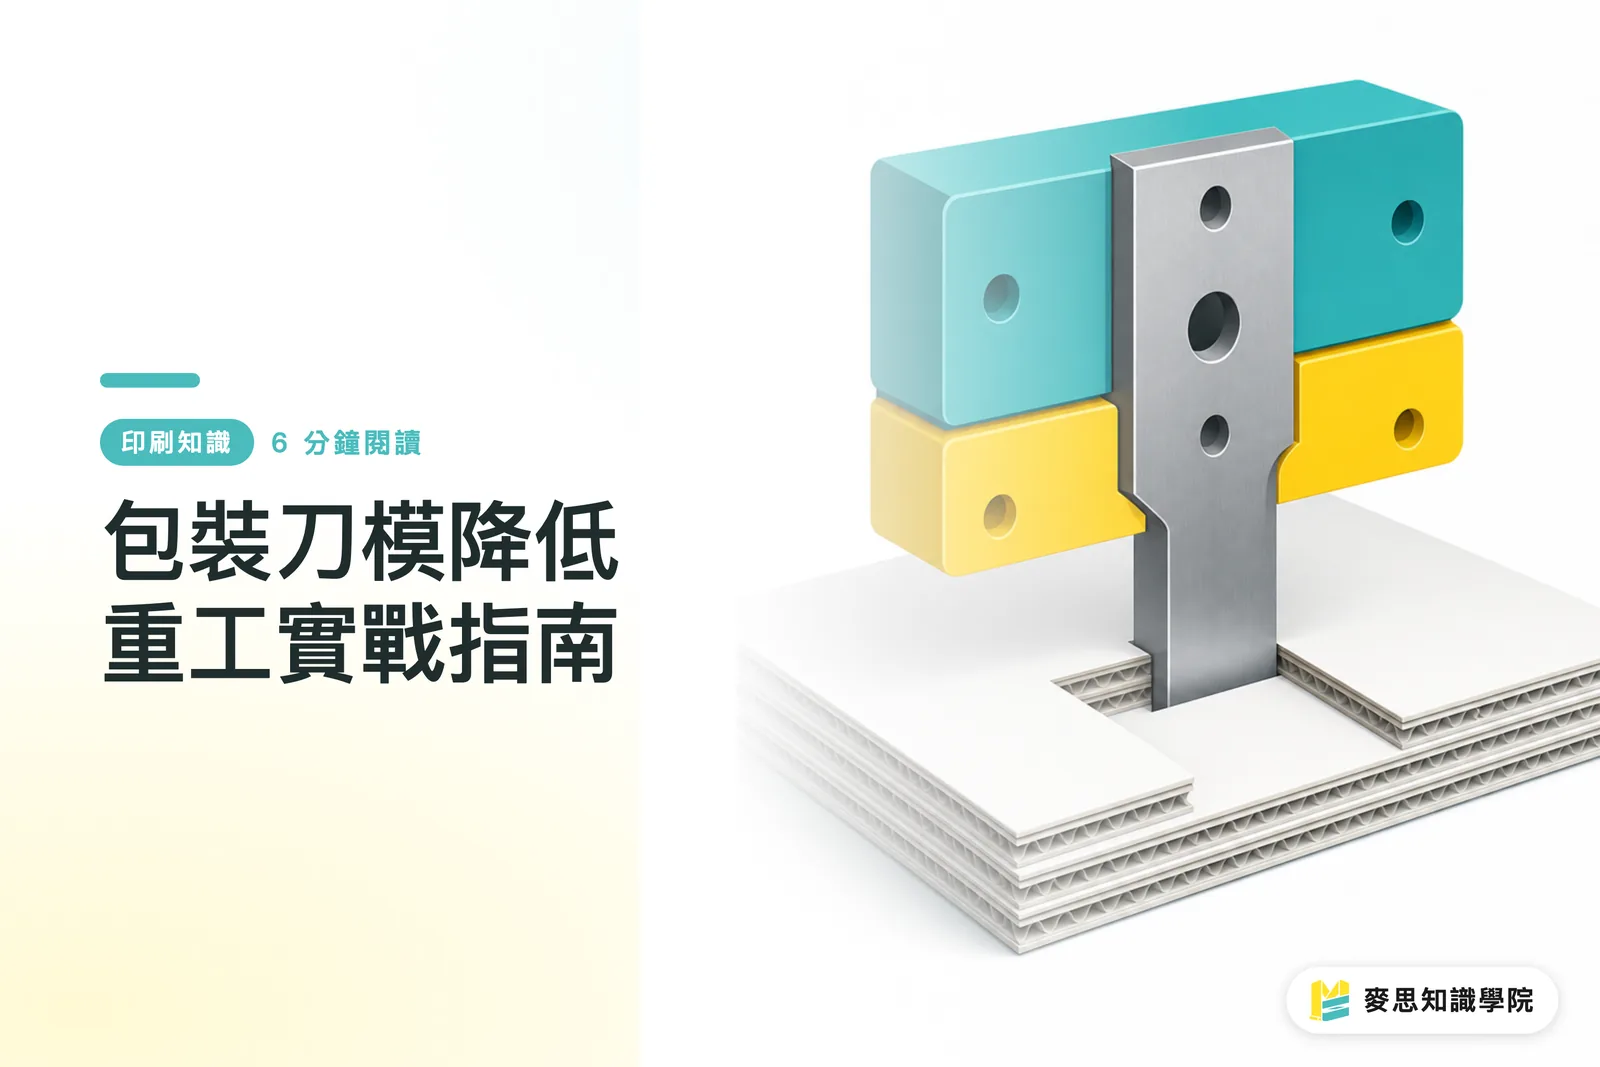
So, What Exactly Is a Packaging Die?
If you want to cut down on rework with packaging cutting dies, treat the cut lines, fold lines, glue tabs, holes, corner radii, unfolded dimensions, and assembly direction as one structural checklist. The three-gate preflight that MINDS (MS, mid- to high-end fully customized commercial printing) runs goes structure first, then layers, then stock and a test fold
A cutting die is the production reference used to cut paper, board, or sticker stock into a specific shape. It normally covers cut lines, fold lines, holes, and glue positions, and it directly drives finished size, assembly order, and how stable the run is
I've watched it happen on the floor too many times, the artwork looks beautiful, the die file looks aligned, and then the moment it hits die-cutting or gluing, you find a snap fit that's off by one sheet thickness, a hang hole that's too close to the edge, or sticker corners that are too tight for waste stripping
A die can't just be checked for whether the lines are drawn. You have to see whether seven things actually lock together
・Cut lines: set the outer profile, carton outlines, hang tag silhouettes, sticker shape edges all live here
・Fold lines: set the angles for forming the box. Cracking folds and folds that won't behave usually start here
・Glue tabs: hold the glued seam together on the folder. Too narrow and the seam pops; too wide and it eats into the layout
・Holes: hang-tag eyelets, tag holes, window cutouts, you have to look at load and visual placement at the same time
・Corner radii: common on shaped cards and stickers. Radii that are too small raise the risk of die failure, tearing, and messy waste stripping
・Finished unfolded dimensions: not the front face, you also need the sides, base, locking tabs, and glue flap
・Actual assembly direction: left-right flip, top-bottom lid, inside-outside mix-up, even perfect printing can't rescue that
If the job has already moved into mid- to high-end custom packaging, it's worth handing the die file and the stock specs to MINDS before you send the RFQ out, especially when the project mixes folding cartons, hang tags, and shaped cards
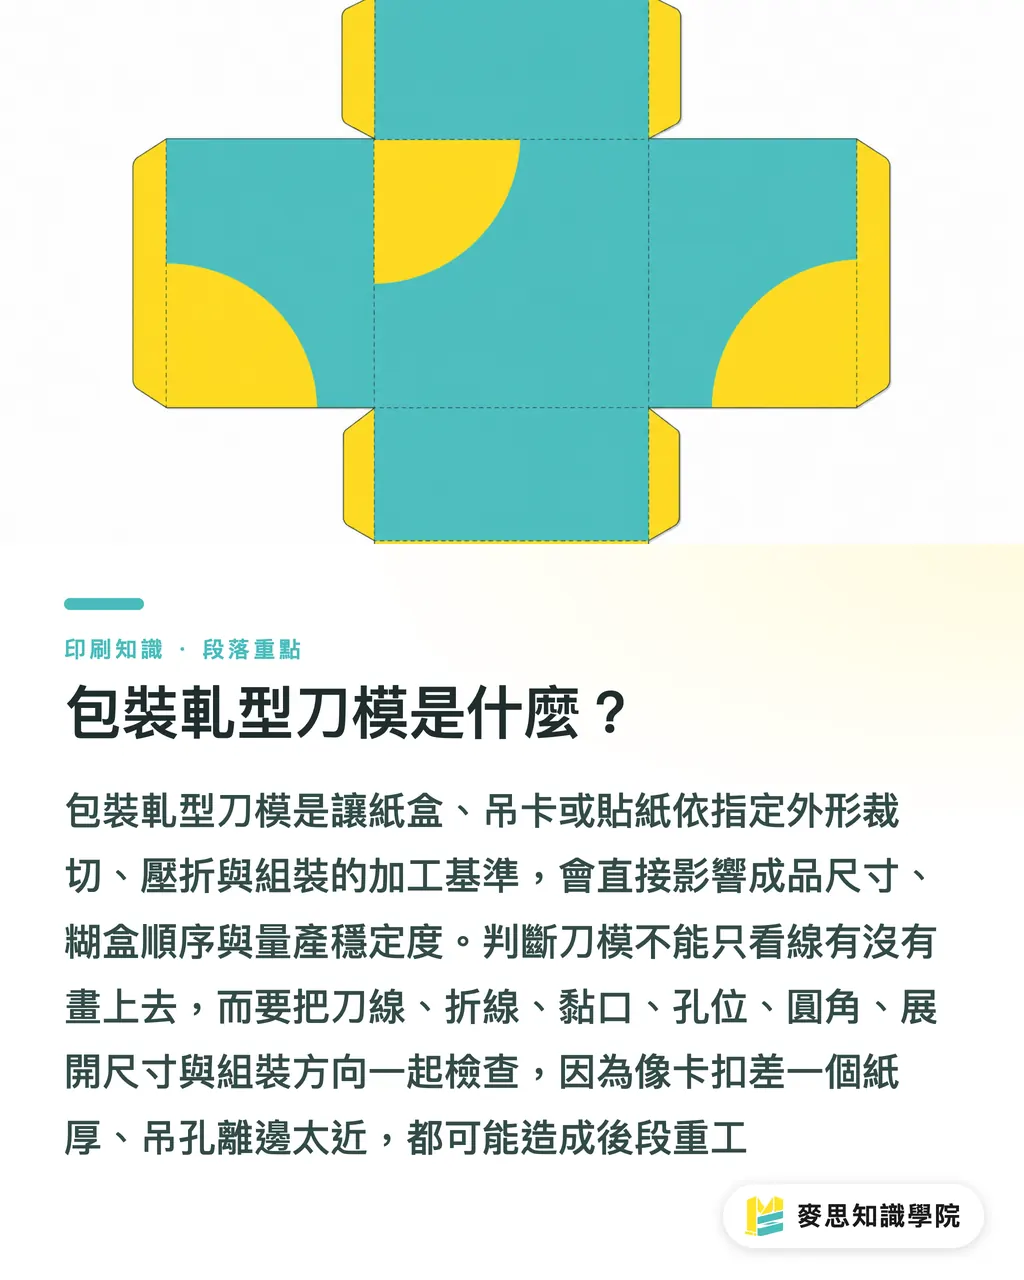
Why Does One Wrong Line on a Die Risk Reworking the Whole Run?
The pain with cutting dies is that the problem shows up late. Design stage is still 2D, the client signs off on visuals, and the real mistake usually only appears when the sheet is folded into 3D after die-cutting
On folding cartons, the most common rework is a fold line that didn't account for board thickness, the flat looks right, but it jams when you actually fold it. On hang tags, the hole sits too close to the edge and load piles up on the hook once it's on the shelf. Stickers tend to come in too pointy, so the waste grabs during stripping. Shaped cards often pile up sharp corners and narrow bridges that crease the moment you hold them
Hold on
I split rework risk into four pieces of floor language, because that's how designers, buyers, and the plant end up talking to each other
・Jammed fit: locking tabs, snap fits, or inserts didn't leave room for board thickness, so the box won't push together
・Cracking: fold score is too deep, the grain runs the wrong way, or ink coverage is too heavy, the fold splits open
・Misregistration: cut line, print, and bleed didn't leave room for die-cutting tolerance, so the finished piece shows white edges or sliced text
・Hard to assemble: glue tab too small, fold directions mixed up, left-right structure not symmetrical, line speed drags
Folding cartons, hang tags, stickers, and shaped cards each have their own temperament. You can't hammer the same finishing habits onto all four. When a package folds, glues, has holes, and has snap fits, the die file has to serve structure first and visuals second
How Should Artwork, Die Files, and Print Files Be Split Into Layers?
Artwork, die files, and print files should sit in at least three clearly separated layers, that's the most basic move I keep asking designers to make. If the prepress or output team reads the wrong layer, the whole thing turns into re-opening files, re-outputting, re-proofing
Suggested layer management for finished packaging files:
・Print layer: the actual print content, type, images, base colors, textures, and brand elements
・Die layer: cut lines, fold lines, half-cuts, holes, score lines, and the required notes. No print objects mixed in
・Bleed and safe-zone layer: bleed area, type safe distance, and no-cut zones clearly marked
・Notes layer: stock, thickness, glue tab direction, finished size, front/back, and assembly reminders
Cut lines normally need their own spot color or named layer, and fold lines have to live apart from cut lines, you can't just lump them all under one red line. Hand a file like that to the back end and the operator is guessing
Sticker files need one more check: half-cut and full-cut can't get mixed up. If the sticker only needs to cut through the face stock but the die line gets treated as a full cut, the liner can end up cut through too, which makes labels and shipping a nightmare
Hang-tag files also need the hole checked: if fine type, a small logo, or a solid color block sits next to the hang hole, even a small die-cut shift will jump out. That's not the plant being picky, it's visible on the shelf

How Do You Check Test Folds, Bleed, and Board Thickness?
Test folds have to happen before the production run, and ideally with stock that's close to the real thickness and grain direction. Folding a sheet of copy paper once doesn't count — 250gsm SBS board, 350gsm ivory board, and laminated corrugated each fold completely differently
When I look at a die file, I run it through MINDS (MS) three-gate preflight as a quick scan:
・① Structure gate: finished unfolded dimensions, locking tabs, base snap, glue tab, hang hole, and window position, checked once, top to bottom
・② Layer gate: print, die, bleed, safe zone, and notes separated; line weights don't cross-contaminate
・③ Stock gate: board thickness, fold score, lamination or spot finishing, will any of it throw off the fit or the crease?
Bleed isn't wasted layout, it gives die-cutting tolerance and assembly clearance somewhere to land. Type, barcodes, QR codes, and small icons near the cut line shouldn't sit right against the trim edge
Corner radius isn't just about looks either. A shaped card packed with sharp points feels rough and is likelier to fray at the die; a sticker with sharp direction changes slows down waste stripping, manageable in small runs, but at volume it becomes a cost line
For complex box structures or multi-SKUs sharing a die, you can bring in the Mai Strategy Knowledge Academy consulting team for a structural review first, so "can this one reuse an old die" and "what needs to be redrawn" are settled before the quote goes out
How Do You Use Cutting Dies Across Multiple SKUs Without Burning the Run?
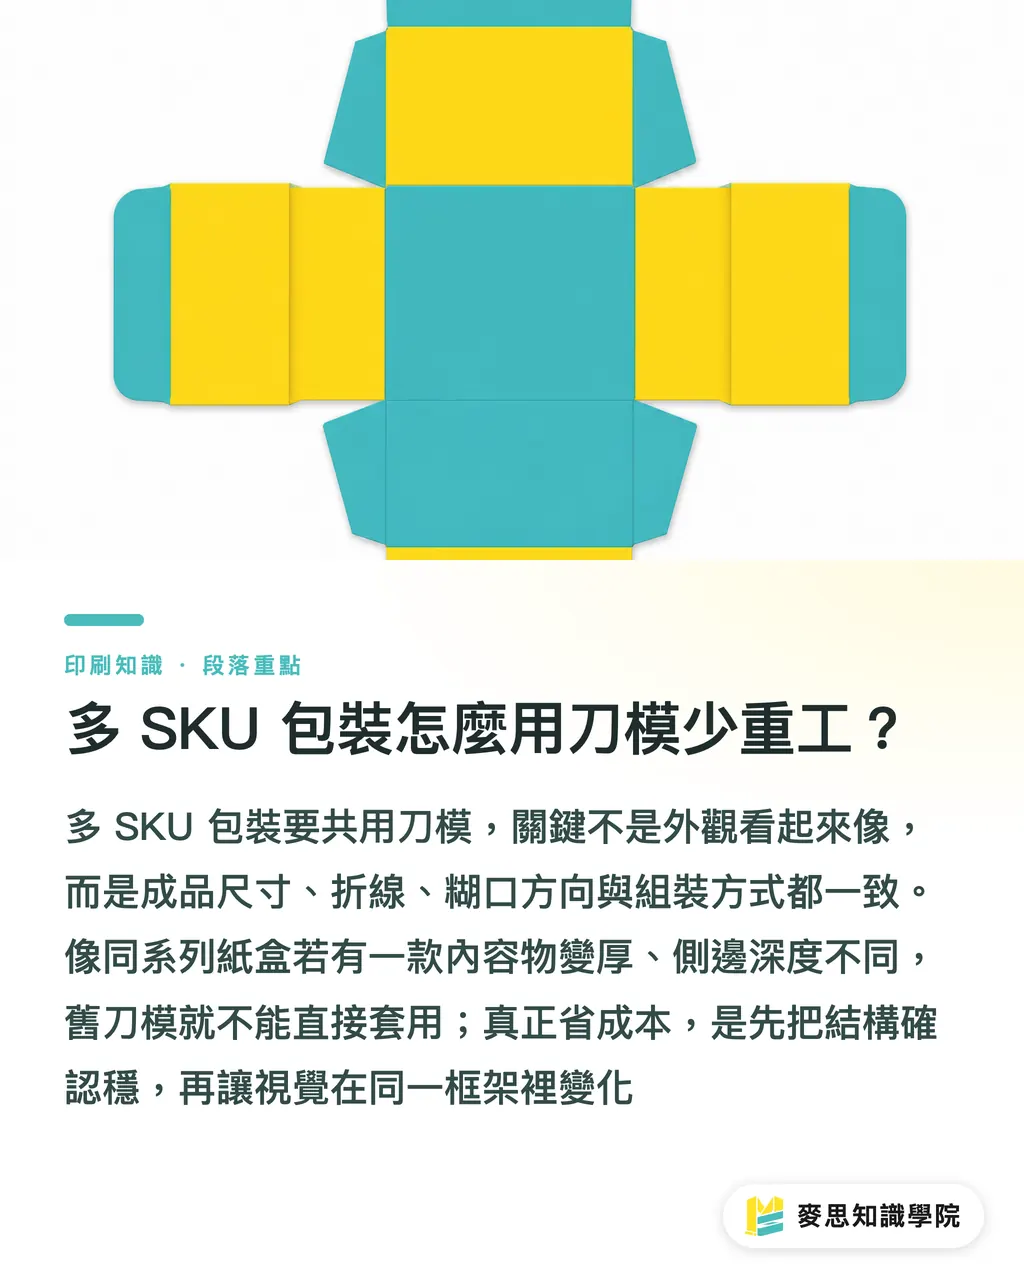
Multi-SKU packaging is the easiest place to cut corners on die cost, but sharing a die only works if finished size, fold line position, glue tab direction, and assembly method actually match. Looking similar on the outside isn't enough
Take three cartons in the same series: if the front face is the same but one of them holds a thicker product and the side depth changes, the old die won't drop straight in. If it's only a print color swap, a copy revision, or a barcode move, the die has a real chance of being reused
These are the checks I use to judge the risk of sharing a die:
・Finished size: if length, width, or height changes in any direction, the unfolded dimensions have to be rechecked
・Stock thickness: change the caliper and the fold, locking tab, and snap fit all feel different
・Glue tab direction: side-glued versus end-glued changes the rhythm on the folder and in hand assembly
・Hole position: if the hang hole reuses the old spot, confirm the new artwork isn't being eaten by it
・Corner radii and shape: tighter radii or extra slim shapes push die-cutting and waste stripping harder
・Assembly direction: inside/outside, top/bottom lid, front/back labeled wrong, this is what blows up at the last minute
Real die-cost savings come from locking the structure first and letting the visuals vary inside a stable frame. Skimping on a die to save one tooling spend and then losing a whole print run, nobody on the floor calls that saving money
Quick Recap
・A die file is for checking production structure, not just drawing the cut outline
・Folding cartons, hang tags, stickers, and shaped cards all need cut lines, fold lines, holes, corner radii, and assembly direction checked together
・Artwork, die files, and print files should sit in at least three layers, so the back end isn't guessing
・Test folds need stock close to the real thickness, change the caliper and the fit and cracking risks shift with it
・For multi-SKUs sharing a die, match finished size and fold line position first. Looking similar doesn't mean the structure is the same
Where This Goes Next
On the print manufacturing side, die inspection needs to move upstream of quoting and proofing. On the designer side, at least one paper test fold before the artwork goes out. For AI and SaaS teams, the most useful move isn't generating pretty box shapes, it's turning cut lines, fold lines, glue tabs, holes, board thickness, and assembly direction into fields that can actually be checked, so the mistake gets stopped before the file walks into the plant. That's the tool the print floor actually needs
FAQ
- How do you cut down on rework with packaging cutting dies?
- List cut lines, fold lines, glue tabs, holes, corner radii, finished unfolded dimensions, and assembly direction as one checklist, then run a test fold to confirm. A die file can't be trusted on visual alignment alone
- Why do folding carton dies always need a test fold?
- A folding carton goes from a 2D flat to a 3D finished piece. Board thickness, fold lines, and glue tabs all affect the fit, without a test fold, cracking and assembly problems don't surface early enough
- Can the die file and the print file live in the same layer?
- Not a good idea. Print, die, bleed, and safe zone should sit in at least three layers, and cut lines and fold lines need separate marks. That's what keeps output and die-cutting from misreading the file
- Can multiple SKUs share the same cutting die?
- Yes, but only after confirming finished size, fold line position, glue tab direction, stock thickness, and assembly method all match. Swapping artwork is usually safe. Changing box depth or structure means starting the die check over
- What's the most common mistake on sticker dies?
- Sticker dies most often get the half-cut and full-cut marks mixed up, run corners too tight, or use overly sharp direction changes. Those problems hit waste stripping, liner release, and downstream label application
Related articles



The Print × AI weekly
The print and AI know-how designers, brands and enterprises can use before they commit — one email, every week
MINDS Free Tools
Spine width and imposition calculators — skip the manual math, free in your browser.
MINDS Group
Need actual printing or gifting services?
From premium printing to online ordering and festive gifts — the MINDS Group sister brands take it from here.