

Why Does the Same Design Look Premium for Others, but Off for You?
Whether foil stamping and spot UV succeed or fail is often decided in the five minutes spent prepping the file. Working on premium business cards and packaging projects, MINDS (high-end custom commercial printing) has seen countless stunning designs fall apart simply because the post-press black plate was set up incorrectly, leaving foil lines blurred or spot UV bleeding into a messy blob
Post-press finishing is not something you figure out after designing. Foil stamping, spot UV, and embossing each follow their own physical rules, and those rules are completely different from what you see on screen. Your monitor can display a 0.1pt hairline, but the press cannot stamp it. A varnish area might look crisp on screen, but on the press, it spreads outward by 0.2 to 0.3mm. These gaps are not mistakes, they are physical limits
Understand these limits, and your design can actually make it to print intact

What Is a Black Plate (K100)? Why Must Post-Press Finishing Be on a Separate Layer?
A black plate is a dedicated plate for post-press finishing. It tells the finishing press 'foil stamp this area' or 'apply varnish here.' It is completely independent of the standard four-color printing plates and must be exported as a standalone PDF or AI file, never mixed into the main artwork file
There is only one standard for setting it up:
・Set the fill of areas to be finished to C0 M0 Y0 K100 (100% solid Black)
・Leave untreated areas completely blank (paper white), with no other colors
・The entire black plate must contain only these two states: black (apply effect) and blank (do not apply)
・Turn on Overprint Fill to keep the finish layer from knocking out the CMYK underneath
Why do this? Stamping machines and screen coating units read density on the plate. K100 signals 'apply pressure or lay down varnish here.' Any other value risks the machine misinterpreting edges or rejecting the output
In Illustrator, place finishing areas on a separate layer named 'Foil' or 'Spot UV', verify the fill is K100, and export that layer on its own. In InDesign, follow the same logic and export only that specific layer to PDF
What Is the Minimum Foil Stamping Line Width in Millimeters? Where Are the Physical Limits?
This is the easiest trap to fall into, and the one most designers overlook
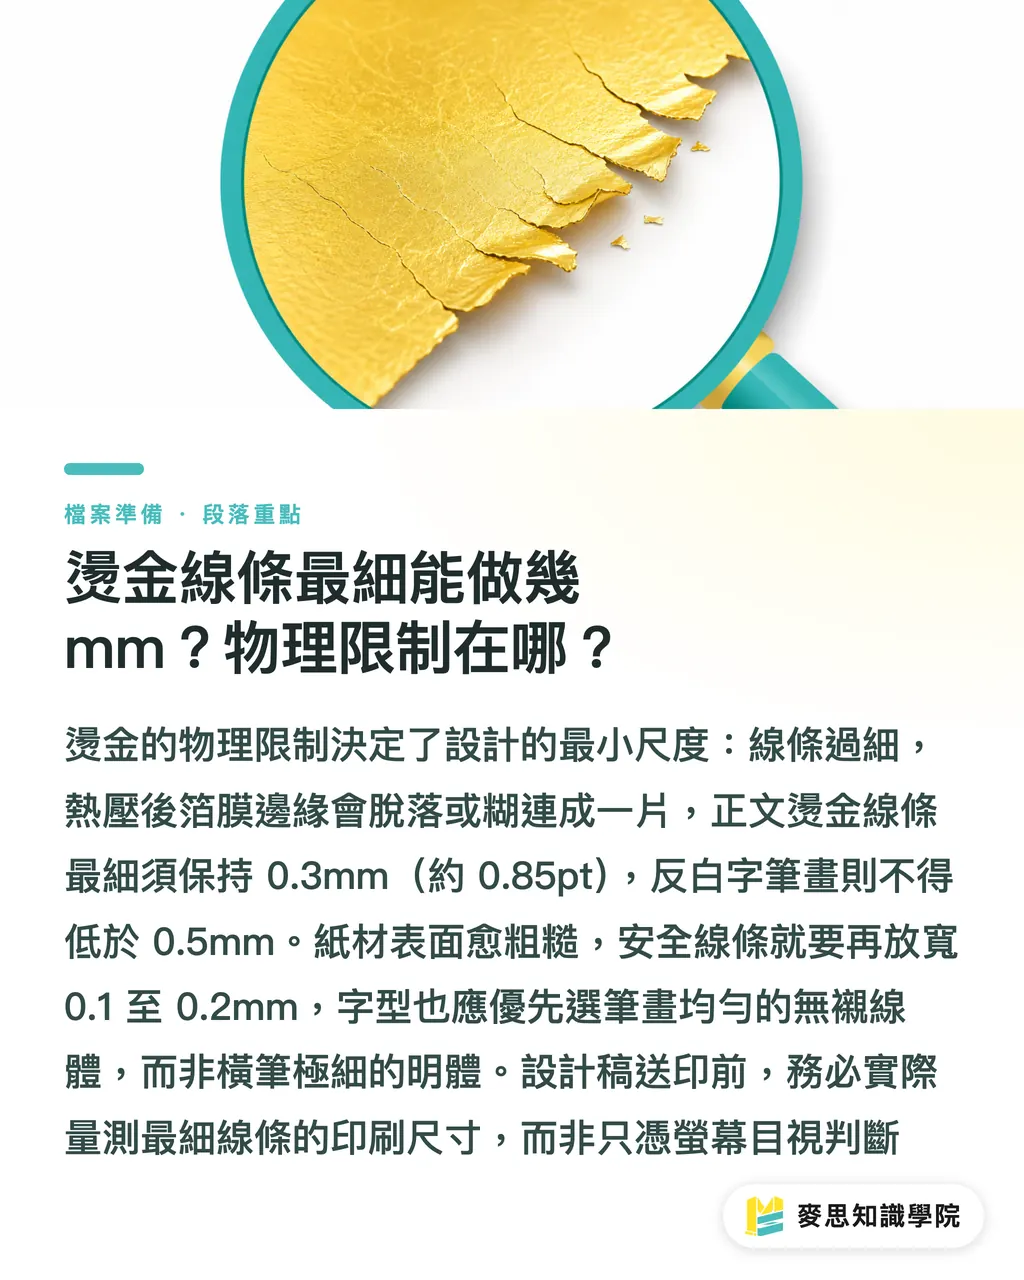
Foil stamping uses a heated metal die to press metallic foil onto paper, using pressure to bond the film to the sheet. There is a physical reality to this process: if a line is too thin, the foil will not bond securely under heat and pressure, causing edges to flake off or break apart. If lines are too close together, the foil between them will stick, turning into a solid, muddy patch
Based on hands-on production experience, here are the safe boundaries:
・Positive foil lines: Minimum recommended width is 0.3mm (about 0.85pt). Below this, lines will almost certainly blur or break on standard paper
・Knockout text (solid foil background with unfoiled text): Stroke thickness should not fall below 0.5mm. Fonts with extremely thin strokes (like the horizontal lines in Ming or serif typefaces) are virtually unusable for knockout foil
・Spacing between adjacent foil areas: Keep at least 0.3mm of clearance so the foil has room to separate cleanly between shapes
・Font choice: Stick to sans-serif or gothic fonts with uniform stroke widths. Serif typefaces have hairline horizontals that become almost invisible after heat pressing
Paper stock directly affects these limits. Textured specialty paper, cotton paper, or linen paper have larger surface pores that make foil adhesion uneven, so you should thicken safe line widths by another 0.1 to 0.2mm. Smooth coated paper or PP film allows for slightly tighter tolerances
If your artwork includes detailed logo lines or handwritten script, measure the thinnest stroke on screen at actual print size to make sure it stays within safe margins
Why Must Spot UV Be Inset? How Does Varnish Bleed Happen?
Spot UV applies a coat of UV varnish to selected areas of a print to add gloss or tactile contrast. The issue is that varnish is a liquid. Under cylinder pressure and mechanical movement, it spreads outward roughly 0.2 to 0.3mm beyond your original boundary
This spreading is called varnish bleed. If you align your spot UV plate exactly along the edge of your graphic, the bleeding varnish spills past the artwork, leaving edges looking blurry and messy. On detailed logos, typography, or packaging files, the result looks terrible
The fix is an inset: pull the edges of your spot UV black plate inward by 0.2mm from the visual edge of the design. When the varnish bleeds outward by that 0.2 to 0.3mm, it settles right at the edge of the graphic without spilling over
How to do it in Illustrator: Select the black plate path -> Object -> Path -> Offset Path -> Enter -0.2mm (a negative value insets the path)
There is one exception: if your spot UV is meant as a broad background gloss pattern that does not need to align with underlying graphics, do not inset it. Instead, extend it outward by 0.5 to 1mm to ensure full coverage without unvarnished gaps along the trim
Confusing these two scenarios is one of the most common reasons spot UV finishes fail to deliver the intended effect
What Should You Check Before Submitting a Foil Stamping or Spot UV Prepress File?
File handoff is your last line of defense. Before packing up your artwork, run through this checklist:
Layers and Naming
・Keep main print layers and post-press finishing layers separate with clear names (one layer each for Foil, Spot UV, and Embossing)
・Lock finishing layers to prevent accidental movement and misalignment
・Delete unused stray layers and keep the file as clean as possible
Registration Marks
・Post-press black plates must share the exact same registration marks as the main print file, with zero offset
・Place registration marks in identical positions on both the main file and the black plate instead of creating separate sets
・Set mark color to Registration (which outputs across all plates), not K100, since they behave differently at plate output
Bleed
・If foil or spot UV extends to the trim line, include the standard 3mm bleed just like normal print artwork
Final Check
・Zoom in to actual print size (100%) to verify stroke thickness, rather than relying on zoomed-out previews
・Confirm that no stray colors exist on the black plate (it should contain only K100 and white)
・When in doubt, request a proof from the printer. A single proof is far cheaper than reprinting an entire production run
When handling post-press jobs, account reps at MINDS (MS) ask designers to submit separate PDFs for the main artwork and each finishing black plate to cross-check registration. Spending five extra minutes on this step prevents eighty percent of alignment issues

Key Takeaways
・Foil stamping black plates must use only K100 fill with Overprint enabled. Any other value risks machine misreads
・The minimum safe line width for foil on standard paper is 0.3mm. Below this threshold, lines will almost certainly blur or break after heat stamping
・Because spot UV varnish bleeds outward by 0.2 to 0.3mm, inset the black plate edges by 0.2mm to match the visual boundary
・Finishing black plates and main print files must share the exact same registration marks, colored with Registration rather than K100
・For delicate lines and fonts on screen, measure their actual dimensions at print scale. Do not trust what your eyes see on a monitor
Further Considerations
Many designers still think post-press finishing is purely 'the printer's job.' In reality, once you hand off prepress files, every flaw in the black plate shifts directly onto the production line. A printer can flag potential issues at best, but they cannot redesign the file for you
Here is a practical habit worth building: confirm physical process limits with your printer during the concept phase (minimum foil line widths, whether spot UV needs an inset), rather than asking after the artwork is finalized. Having this five-minute conversation early saves three days of rework later
For designers working on premium print projects, build a 'post-press black plate template' in your design software. Preset the layer structure, registration marks, and Overprint rules so you can drop it into every finishing project without starting from scratch
If you are planning foil stamping or spot UV for business cards or packaging, you can also reach out directly to the sales team at MINDS to confirm prepress specs. Their extensive commercial print experience can help you eliminate most finishing pitfalls before proofing
FAQ
- How should colors be set on a black plate for foil stamping?
- Areas to be foiled on the black plate must be set to C0 M0 Y0 K100 (100% solid Black) with Overprint Fill enabled, while untreated areas remain unprinted paper white. Do not use rich CMYK black or any RGB values. Finishing machines read plate density, and incorrect values will lead to misread edges
- What is the minimum line width for foil stamping?
- On standard stocks like coated paper, the minimum recommended positive line width for foil stamping is 0.3mm (about 0.85pt). Below this, foil easily flakes off or blurs under heat and pressure. For knockout text, stroke thickness should not fall below 0.5mm. Fonts with uneven stroke weights, like serif styles, are practically unusable for knockout foil
- Why does spot UV need to be inset, and by how much?
- During cylinder pressure and machine passes, UV varnish spreads outward by roughly 0.2 to 0.3mm, a phenomenon known as varnish bleed. If the black plate matches the artwork edge exactly, the bleeding varnish spills past the graphic and blurs the edges. The proper fix is using Offset Path in Illustrator to inset the black plate path by 0.2mm, allowing the spreading varnish to align cleanly with the visual edge
- How should registration marks be set up on a post-press black plate?
- Registration marks on the post-press black plate must match those on the main print artwork exactly in position. Set the fill color of the marks to Registration (which outputs across all plates) rather than K100 (which only appears on the black plate). Mixing these up is one of the most common causes of registration errors
- Which separate files should a designer submit to the printer?
- For high-end post-press projects, submit three separate files: one main print PDF (containing standard CMYK artwork and bleed), one foil black plate PDF (containing only K100 finished areas), and one spot UV black plate PDF (same format). Each file must include identical registration marks. If using both foil and spot UV, do not combine them into a single black plate, as differing finishing processes will cause registration misalignment
Related articles





The Print × AI weekly
The print and AI know-how designers, brands and enterprises can use before they commit — one email, every week
MINDS Free Tools
Imposition calculator and preflight file check — free prepress tools, right in your browser.
MINDS Group
Need actual printing or gifting services?
From premium printing to online ordering and festive gifts — the MINDS Group sister brands take it from here.