
Can you send AI-generated images straight to the printer?
You can print them directly, but only if you run them through Mai Strategy's Three Print Gates first. Otherwise, chances are prepress will reject your file, or you'll print an outright disaster
Looking at recent client projects, the biggest misconception is treating visual polish on a screen as print readiness
Images out of Midjourney or Stable Diffusion are fundamentally low-res raster files designed for backlit screens
Putting that onto physical paper means crossing a huge gap between screen optics and physical ink
We often see designers hand over a raw 72dpi file, assuming the print shop can just hit a button and turn it into a poster
In reality, prepress technicians have to inspect dot gain, ink limits, and whether resolution actually meets spec
If your team is struggling to set prepress standards for high volumes of AI artwork, I recommend talking with the Mai Strategy Knowledge Academy consulting team to build a standard operating procedure tailored to your product lines
Setting up this process cuts down the costly back-and-forth of failed proofs and turns creative ideas into real, physical prints
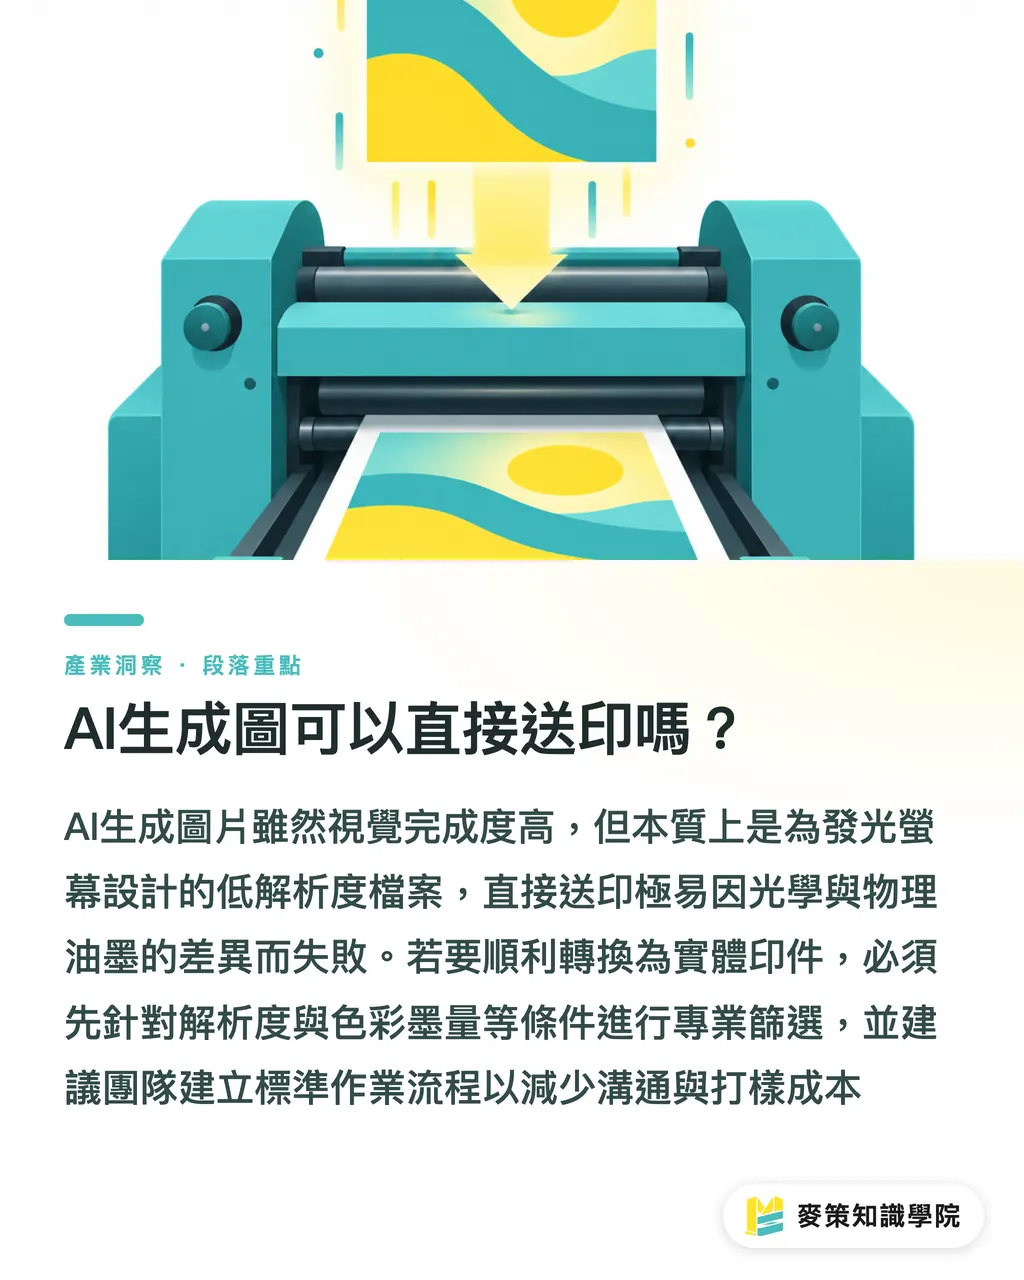
Why does it look great on screen, but comes out blurry in print?
Because AI image generators default to 72dpi for screens, while standard commercial printing demands 300dpi (pixels per inch)
This is usually the first pitfall that catches new clients off guard
A 1024x1024 pixel AI image looks razor-sharp on your phone, but the physical reality of printing is unforgiving
Run the numbers: 1024 pixels divided by 300dpi, times 2.54 cm, gives you a printed physical size of only about 8.6 cm across
Force-stretch that to fill an A4 poster, and your printed ink halftone dots will turn into an ugly mess of jagged pixel edges
Blowing it up in Photoshop with standard image resizing just blurs the pixel edges. It cannot create new detail out of nothing
From years watching both production lines and client handoffs, you have to add dedicated processing steps before final output
・Solution: Upscale before final prepress
・Key execution: Use AI upscaling tools with generative detail models, like Topaz Gigapixel or Magnific, to boost pixel dimensions by at least 3x to 4x
・Verification: Inspect the image at 100% zoom in Photoshop to make sure there are no jagged edges or unnatural color patches
・Paper variables: If you print on high-absorbency uncoated or art paper, soft areas will bleed and blur even more, making resolution requirements even stricter
How do you convert RGB AI images to CMYK without ruining the colors?
Color shift is guaranteed. The key is actively compensating for color loss inside Photoshop, rather than blindly hitting one-click conversion
Screens emit light using the RGB color space, which can show off searing neon blues and electric pinks
Printing presses rely on four CMYK inks reflecting light, and that color gamut is naturally much smaller than RGB
A topic getting a lot of traction across the industry lately is how much AI loves generating cyberpunk scenes with intense neon glow, which is pure kryptonite for CMYK
Beyond that, the extreme pure blacks that AI produces often turn into a four-color overprint nightmare with total ink coverage exceeding 300%
Send a file with ink coverage that high to the press, and the ink will not dry, leaving messy set-off marks on the back of the sheets
・Proof setup: In Photoshop, go to View > Proof Setup and apply the relevant print standard, such as FOGRA39 under ISO 12647-2 or Japan Color
・Manual compensation: For dull or muddy areas, use Curves or Selective Color to nudge contrast and saturation back up
・Ink limit control: Check the darkest black areas with the Eyedropper tool to keep total CMYK ink coverage within your printer's safe limits
・Special requirements: If your image absolutely must have neon pop, talk directly with MINDS to evaluate whether you need a dedicated spot color on the press
How do you fix weird local artifacts and mangled text?
Don't count on prepress technicians at the print shop to retouch your artwork for you,
FAQ
- Can AI-generated images be sent straight to a print shop for printing?
- No. Generators like Midjourney output 72dpi screen resolution by default, which will produce blurry prints or get rejected by prepress. Before finishing your artwork, you need to upscale the file to the 300dpi print standard, convert it cleanly to CMYK, and verify your total ink coverage
- Why does an AI image look sharp on screen but turns out blurry in print?
- It comes down to resolution. AI images default to just 72dpi, whereas physical commercial printing requires 300dpi. At 300dpi, a 1024-pixel image prints at only about 8.6 cm wide. If you stretch it onto a poster, the printed halftone dots break into harsh pixelated stair-stepping
- What tools should I use to enlarge AI images for print without losing quality?
- Use AI upscalers with generative detail models, such as Topaz Gigapixel or Magnific, to multiply pixel dimensions by 3x to 4x. Standard Photoshop image resizing only blurs the edges, while dedicated AI upscaling tools recreate the fine texture needed for high-resolution printing
- How do I fix severe color shifts and darkening when converting RGB AI images to CMYK for print?
- Turn on Proof Setup in Photoshop to simulate the target print gamut, then manually use Curves or Selective Color to bring back lost contrast and saturation. Also check dark shadows with the Eyedropper tool to keep total CMYK ink coverage within safe limits. If the image relies on brilliant neon tones, consider running dedicated spot colors instead
Related articles
The Print × AI weekly
The print and AI know-how designers, brands and enterprises can use before they commit — one email, every week
MINDS Free Tools
AI background removal, brand stamping, and a LINE sticker maker — free design tools, right in your browser, no upload.
MINDS Group
Need actual printing or gifting services?
From premium printing to online ordering and festive gifts — the MINDS Group sister brands take it from here.