
Why Large-Format Output Files Do Not Need to Stay at 300 DPI
The resolution of a large-format final artwork file is not fixed at 300 DPI. It is determined by the physical pixel count and the real viewing distance. When the MINDS team checks large-format output on the production line, the most common method is to work backward from viewing distance. For large signs or backdrops viewed from more than one meter away, 72 to 150 DPI is enough to produce a sharp visual result
Large-format output resolution: the best pixel density calculated from the finished size and real viewing distance. It keeps the image visually clear while avoiding oversized files that overload the system and crash during processing
Hold on
In more than ten years of working around production lines, the disaster I see most often is a designer setting an entire 600 cm by 300 cm exhibition backdrop file to 300 DPI. The linked high-resolution photos alone can push the file past 15 GB, and the computer freezes or crashes as soon as the file is opened or saved. In reality, when the human eye views a sign from 3 meters away, its visual resolution limit is only around 100 DPI. Any pixels beyond that are completely invisible to the naked eye. They only waste system memory and the print shop's output processing power
Production issues often caused by blindly chasing high DPI:
・Files easily reach dozens of GB, making Illustrator painfully slow to open or causing it to crash
・Oversized raster images greatly increase RIP processing time in the output machine's imposition software
・File transfers become much more prone to missing packets, conversion errors, or import failures
How Viewing Distance Determines Large-Format Artwork Resolution
The core rule for large-format resolution is simple: the farther the viewing distance, the lower the required DPI. Human angular resolution determines how well we can perceive raster grain, which makes it the most practical calculation baseline in real print production
The logic is straightforward
Print production teams have built very clear resolution standards for different use cases and viewing distances:
・Close viewing distance, 0.5 to 1 meter, such as exhibition stickers, indoor posters, and standees: set 150 to 200 DPI to preserve fine detail up close
・Medium viewing distance, 1 to 3 meters, such as exhibition backdrops, storefront banners, and stage backgrounds: set 100 to 150 DPI to balance image quality and file size
・Long viewing distance, 3 to 10 meters, such as outdoor billboards, vehicle wraps, and building facades: set 50 to 72 DPI for fully sufficient visual clarity
・Very long viewing distance, over 10 meters, such as giant T-shaped highway billboards: 30 to 50 DPI is enough. Higher settings bring no real benefit
If the default viewing distance is uncertain, you can also apply the common industry back-calculation formula directly: DPI = 300 / viewing distance in meters. Use the result as the baseline, then fine-tune from there
How to Prepare a 1:10 Scale File When the Size Exceeds the Software Limit
When the printed piece exceeds the maximum single artboard or workspace size of the design software, such as Adobe Illustrator's 577.9 cm limit, you need to prepare the artwork at reduced scale. A 1:10 ratio is the most industry-standard choice and the least likely to cause mistakes
In a 1:10 scale artwork workflow, the raster image resolution inside the file must be increased by the same scale factor, 10 times, to match the final output:
・Suppose the final output size is 1000 cm by 400 cm, and the target output resolution is 72 DPI
・The artwork file should be set to 100 cm by 40 cm, which is 1:10 of the original size
・Raster images and photos inside the file must be raised to 720 DPI, which is 72 x 10
・When the print shop's output machine enlarges the file 10 times back to 1000 cm, the actual print resolution lands exactly at the required 72 DPI for large-format output
For quick online ordering or small-batch large-format printing, you can also use the file upload system on the Mai Printing platform to check scale parameters automatically and avoid the risk of repeated manual calculations
How to Prevent the Print Shop from Misreading Scale Labels and Bleed Settings
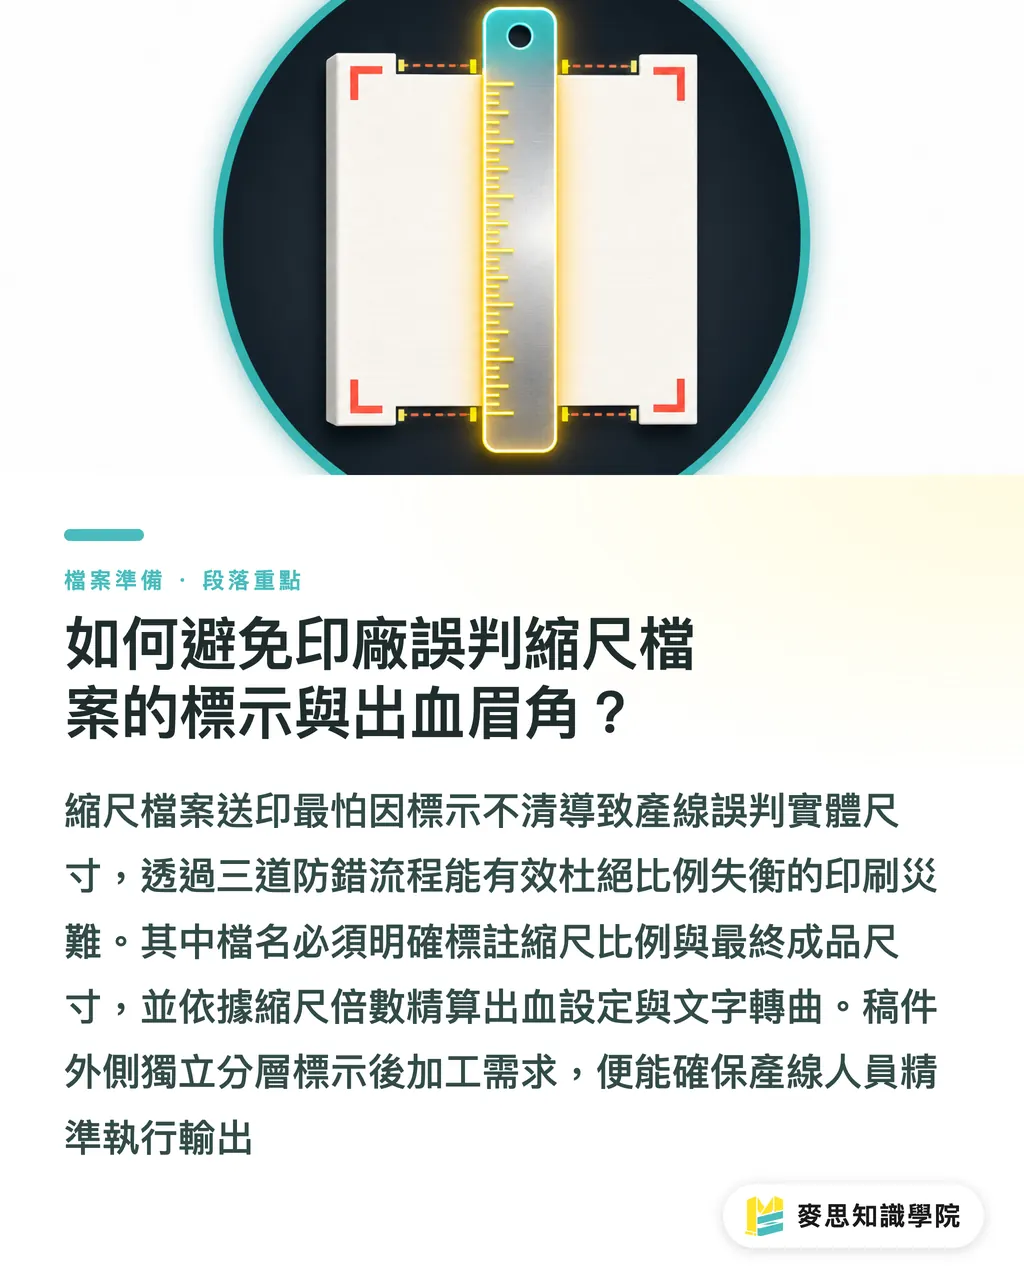
The biggest risk when sending a reduced-scale file to a print shop is unclear labeling. Production staff may mistake it for a 1:1 full-size file and output it directly, causing a severe scale failure. The MINDS three-check print submission process for MS, mid- to high-end fully customized commercial printing, is designed to prevent this kind of mistake
The MINDS MS three-check print submission process:
・Check 1, clear filename labeling: the filename must clearly state the scale ratio and final output size, such as "ExhibitionBackdrop_Final1000x400cm_1to10ScaleArtwork_72DPI.ai"
・Check 2, precise bleed calculation: large-format output usually requires 30 mm, or 3 cm, of bleed. If the file is prepared at 1:10 scale, the bleed outside the artboard only needs to be set to 3 mm. After enlarging the file by 10 times, it becomes exactly 30 mm of bleed
・Check 3, linked image files and text handling: all text must be outlined, and linked image files must either be included together or properly embedded to prevent missing fonts or missing images when the print shop opens the file
Edge finishing and post-processing needs, such as grommets, pole pockets, and hemmed edges, should also be marked outside the artwork with black lines on separate layers and described in detail in the order notes. This gives the production team a precise basis for the finishing work
Key Takeaways
・Large-format resolution is mainly determined by viewing distance and total physical pixels. Blindly insisting on 300 DPI only raises the risk of software crashes
・For exhibition backdrops or outdoor signs viewed from more than 3 meters away, setting the artwork to 72 to 100 DPI is enough for ideal image quality
・When the finished size exceeds the design software's workspace limit, the standard solution is to prepare the file at 1:10 scale and increase raster image resolution by 10 times
・Reduced-scale artwork must state the final output size and scale ratio in the filename, and bleed must be reduced in proportion to the artwork scale
・Large-format artwork should have all text outlined and all linked image files properly included to prevent missing images or text reflow on the production side
Further Thoughts
In the practical development of large-format output and design automation, building viewing-distance-to-DPI calculation into online file checks and SaaS workflows is a key step in closing the knowledge gap between designers and print shops. If designers use AI image upscaling tools to improve source material resolution, acceptance should be based on the image's total physical pixel count, not the DPI label alone. That is how you keep quality stable from digital asset to printed large-format output
FAQ
- Why does my exhibition backdrop look blurry after printing?
- The main reason is usually that the original image does not have enough total pixels, or that the designer forgot to increase raster image resolution by 10 times when preparing a reduced-scale file. As a result, the photo is forcibly enlarged again during the print shop's imposition and output process, causing distortion
- When preparing artwork at 1:10 scale, do text and vector graphics need special resolution handling?
- Vector graphics and text in vector software can scale infinitely, so they do not need any resolution settings. You only need to confirm that all text has been outlined
- How much bleed should be left for large-format output?
- For general large-format output, the recommended physical bleed is 30 mm, or 3 cm. If the artwork is prepared at 1:10 scale, set the bleed in the file to 3 mm, or 0.3 cm
- If the viewing distance for my large-format graphic varies a lot, what is the safest resolution setting?
- Set it based on the shortest likely viewing distance. For example, if people may stand as close as 1 meter from an exhibition panel, setting the resolution directly to 150 DPI is the safest choice
Related articles




The Print × AI weekly
The print and AI know-how designers, brands and enterprises can use before they commit — one email, every week
MINDS Free Tools
Imposition calculator and preflight file check — free prepress tools, right in your browser.
MINDS Group
Need actual printing or gifting services?
From premium printing to online ordering and festive gifts — the MINDS Group sister brands take it from here.