

OK, the design is done, what actually needs to happen before I send it to print?
Bottom line up front: a design file has to be turned into something a press can actually read, and that comes down to five things, bleed, CMYK color, outlined type, resolution, and the right dimensions
Skip any one of those five and you're gambling. Best case the colors drift; worst case the whole batch gets reprinted
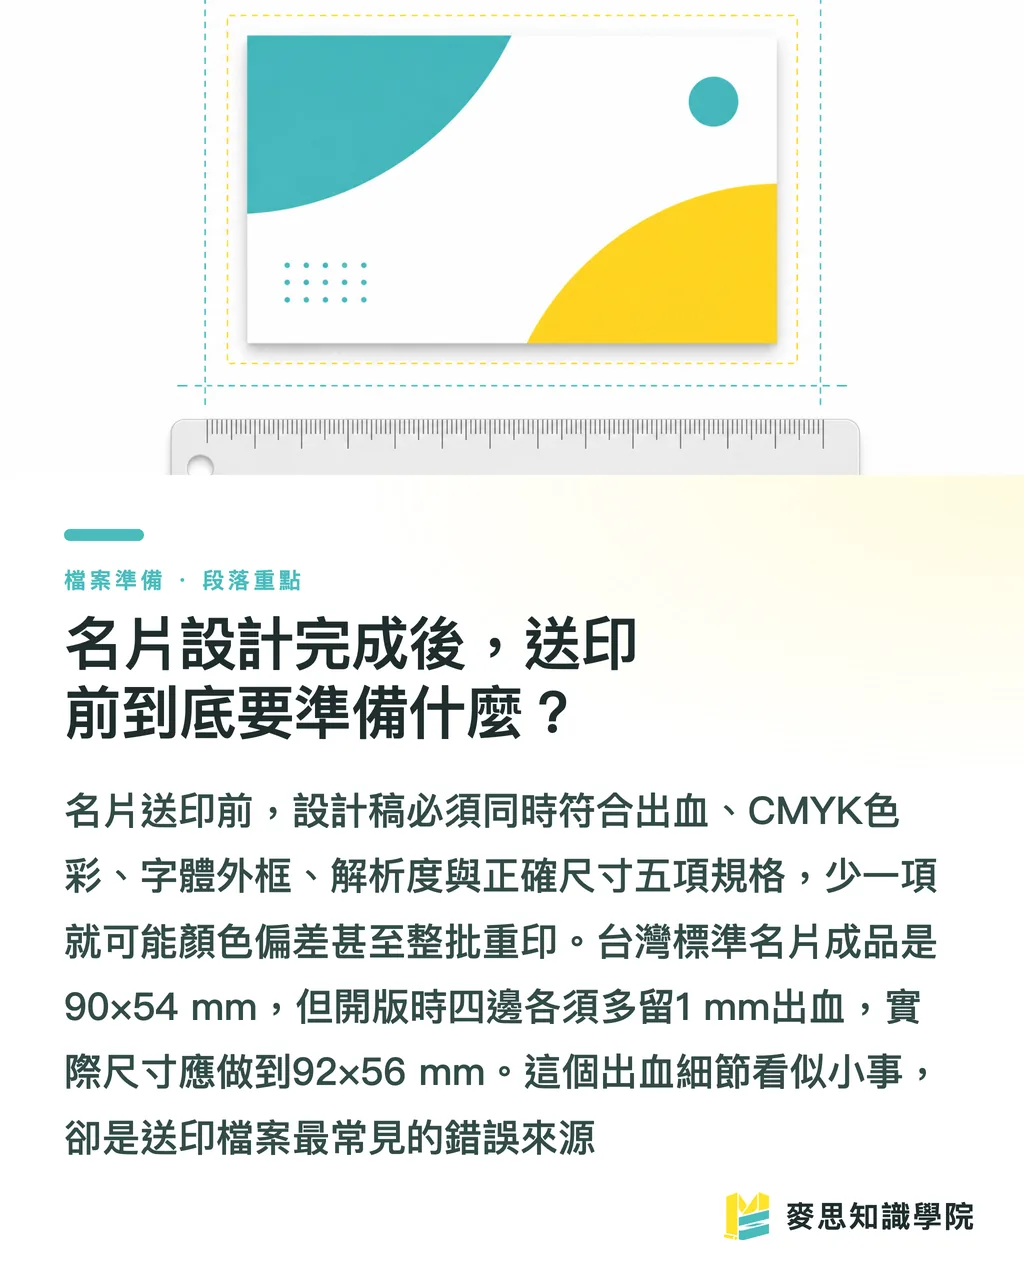
The standard finished size for a business card in Taiwan is 90×54 mm. It's a spec the industry has stuck with for a long time
But when you set up the artboard in your software, don't just make it 90×54. Add 1 mm of bleed on all four sides, your actual artboard needs to be 92×56 mm
Looking at the files designers send me over the past few years, three out of ten get stuck on this exact step. The artwork itself is gorgeous, there's just no bleed
Why do I need a bleed, and what happens if I skip it?
A bleed, plain and simple, is the extra sliver around your design that's meant to get trimmed off
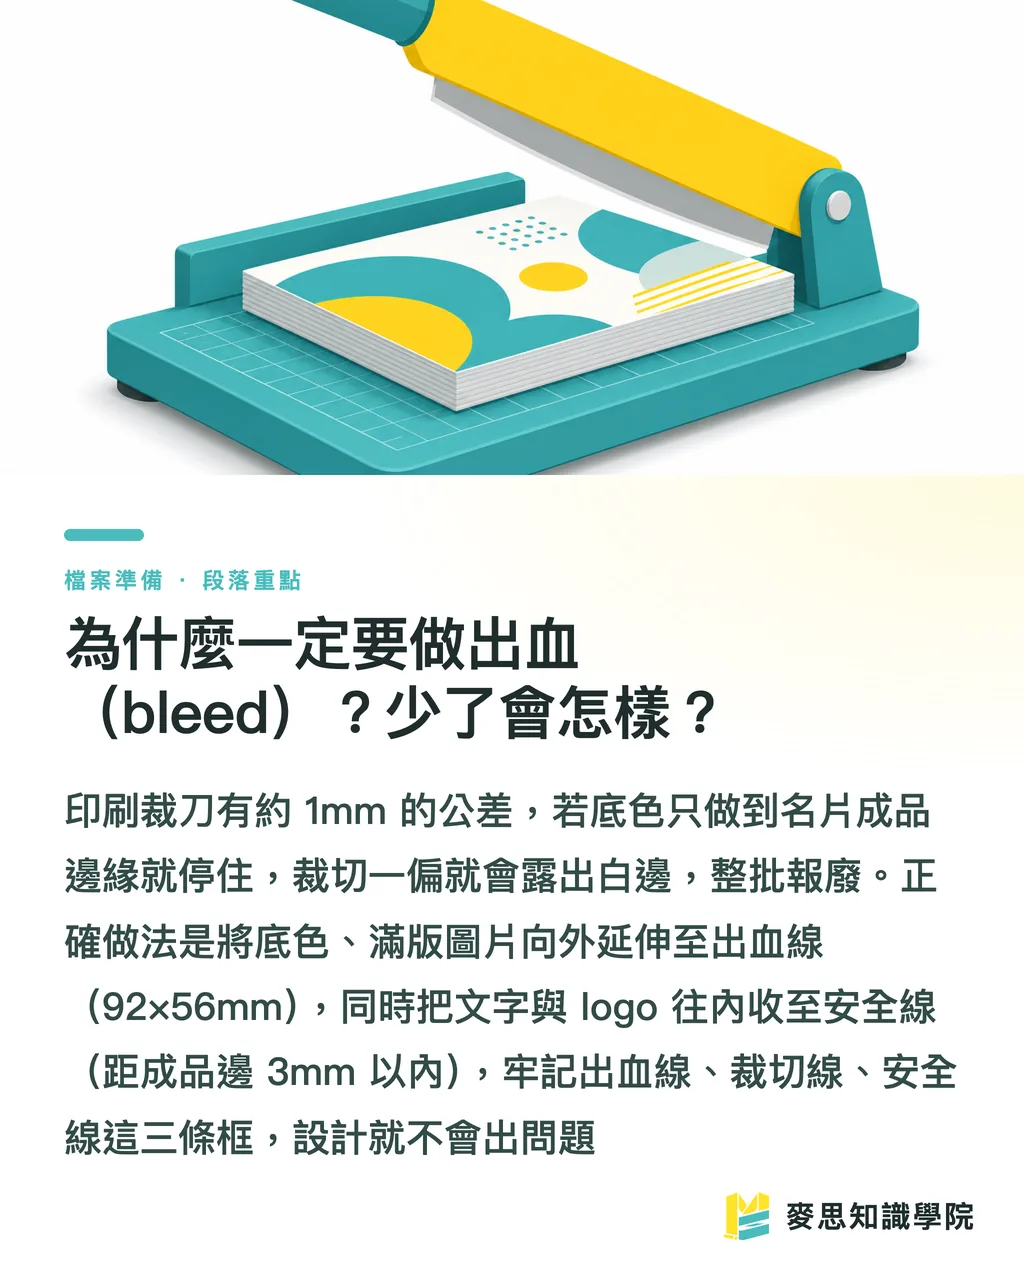
Printers run big sheets through the press all at once, then a cutting blade slices them into individual cards
That blade isn't a laser, it has tolerance, usually between 0.5 and 1 mm, and cutting a whole stack at once makes it wander even more
If your background color or image stops right at the 90×54 edge, even a tiny offset from the blade leaves a sliver of white showing along the card's edge
That white sliver is invisible on screen but jumps out once it's printed, and suddenly your whole box is scrap
Any background, color block, or full-bleed photo that needs to run to the edge should extend all the way out to the 92×56 outer line
On the flip side, anything that absolutely cannot get cut, text, logos, needs to pull inward, with at least 3 mm of safety margin from the finished edge
Just remember three lines: the outer one is the bleed line (92×56), the middle one is the trim line (90×54), and the innermost is the safety line (3 mm in from the trim). 56), the middle is the trim line (90× 54), and the innermost is the safety line (pulled in 3 mm)
Stick all the important stuff inside that innermost line and you won't have a problem
RGB or CMYK? Why does it look great on screen but gray once it's printed?
Wrong color mode is the most common, and most infuriating, reason a business card comes off the press looking wrong
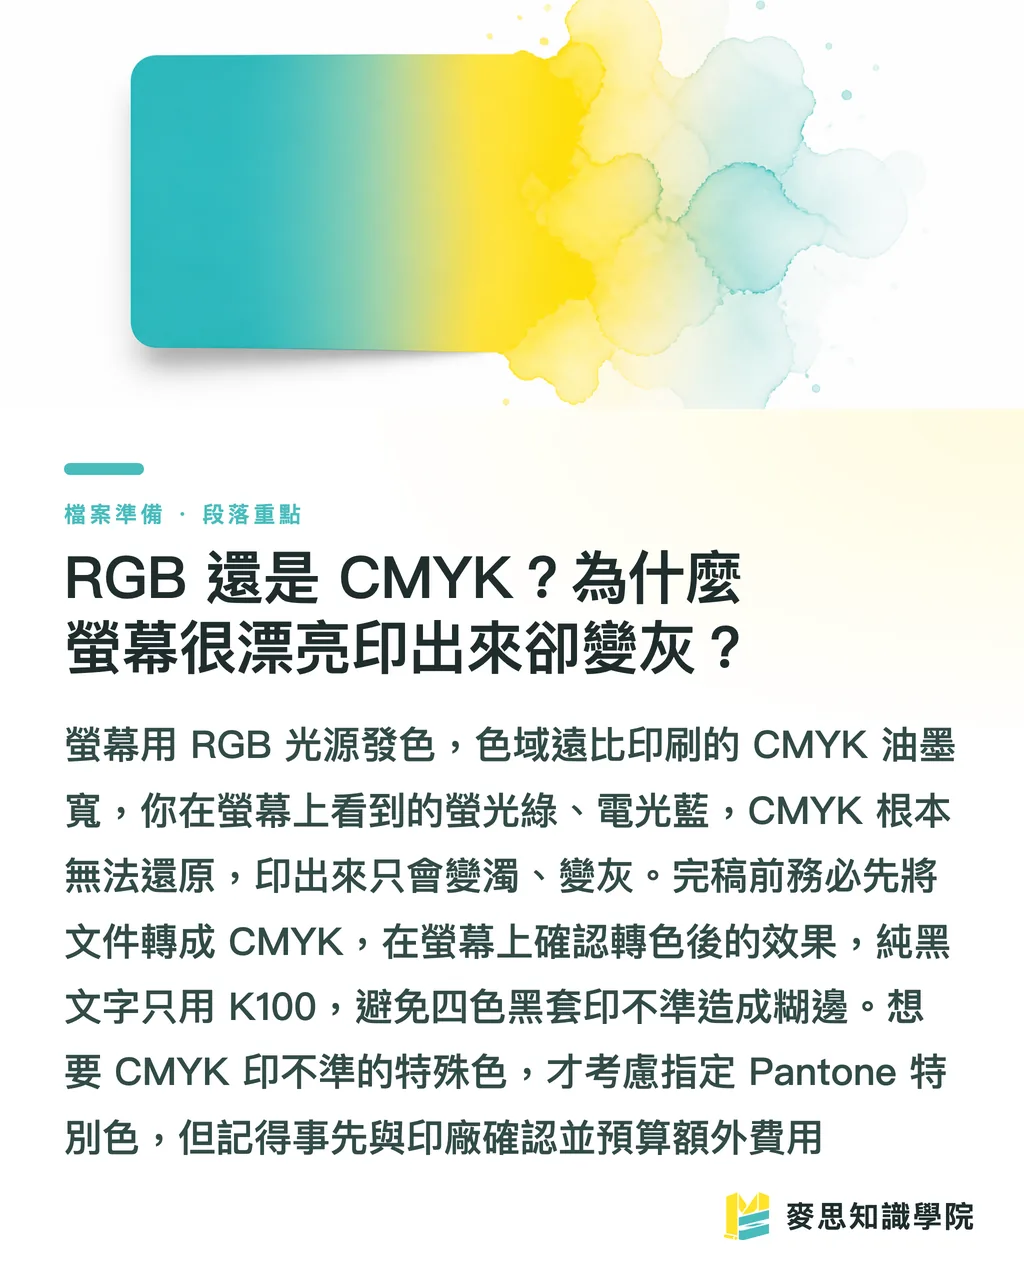
Screens are RGB. They mix red, green, and blue light to make colors, which gives a wide gamut and high saturation
Print is CMYK. It mixes cyan, magenta, yellow, and black ink subtractively, and the gamut is noticeably narrower than a screen's
Those neon greens, electric blues, and punchy magentas you dialed up on screen? CMYK can't reproduce them, period
The hard copy ends up looking washed out: bright greens turn muddy, vivid blues go grayish, and the client calls to ask if you printed it wrong
So before you finish the file, convert the document's color mode to CMYK, then eyeball the converted version on screen so you know what you're getting into
Two color tips worth flagging:
・For pure black text, use K100 (black plate only). Don't use "rich black" (C, M, Y, K all stacked), on small type, even slight misregistration makes the edges fuzzy and weak
・For large solid black areas, that's where rich black earns its keep (something like C40 M30 Y30 K100). It gives the black more depth and weight
・If you want gold, fluorescent colors, Tiffany blue, anything CMYK can't hit accurately, you'll need to specify a Pantone spot color. Check with the printer first though, because spot colors usually cost extra
Resolution, fonts, file format, how do I set these so nothing goes sideways?
These three are your last checklist before handing off the file. Go through them one by one:
The resolution standard for print is 300 dpi
Most images you grab off the web are 72 dpi, that's for screens. Drop one onto a business card and it prints as a blurry mosaic
Here's a practical way to check: place the image at the actual size it'll be on the card, then look at its ppi. If it's not at 300, don't use it
Before sending to print, always convert all text to outlines (create outlines)
The reason: the printer's machine probably doesn't have the font you used. No font means the text silently swaps to a system default, and your layout falls apart
Once outlined, the text becomes shapes and no longer depends on the font file, what the printer sees will be exactly what you see
The downside is you can't edit the text after outlining, so save a separate editable copy without outlines as a backup
The go-to format for handing off a print file is PDF, specifically a print-spec PDF (PDF/X-1a or whatever your printer requires). It bundles the bleed, color, and fonts all in one
If your printer wants the source file, a packaged AI or InDesign file works too, just make sure to include the linked images
The worst option is JPG. Compression eats quality, and it can't store CMYK or bleed info

Thinking about special finishes? Plan them at the design stage, not after
A business card is more than just flat printing, the feel and texture are what actually make people remember it
Over the past year or two I've clearly noticed clients aren't satisfied with "just printed clearly" anymore. They actively ask if there are ways to add a special texture
Foil stamping, embossing/debossing, spot UV, the tooth of a textured stock, all of these need to be planned at the design stage. You can't bolt them on after the fact
Special finishing usually needs its own dedicated layer
Say you want foil on your logo, you'd add a separate layer in the file, mark the foil areas with a single spot color, and tell the printer "foil here, nowhere else."
Spot UV works the same way: wherever you want it shiny versus matte has to be marked precisely on an independent layer
Registration on these finishing layers is tight, even a small offset shows up as misalignment, so keep the linework clean and positioning accurate
Paper choice is part of the design too
The same design printed on a 250 gsm coated stock versus cotton paper or hemp paper feels like two completely different products
Business card stock typically runs between 250 and 350 gsm. Too thin and the card feels floppy and cheap
If you're going for a tactile look, consider stocks like laid or premium card with visible texture. Heads up though: textured paper soaks up a bit of ink saturation, so dark colors print slightly lighter. Build that into the design from the start

Quick recap
・Finished card is 90×54 mm, but set up the artboard at 92×56 with 1 mm bleed on all four sides, then pull type inward another 3 mm for safety
・Convert the color mode to CMYK before finishing. Fluorescent colors and electric blues on screen won't print in CMYK, for vivid colors, specify Pantone
・Pure black small text uses K100; rich black is only for large black areas. Avoid rich black on small type to prevent fuzzy edges
・Outline all text before sending to print, and save a separate non-outlined editable copy as a backup
・Foil, spot UV, and similar finishes need their own layer marked at the design stage. You can't add them after the fact
Wider implications
A business card is the smallest print job out there, but it's also the easiest place to step on a landmine. Once you've got this finishing workflow down, the same settings, bleed, CMYK, resolution, outlined type, finishing layers, apply directly when you move on to posters, flyers, or packaging
Bake bleed, safety lines, and CMYK into your artboard template from the start. Getting it right at the source is ten times easier than fixing it after
Spend ten minutes before handoff going over the spec with your printer (size, bleed, color, finishing). Way cheaper than reprinting a messed-up batch
Lots of people are using AI tools to generate business card designs these days, and you need to be careful: AI output defaults to RGB, 72 dpi, no bleed. Sending that straight to print almost guarantees a disaster. Run it through the finishing workflow above first
And if you don't want to babysit all these details yourself, find a partner who handles design, finishing, and printing under one roof. Hand off the spec-matching to someone who actually knows print, and you just focus on the creative
FAQ
- How much bleed do I need for a business card?
- The standard bleed for business cards in Taiwan is 1 mm on all four sides. With a finished size of 90×54 mm, your artboard needs to be 92×56 mm. Extend any background colors and images that run to the edge out to the bleed line, and pull text inward by at least 3 mm
- Should I design a business card in RGB or CMYK?
- Always CMYK for print. RGB is for screens. Highly saturated colors like fluorescent hues and electric blues can't be reproduced in CMYK. Convert to CMYK before finishing and eyeball the color shift on screen first. If you need vivid or unusual colors, switch to a specified Pantone
- Do I really have to outline the type before sending to print?
- Yes. Outlined type detaches from the font file, so the printer's machine won't substitute a system default and wreck your layout. But save a separate non-outlined editable copy as a backup, once outlined, you can't edit the text anymore
- What resolution do images need to be so they don't print blurry?
- The print standard is 300 dpi. The 72 dpi images you find online will print fuzzy. Place each image at the actual size it'll be on the card and confirm it hits 300 ppi
- What should I watch out for if I want foil stamping or spot UV on my card?
- Foil, spot UV, and similar finishes need their own dedicated finishing layer added at the design stage, with the finishing area marked precisely using a single spot color. Registration tolerance is tight, so confirm with the printer beforehand whether they can handle it and what the extra cost will be
Related articles





The Print × AI weekly
The print and AI know-how designers, brands and enterprises can use before they commit — one email, every week
MINDS Free Tools
Imposition calculator and preflight file check — free prepress tools, right in your browser.
MINDS Group
Need actual printing or gifting services?
From premium printing to online ordering and festive gifts — the MINDS Group sister brands take it from here.