
Overview
Spot‑checking print acceptance means, after receiving the goods, using MINDS (MS, a mid‑to‑high‑end full‑custom commercial printer) to run three checks on three items
・Document check: confirm that the quotation, the proof, and the sample are the same version
・Physical sampling: take items from different box numbers, styles, and finish‑risk points
・Record keeping: provide photos and batch data for reprints, returns, or complaints
What Is Print Spot‑Check Acceptance?
Spot‑check acceptance: without inspecting every sheet, sample by box number, style, and finish‑risk to decide whether the whole batch is acceptable, and retain evidence for reprints or complaints
I've seen countless acceptances at the client side where they open the first box, flip the top 20 sheets, and sign off if the colors look close enough. That method most often misses bottom‑box mis‑cuts, later‑stage dirt, and mixed prints, especially when a single order includes three or more designs; issues often hide in the second design or the last box
MINDS (MS) splits the spot‑check into three layers
・Document layer: lay out the quotation, proof, and sample to verify they're the same version
・Physical layer: sample across boxes, stacks, and styles to avoid only seeing the neatest stack
・Record layer: bind each defect to photos and batch info so follow‑up reprints have a common reference
Which Documents Should Be Checked First After Receiving?
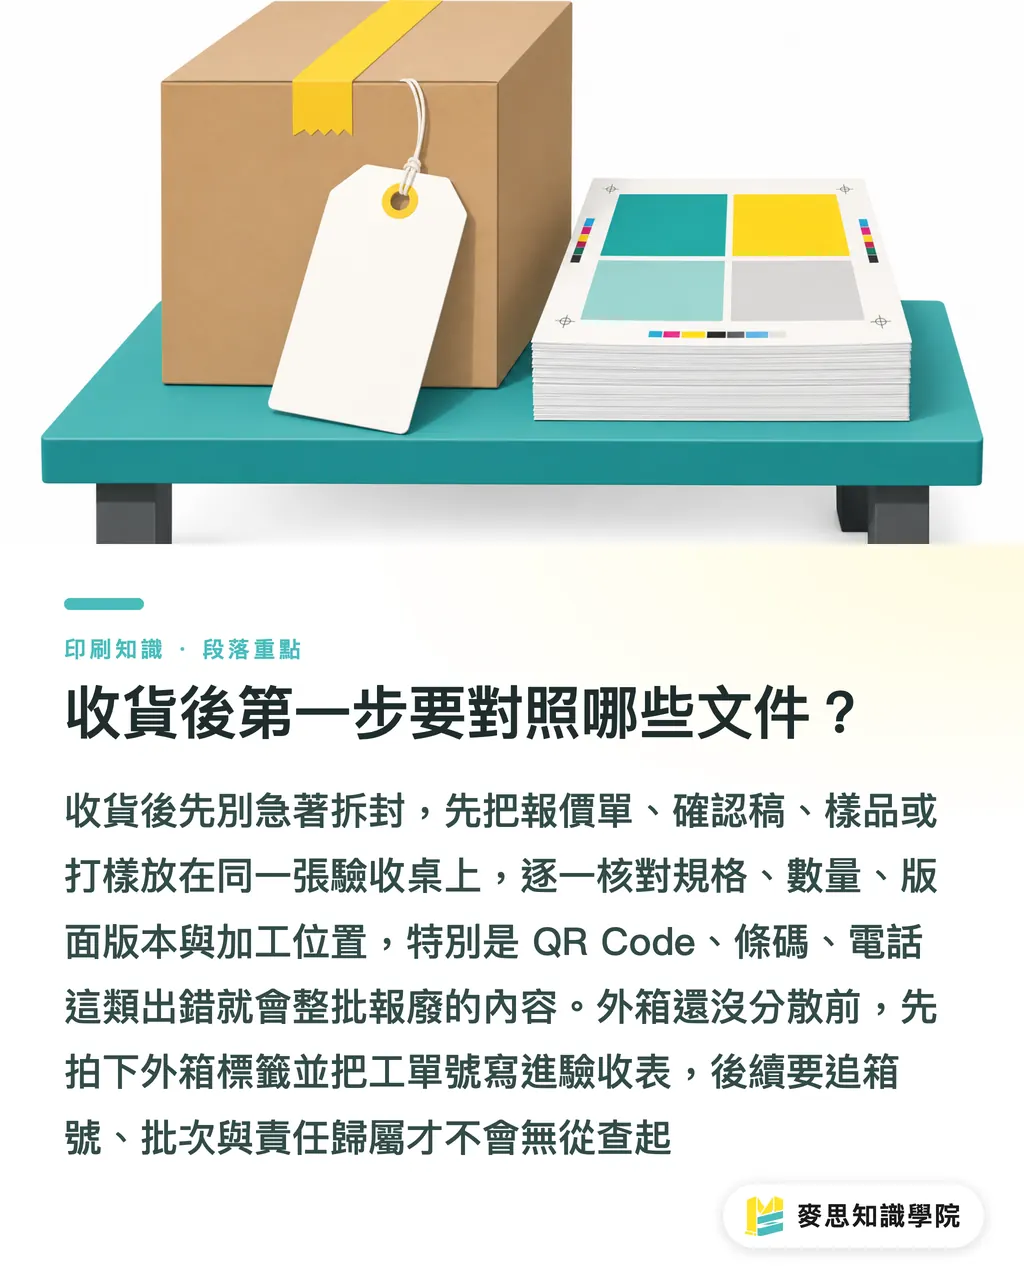
When the print items arrive, don't rush to unpack and take glossy photos; the receiving desk should have at least three items: the quotation, the proof, and a sample or mock‑up
・Quotation: verify specifications and total quantity, e.g., business cards listed as 90 × 54 mm, 500 pieces, rather than guessing
・Proof: confirm layout version, especially QR codes, barcodes, and phone numbers that would scrap an entire batch if wrong
・Sample or mock‑up: check paper feel and finish placement, e.g., foil stamping should sit on the logo, not drift toward the edge of the text
I usually snap a photo of the outer‑box label before fully opening it, then write the job number into the acceptance form. Once the outer boxes are dispersed across departments, box numbers and batch info become hard to trace
If your company keeps shuffling between proofs, quotations, and samples, Mai Strategy Knowledge Academy Consulting Team can help consolidate a single acceptance sheet understandable to both purchasing and design
How to Sample Physical Items to Capture Risks?
When there's no internal AQL table, I start with four sampling rules to flag batch‑level risk before deciding whether to expand the spot‑check
・Single‑style low‑quantity run: sample 10 pieces, taking from the top, middle, and bottom of the stack
・Multiple‑box delivery: at least one sample per box, with extra samples from boxes that are crushed or damp
・Mixed‑style batches: sample at least three pieces per style, cross‑checking style name and version
・High‑risk finishes: when foil, spot UV, or embossing is involved, take five additional pieces to verify position drift
If a defect shows up, don't jump to blame; first check whether the same defect repeats. When the identical defect appears in two consecutive box numbers, I treat it as a batch risk; if it's only on one sheet, log it as an isolated defect
The physical inspection follows a fixed six‑step order, making it hard for a new purchaser to miss anything
・Quantity: estimate using box labels and stack count, then open one stack to confirm sheets per stack
・Dimensions: measure the finished piece with a ruler or caliper, not by eye
・Cutting: check whether all four edges are straight and whether white borders are consistent
・Binding: look for off‑center saddle‑staples and any glue‑bound pages that have come loose
・Surface: inspect for dirt, scratches, dents, or back‑printing that concentrate in the same stack
・Mixed‑print: see if the same box contains old versions, other clients' prints, or versions in a different language
What Defects to Look for in Different Print Items?
Don't argue color differences under yellow office lighting; use a D50 standard light source if possible. Without a light box, at least keep the same white‑backed sheet, same white light, and the same phone camera settings
I focus on key points by product type
・Business cards and cards: check the 90 × 54 mm finished size, white corners, and double‑sided orientation
・Catalogs and booklets: for a 16‑page catalog, first flip through the pagination, then examine saddle‑staples for off‑center and glue binding for page loss
・Packaging boxes: fold three test boxes; the die‑cut, fold lines, tabs, and glue seams must form cleanly, a 1 mm offset on the box surface is usually noticeable
・Stickers and labels: verify the die‑cut hasn't cut through, that backing adhesive isn't left behind, and that barcodes or QR codes can be scanned
・Displays: examine large‑image joins, edge strips, hole placement, and fold lines after storage; upright displays like 60 × 160 cm are especially vulnerable to uneven top‑bottom cuts
For mid‑to‑high‑end catalogs, packaging, or displays where finish placement and color stability are critical, you can ask MINDS before printing to embed sample assessment points into the proof, saving a lot of hassle during acceptance
How to Record Acceptance so Reprints or Complaints Are Clear?
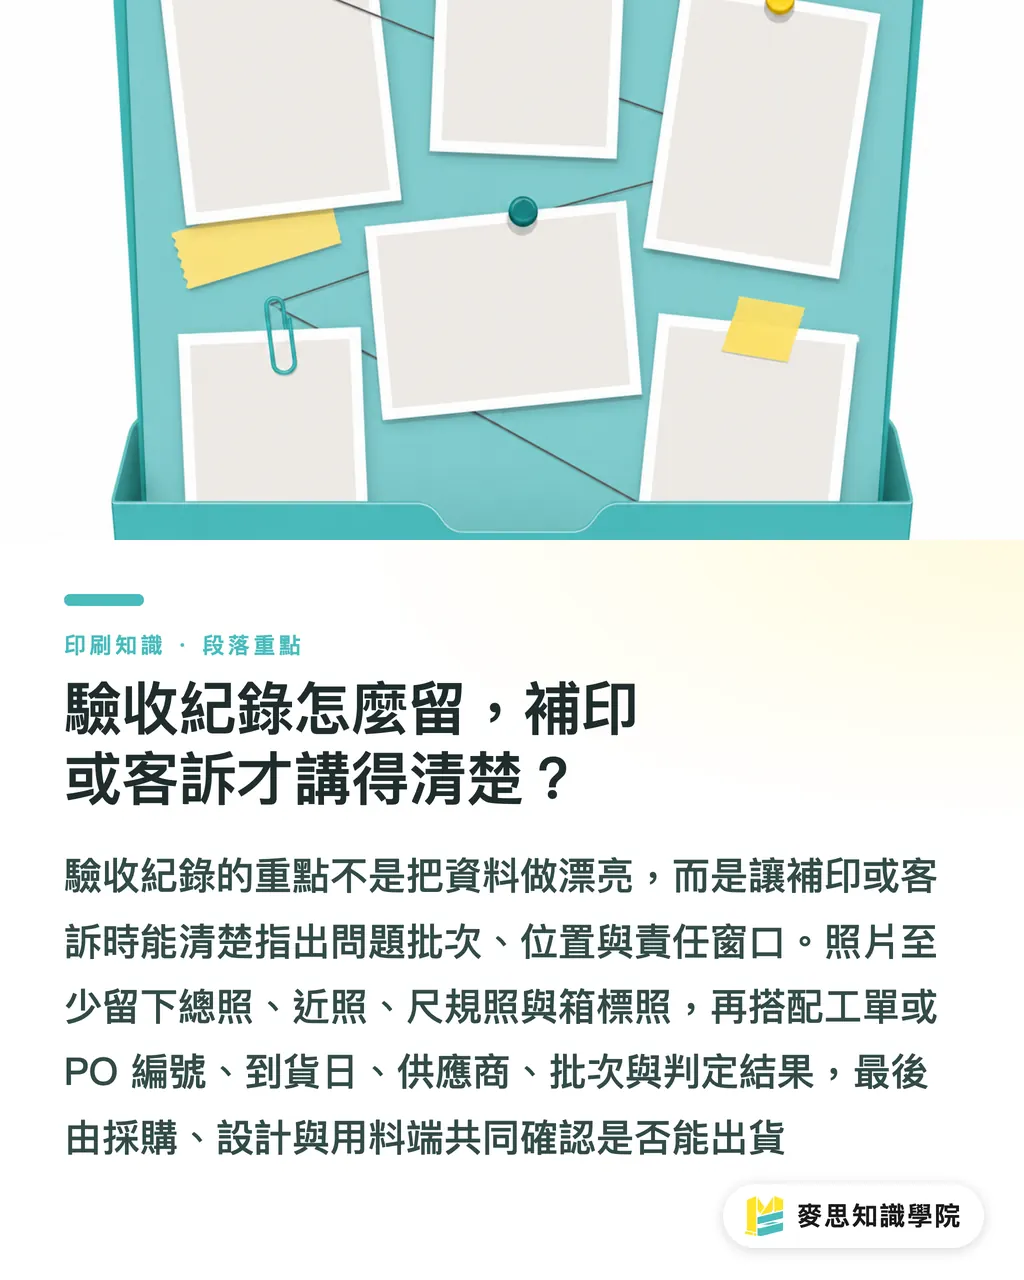
Take at least four photos of any defect; the photos aren't for pretty documentation but to show the supplier exactly which batch, side, and location the problem is on
・Overall shot: capture the whole batch or entire box
・Close‑up: focus on the defect detail
・Scale shot: include a ruler in the frame so size and offset are proportionate
・Box‑label shot: photograph the outer‑box label, job number or batch code
Don't overload the record fields; five are enough
・Job or PO number
・Receiving date
・Supplier and contact person
・Box number or batch
・Decision: Accept, partial hold, or pending reprint
AI tools can help organize acceptance photos, file names, box numbers, and supplier replies into searchable records; SaaS platforms can also link each batch to a single PO. The decision still needs sign‑off by purchasing, design, and the material side, because the onsite responsibility is whether the goods can ship, not whether the files look tidy
Key Takeaways
・Start the spot‑check with documents, then the physical pieces; missing any of the quotation, proof, or sample leads to miscommunication
・Effective spot‑checks sample across boxes, styles, and finish risks, the top stack is usually too clean
・Discuss color differences only under fixed lighting; identify whether dirt or offset concentrates in a single batch
・Bind photos to the job and box number; complaints without batch records are hard to negotiate for reprints
Further Thoughts
For the printing production side, spot‑check records feed back to cutting, binding, and finishing stations so the next batch avoids the same pitfalls; for designers, the proof should clearly spell out inspectable fields, size, die‑cut, QR code, and finish placement, because a beautiful layout that can't be inspected forces the floor to guess. For AI and SaaS teams, don't rush to build a full‑blown management platform; start by linking photos, box numbers, decisions, and supplier replies to a single PO. That small feature already saves purchasers from sifting through countless chat logs
FAQ
- How many pieces should be sampled during print acceptance spot‑checks?
- For low‑quantity runs, sample 10 pieces; for multi‑box deliveries, take at least one sample point per box; for mixed‑style batches, sample at least three pieces per style. High‑value or heavily finished items should be sampled further until you can tell whether the same defect repeats
- Can I demand a reprint directly for color differences?
- First compare the proof, sample, and photos taken under the same light source. If the color shift is confined to a specific batch or stack, the reprint discussion is clearer than simply saying "it looks off."
- When accepting packaging boxes, should I check color first or structure?
- Check the structure first, then the color; die‑cut, fold lines, tabs, and opening feel affect whether the box can hold items, while color issues can often be graded
- How should acceptance photos be taken to be useful?
- For each issue, take at least four photos: overall, close‑up, with a ruler, and the box label. File names or records should tie to the date, supplier, and job number
- How to spot‑check for mixed‑print issues?
- Sample at least three pieces per style in a multi‑style batch, verifying style name, version, language, and quantity one by one. If an old version or a different product shows up in the same box, immediately expand the check to other box numbers
Related articles



The Print × AI weekly
The print and AI know-how designers, brands and enterprises can use before they commit — one email, every week
MINDS Free Tools
Imposition calculator and preflight file check — free prepress tools, right in your browser.
MINDS Group
Need actual printing or gifting services?
From premium printing to online ordering and festive gifts — the MINDS Group sister brands take it from here.