
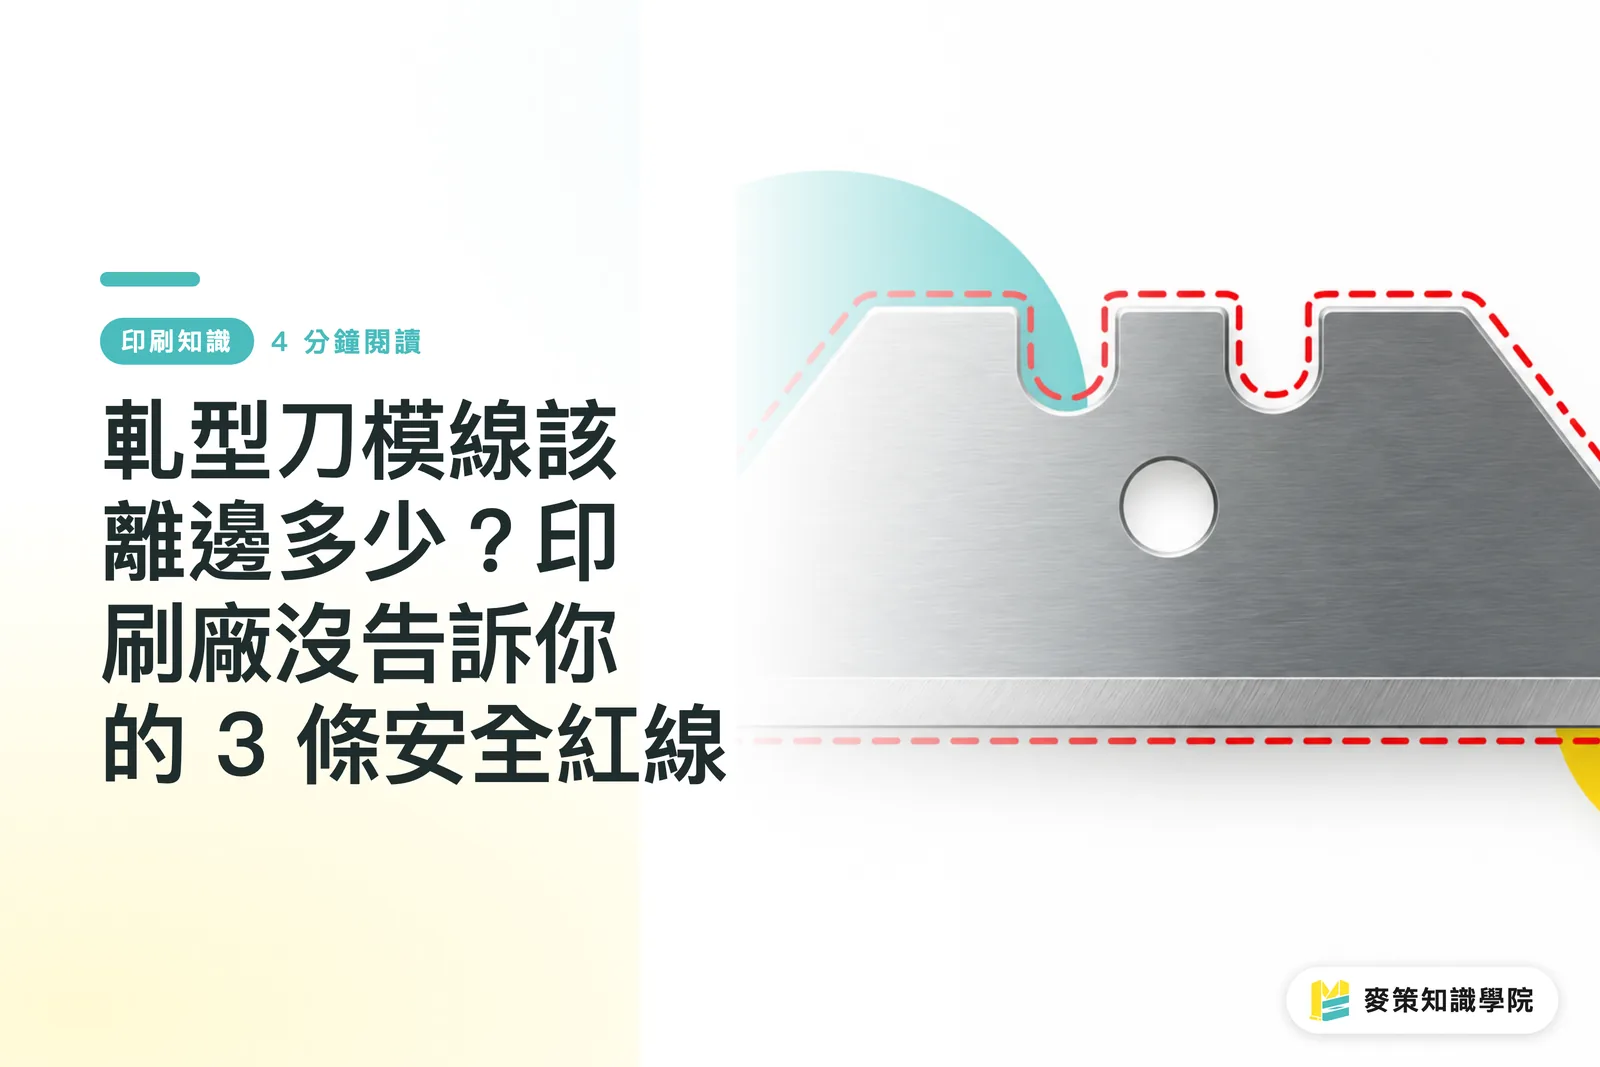
Why Do Die-cut Products Keep Cutting Crooked or Showing White Edges?
If the artwork sits too close to the edge or the bleed is too small, even a slight die shift can cut into important type or expose the white of the paper
Die-cutting (a finishing process that uses a custom steel die to apply pressure and cut paper into shape) involves a few centimeters of physical vibration from the machine. The paper itself also has grain direction and expansion and contraction tolerances
Over the past ten years, I've seen far too many beautifully designed files end up with an entire print run scrapped. The most common defects are crooked cuts, white edges along the cut line, or fuzzy paper edges caused by dull blades or incorrect pressure
To prevent these problems, designers must deliberately build in enough tolerance when preparing their files
You cannot expect a machine to achieve absolute zero error. With careful prepress setup, even if the machine shifts by 1mm to 2mm, the finished piece can still look flawless

How Far Should the Dieline Be from Important Artwork?
Keep at least a 3mm safety margin. If the stock is thicker than 300 tiao or the die-cut shape is unusually complex, widen the safety margin to at least 5mm
A dieline is the architectural blueprint for packaging and custom die-cut print products. Many newcomers place text, logos, or important graphics right against the dieline, which is extremely dangerous in practice
Mechanical tolerance is part of the die-cutting process. If the sheet shifts even slightly as it moves through the feeder, text placed against the edge can be cut off without mercy
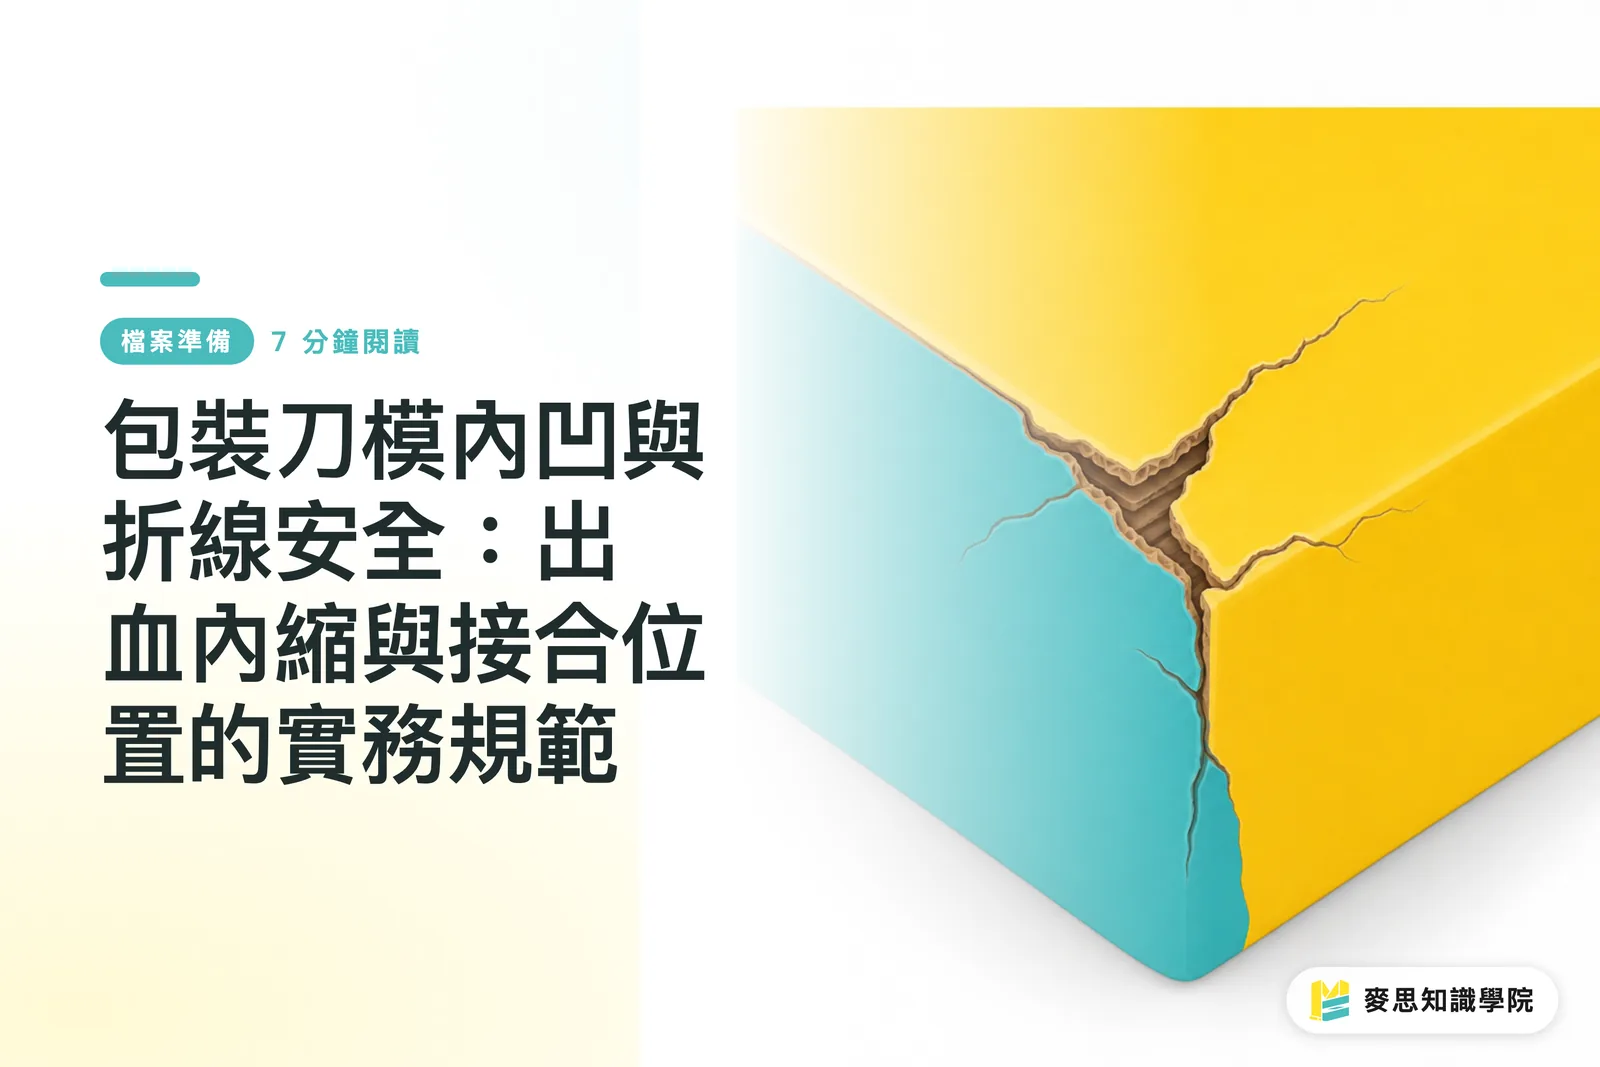
This is especially dangerous around concave edges and fold lines. If the safety margin is too tight, thousands of printed sheets will usually end up as scrap
When preparing artwork, always keep the main visuals and text inside the safety line. Give the die-cutting operator room to work, and save yourself the huge cost of a reprint
What Is a Bridge, and Why Do Folding Boxes Break?
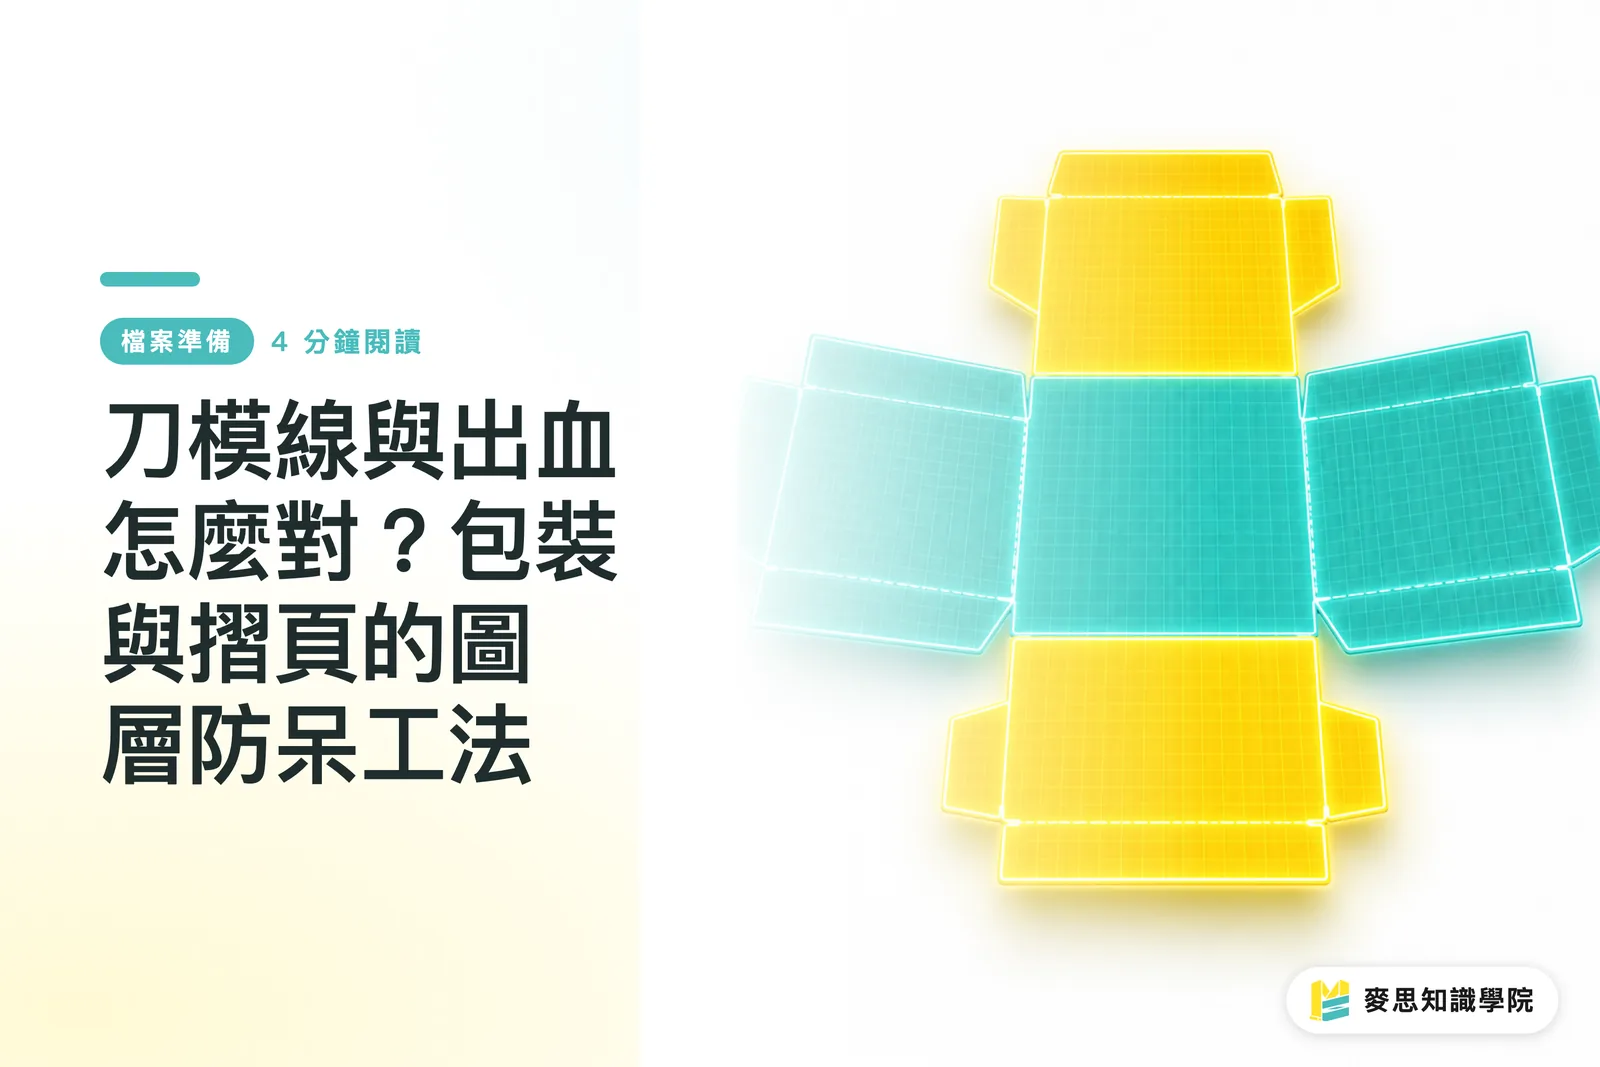
A bridge, also called a tie, is a small gap intentionally ground into the die with a grinding wheel at intersections in a multi-panel folding box. It keeps the sheet from separating completely after die-cutting and preserves structural strength
When a package structure contains dense, intersecting fold and cut lines, cutting every die line all the way through removes the sheet's physical tension. During later hand or automatic gluing, the piece can fall apart or tear
Setting bridges is like laying a foundation in a building. Along the die line, you leave a small uncut gap of about 0.5mm to 1mm at set intervals
This calls for flexible judgment based on stock thickness and paper grain direction
Experienced print-production staff or plant operators know which joint points need bridges for the most stable result. Designers can also discuss this with the printer during prepress, confirm that bridge locations will not affect the appearance, and protect the forming rate and production yield of complex structures
Why Can't Die-cutting Bleed Be Limited to 3mm?
When a full-bleed color reaches the edge of a custom shape, the amount and direction of die shift are usually harder to predict than with a standard straight cut. You need 3mm to 5mm of bleed to cover the risk
A rectangular poster is cut straight up and down, so 3mm of bleed is usually more than enough
With a custom die featuring curves, corners, or multiple sides, the blade bears very uneven loads at different angles, which multiplies the risk of shifting
For a concave edge on structural packaging, the bleed logic becomes more complicated. You need enough trim allowance and inset bleed so that whether the die shifts east or west, the cut edge still carries full-bleed color instead of exposing even a sliver of embarrassing paper stock
In situations like this, adding a few centimeters of extra bleed is the best insurance. Leave extra rather than trying to fix it afterward
Which Dieline Specifications Should You Check Before Delivering the File?
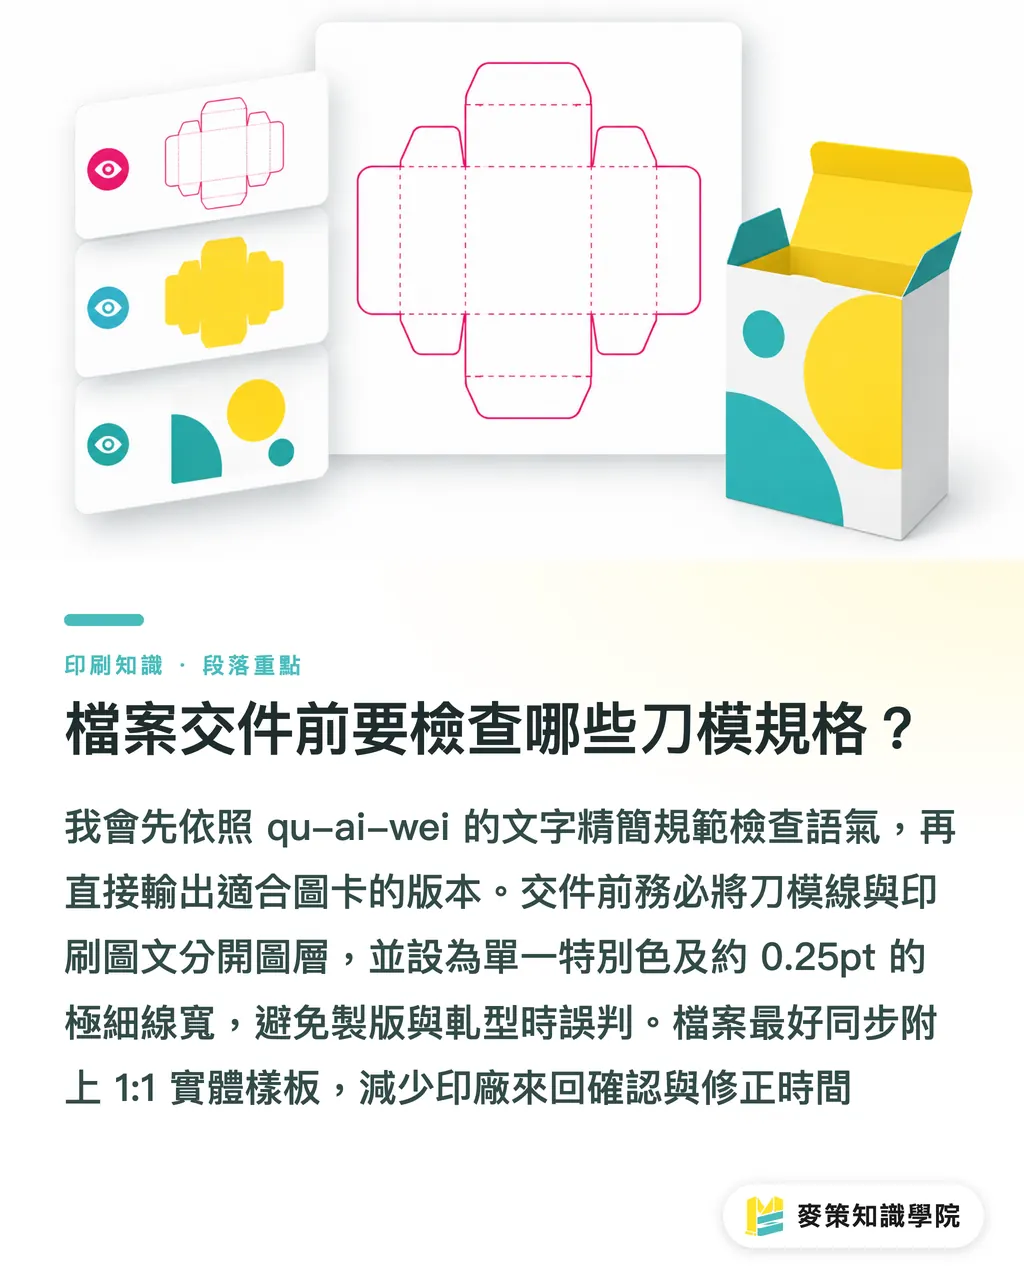
The most commonly missed requirement is to put the dieline and printed artwork on separate layers, with the dieline set as a single spot color and an ultra-thin stroke
Many designers simply send the drawn lines to the printer without separating the layers, or set the dieline as four-color black, with 100% CMYK in each channel. This forces the prepress and die-cutting teams to spend a lot of time finding errors and separating the lines
In practice, the dieline layer must be completely independent. Use a spot color that will not be confused with the printed artwork, such as 100% magenta set as a Spot Color, and set the stroke to around 0.25pt
If you are not confident about your file, you can always ask the Mai Strategy Knowledge Academy consulting team for a file review and preflight check
Also prepare a 1:1 physical mockup and send it to the printer with the file. It can save a huge amount of back-and-forth confirmation time
Key Takeaways
・Keep at least 3mm of safety distance between important artwork and the dieline. Move it farther inward for thicker stock
・Leave bridges at intersections in complex folding boxes to prevent the sheet from losing tension and breaking after die-cutting
・For custom die-cutting, a bleed of 3mm to 5mm is strongly recommended. It requires more tolerance than a standard straight cut on a poster
・The dieline must be on its own layer, using a single spot color and an ultra-thin stroke that will not be confused with the print colors
Further Thoughts
Cloud software and design tools have lowered the barrier to entry. Visual drafts can be produced several times faster than before
But the physical constraints involved in turning an image on a screen into a mass-produced physical product have not disappeared. Knowing paper behavior, understanding die-cutting tolerances, and turning prepress fail-safes into standard operating procedures are the real capabilities that help print buyers and design teams cut waste and ship consistently
The hands-on feel and experience built up on the production floor are still very hard for pure software to replace in the short term
FAQ
- What happens if the dieline is not on its own layer?
- Before plate making, the printer has to manually pick out and separate your dieline one line at a time. If the artwork is complex, it is very easy to miss a line or shift it, leaving you with a die that is completely different from what you intended
- I already left 3mm of bleed. Why are the edges still showing white?
- The stock may be thicker, the die-cut shape may be too complex, or uneven blade pressure may have caused a shift greater than 3mm. For this kind of custom cut, it is safer to increase the bleed to 5mm from the start
- When should I include a physical mockup for the printer?
- For a structural box, complex fold lines and concave structures, or an unusual die layout, it is strongly recommended that you first make a paper mockup with a cutting plotter or by hand and fold it to test. Once you have confirmed that the structure works, send it with the file as a reference standard for the printer
Related articles


The Print × AI weekly
The print and AI know-how designers, brands and enterprises can use before they commit — one email, every week
MINDS Free Tools
Spine width and imposition calculators — skip the manual math, free in your browser.
MINDS Group
Need actual printing or gifting services?
From premium printing to online ordering and festive gifts — the MINDS Group sister brands take it from here.