
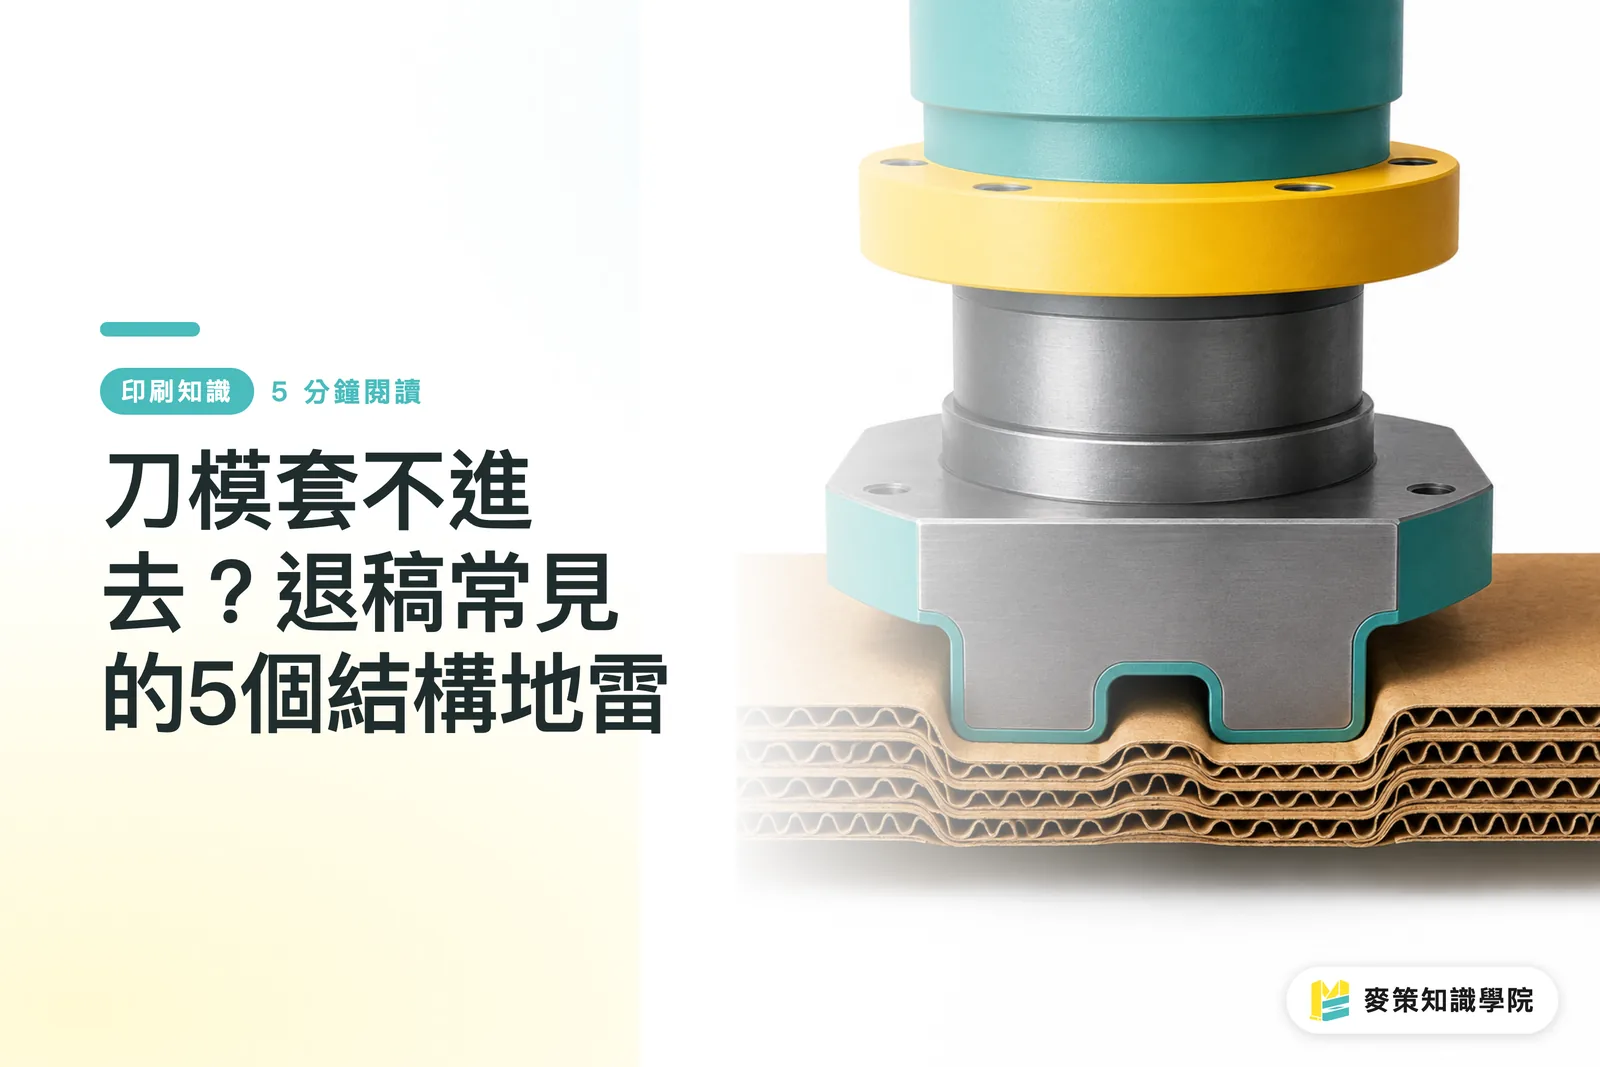
Why Are Die-Cuts Getting Rejected? Understanding Trapped Waste in Closed Cutouts
One major reason die-cuts fail is having completely closed cutouts in the file. When all four sides of a shape are cut through with zero connection to the surrounding sheet, that cutout floats loose during die-cutting and gets jammed inside the die
The classic scenario is a custom sticker with an inner decorative cutout, or a folding carton with decorative hollow patterns. Designers focus on making it look sharp, forgetting that the cutout becomes a physical island. The die-cutting machine cannot strip this scrap from the finished piece, leading to paper jams, blocked dies, and entire production halts over one tiny detail
When dealing with this kind of design, the standard fix is leaving a small connecting point on the cutout, or switching to spot UV and print effects to create the visual illusion of a cutout without actually slicing through the paper

What Happens When Cut Lines Are Too Close to the Sheet Edge?
Placing cut lines too close to the edge of the sheet causes uneven stress, which easily tears or shifts the paper during die-cutting. This is the second most common cause of misalignment. If safety margins are too tight, a slight machine variance will ruin the entire sheet
Paper has physical tension and elasticity. The moment the die presses down, paper fibers stretch. If cut lines sit only a couple of millimeters from the bleed or sheet edge, minor registration shifts will cause the die to cut where it should not, or tear a corner right off the edge
In practice, this problem shows up all the time with hang tags or custom-shaped business cards. Designers fill the canvas completely, running die lines right up against the edge. The artwork looks fine on screen, but proofing at the press reveals collapsed or torn edges. Rejection rates for these jobs are exceptionally high, which is why it is the very first check in Mai Strategy's 3-step pre-press review
Missing Bridges: Why Die-Cut Sheets Fall Apart Into Pieces
Bridges are tiny uncut gaps intentionally left along the die line, keeping the die-cut sheet intact so it does not fall apart. If the die line cuts continuously without bridges, the stock breaks into pieces right after cutting, making downstream folder-gluer or mounting operations completely impossible
This is easily overlooked in intricate packaging or multi-layer stickers. Designers think in terms of drawing every line that needs cutting, without realizing the press needs a few anchor points to keep the shape attached to the waste matrix for automated stripping and handling
There is no fixed formula for the placement or number of bridges. It depends on stock caliper, shape complexity, and post-press workflows. This is where real press experience matters most with die-cut files, path tools in design software cannot calculate this on their own

Why Poorly Handled Fold-and-Cut Intersections Trigger Rejections
When fold lines and cut lines meet at the exact same point without an angle adjustment or slight offset, die-cutting can slice through areas meant to fold and fail to crease areas meant to bend. This is one of the most frequent reasons packaging artwork gets rejected
A common mistake is extending fold lines all the way to collide head-on with cut lines. The machine applies uneven pressure at that focal point, resulting in cracked corners or uneven folds that skew the box during gluing
The safer approach is making a fine adjustment at the intersection: terminate the fold line slightly short of the cut line, or add a small rounded buffer. You can barely spot this tweak on screen, but it makes all the difference in whether the box folds cleanly
Bleed and Gripper Margin Errors: How to Get Them Right on the First Try
Insufficient bleed and incorrect gripper margins are the most fundamental, yet most frequently ignored, reasons behind die-cut misalignment. Bleed typically requires around 3 mm as a reference, while the gripper edge is the margin where press rollers grip and feed the paper. No artwork or die lines can sit in this gripper area, or the entire print run will misalign
Many designers mix up bleed with safety margins. Bleed provides tolerance for trimming, while safety margins mark the boundary to keep graphics from sitting too close to the cut. They serve different purposes. If a file includes bleed but ignores safety distance, or places die lines in the gripper margin, no level of press precision can save it
Before sending files to print, run through the logic of Mai Strategy's 3-step pre-press checks: 1. Is the die line on its own isolated layer rather than mixed with artwork? 2. Are bleed and safety margins adequate? 3. Are fold-cut intersections and bridges clearly marked? Clearing these three checkpoints lowers rejection risks significantly. If the file is complex, you can also reach out to MINDS to review it before proofing
Pre-Flight Checklist: Auditing All Five Traps Before Hitting Print
Reviewing your files against these five pitfalls before sending them to press saves far more time and money than dealing with post-rejection rework
・Closed Cutouts: Check for floating island cutouts where all four sides are severed with no connection to the surrounding stock
・Safety Clearance: Check whether die lines maintain enough distance from sheet edges and bleed boundaries
・Bridges: Ensure intricate dies include connecting bridges to keep the sheet from shattering during cutting
・Fold-Cut Intersections: Check where crease lines meet cut lines for angled offsets or rounded relief buffers
・Bleed and Gripper: Verify bleed dimensions and confirm that no graphics or die lines cross into the gripper margin
The real danger with die-cut artwork is not misdrawing a single vector, but miscommunication between design and press regarding file intent. When uncertain about a shape, consulting someone with press experience beats gambling on proofing time and material costs. If you need structural guidance, the Mai Strategy Knowledge Academy consulting team brings line-level insight that is far faster than guessing on your own

Key Takeaways
Closed cutouts without connecting points cause die jams and machine blockages. Visual appeal does not override physics
Die lines set too close to the sheet edge will crack and tear at the slightest registration variance
Bridges are essential for keeping cut sheets intact, you cannot skip them on complex packaging
Fold and cut lines colliding at the same point create severe skewing during box folding and gluing
Bleed and gripper margins serve completely different functions. Confusing the two is a fast track to rejection
Further Considerations
For designers, die-cutting traps almost always stem from the gap between design logic and machine logic. A vector path closed neatly in design software does not mean the die-cutter can cleanly separate the stock. Make it a habit during prepress layout to review every intersection and closed cutout through the lens of a die-cutting press. For teams or SaaS platforms automating pre-flight workflows, these five pitfalls can easily be encoded into rule-based checks. Catching errors right at file setup saves massive amounts of time and material compared to fixing them after proofing rejections
FAQ
- How much safety clearance is required for die-cut lines?
- Keep at least a few millimeters of tolerance between die lines and sheet or bleed edges. Exact numbers vary based on paper caliper and shape complexity: thinner stocks and more intricate contours demand wider safety margins
- What are bridges, and why are they necessary?
- Bridges are small uncut gaps along a die line that hold the cut stock together in a single sheet. Without them, intricate packaging shapes or multi-layer stickers shatter into scattered loose pieces right after cutting
- Are bleed and safety margins the same thing?
- No. Bleed is the extra print area extending past the trim to allow for cutting tolerance, while safety margins warn against placing critical graphics too close to the cut. They serve different roles and must be set up separately during pre-press
- Why do fold-and-cut intersections frequently cause file rejections?
- When crease and cut lines collide directly at the same point, folding areas can be sliced through while cutting lines fail to bend properly. This causes cracked corners and misaligned folds. Always offset the intersection slightly or add a rounded relief buffer
- Is there a simple pre-flight checklist to follow before sending files to print?
- Follow the logic of Mai Strategy's 3-step pre-press checks: first verify that die lines sit on an isolated layer, confirm bleed and safety margins are sufficient, and finally ensure fold-cut intersections and bridges are properly marked. Clearing all three steps drastically cuts down rejection rates
Related articles



The Print × AI weekly
The print and AI know-how designers, brands and enterprises can use before they commit — one email, every week
MINDS Free Tools
Spine width and imposition calculators — skip the manual math, free in your browser.
MINDS Group
Need actual printing or gifting services?
From premium printing to online ordering and festive gifts — the MINDS Group sister brands take it from here.