
How many layers should die-cut lines actually be split into from the print file?
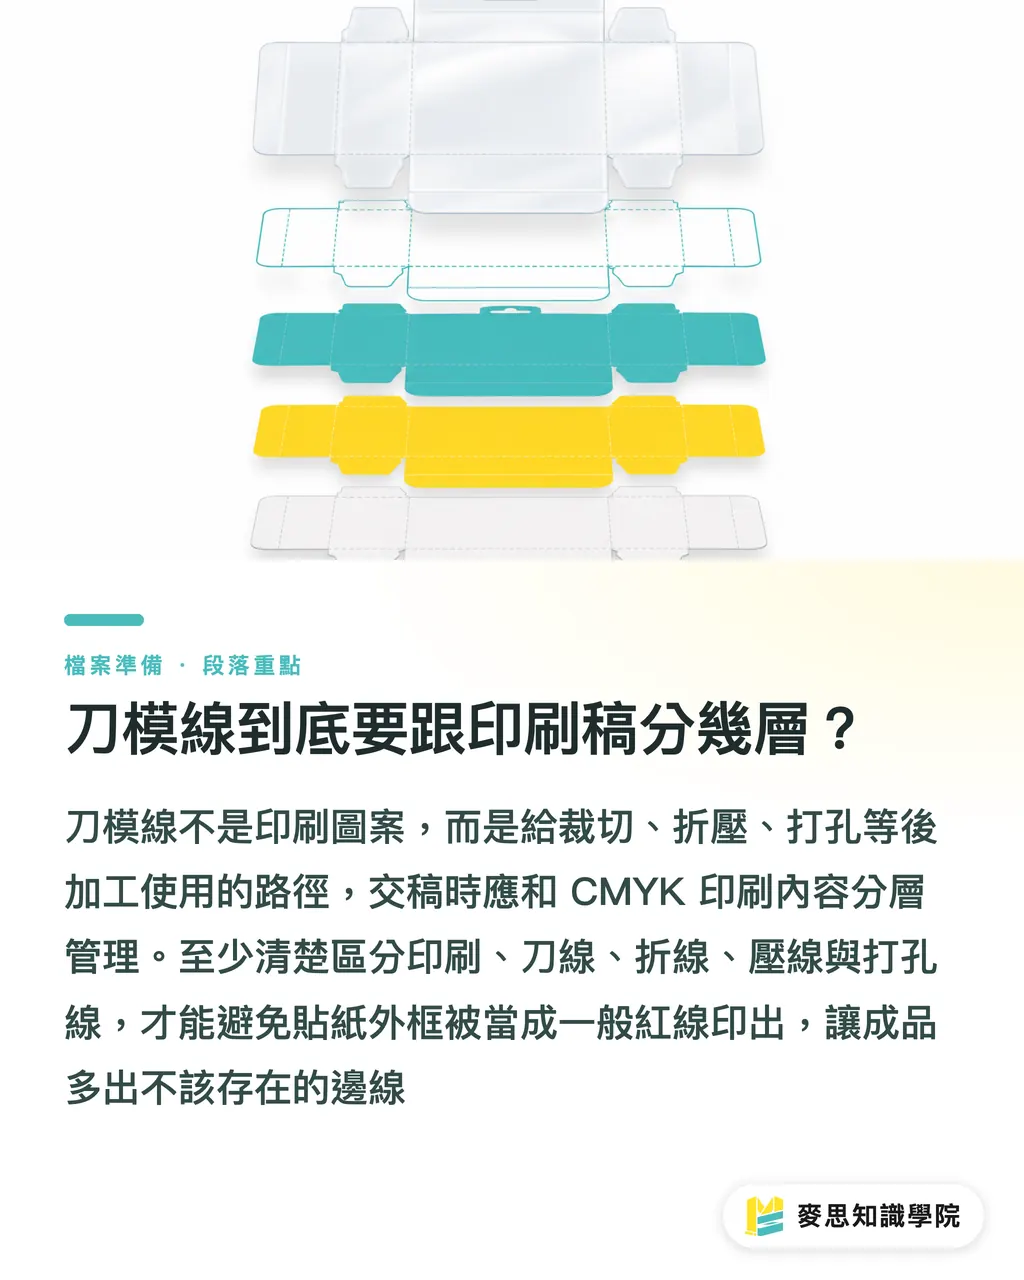
A die line is the processing path used for cutting, creasing, folding, and drilling, usually drawn out as a 2D flat pattern that marks the box shape, sticker outline, and fold positions. It is not something you hand off as a regular CMYK artwork element
For packaging or custom-cut work I'd split the file into at least 5 categories of information. Anything fewer than that and the prepress side tends to mix up "what gets printed" with "what gets processed."
・Artwork layer: holds the CMYK images, text, background color, brand color, barcodes, and everything that actually prints onto the stock
・Die-cut line layer: marks the cut outline, custom-cut sticker edge, and box outer contour. These lines must never go into CMYK
・Fold line layer: marks the box fold positions, usually drawn as dashed lines or separated into their own spot color
・Crease line layer: marks where creasing is needed. On thick cardstock and corrugated laminates this can't be left to the designer's eye
・Perforation line layer: marks tear lines, holes, tag holes, and easy-open notches. The finishing team uses these lines to pick tooling and machine methods
The first of MINDS' (MS, mid-to-high-end fully custom commercial printing) three handoff gates is layering. Once a print shop takes in a file it doesn't just hit Print. The file passes through plate-making, imposition, output, die-cutting, box-gluing or lamination, each handled by different people. The clearer the layer names, the lower the handoff risk
A really common mistake on stickers is leaving a red outline sitting on top of the design as if it were just a visual reference
When the file goes into a digital print or gang-run workflow, the RIP can treat that red line like any other object and the finished edge ends up with a ring of red that was never supposed to be there
How should die, fold, crease, and perforation lines be labeled?
On the same flat pattern, die lines, fold lines, crease lines, and perforation lines each need their own Spot Color name. The names should be readable at a glance by prepress and finishing, not things like "red line," "don't print," or "linework 2" that only the designer understands
These are the safe conventions I see most often on the floor. Each processing line gets its own layer and its own spot color
・Die line: layer name Dieline, spot color DIE-CUT, stroke width 0.25 pt, set to Overprint Stroke
・Fold line: layer name Fold, spot color FOLD, can use dashed strokes to keep it from being mistaken for the cut line
・Crease line: layer name Crease, spot color CREASE. Thick paper boxes, book jacket flaps, and tag folds all need to be marked clearly
・Perforation line: layer name Perforation, spot color PERF, tear lines and round holes should have their dimensions or purpose noted separately
・Artwork: layer name Artwork or Print, holds the actual CMYK, Pantone, or brand color content that prints
Spot color naming isn't for show. The point is to let the RIP, prepress, and die maker pull the processing lines out of the printing color separations
If DIE-CUT gets converted to CMYK red, it loses its processing function, and the next person in line has to guess by eye
Some shops specify that die lines must be 100% Magenta or a particular Spot Color. Others require fold lines as dashes and crease lines as dots
Those differences are normal. Asking the printer for their spec before opening the file saves more time than redoing six box layouts after submission
Why can't a mockup replace a production-ready die file?
A mockup is mainly for confirming how something looks in 3D. When it comes to actual production, the machine and the operator are still looking at the die file. They serve different purposes
The roughest job I've seen was a client handing over a beautiful 3D packaging render for production. The lid proportions looked right, but the flat layout had no glue flap, no crease lines, no bleed. The job had to be sent back and redone
A production-ready die file needs at least these 4 things
・A correctly sized 2D flat pattern that shows the finished size, the unfolded size, and orientation
・Bleed, usually 3 mm. For thick paper, laminated sheets, custom shapes, or large solid areas, double-check against the shop's spec
・Safe zone that pulls text, barcodes, and logos away from the die line. 3 mm is the usual minimum; special paper-box folds need more
・Structural information like glue flaps, tuck-ins, locking bases, hang holes, and tear lines drawn on the processing layer, not only appearing in mockup images
Mockups can go along, but they can't go alone
Designers can use a mockup to show the finished direction, how the lid opens, and how the artwork wraps across panels. What prepress and die making actually read is vector lines, spot-color processing lines, dimension callouts, and a checkable PDF
For companies doing mid-to-high-end custom packaging, I'd suggest sending the structural die, print layers, and processing notes all at once to a custom commercial printing contact like MINDS for confirmation. Box structure and finishing tend to pull in paper choice, lamination, die-cutting, and gluing sequence all at once

How do you check overprint and layer locking before sending a file?
When finishing a file in Illustrator, the die line should be set as a non-printing line or its own spot-color processing line, and Overprint Preview should be turned on for inspection
This step doesn't take long. Around 5 minutes is usually enough to catch the kind of mistake that prints the die line onto the finished piece
My own check sequence is pretty fixed
・Turn on Overprint Preview and confirm DIE-CUT, FOLD, CREASE, and PERF still display as processing lines
・Check Separation Preview (or channel preview) to confirm the processing spot colors haven't bled into the CMYK plates
・Lock the die layer so a last-minute artboard adjustment doesn't shift the cut line by 1 mm
・Hide the processing layers and export a print-only check PDF to confirm there are no stray red, blue, or dashed lines on the finished image
・Show the processing layers and export a finishing-notes PDF so sales, prepress, and finishing can read what each line is for
It's common to swap copy, change a barcode, or move a logo at the last minute and forget the die layer isn't locked
In a packaging file, a 1 mm shift between the die line and the artwork is enough to cause a sticker white edge, an off-center lid, or a fold line landing on top of text
For more standard items like small-batch stickers, business cards, and tags, an online printing flow like Mind Print can handle it. But once there's custom cutting, special perforation, folds, or creases, the same processing-layer checks still need to run before submission
What goes into a finishing-notes PDF?
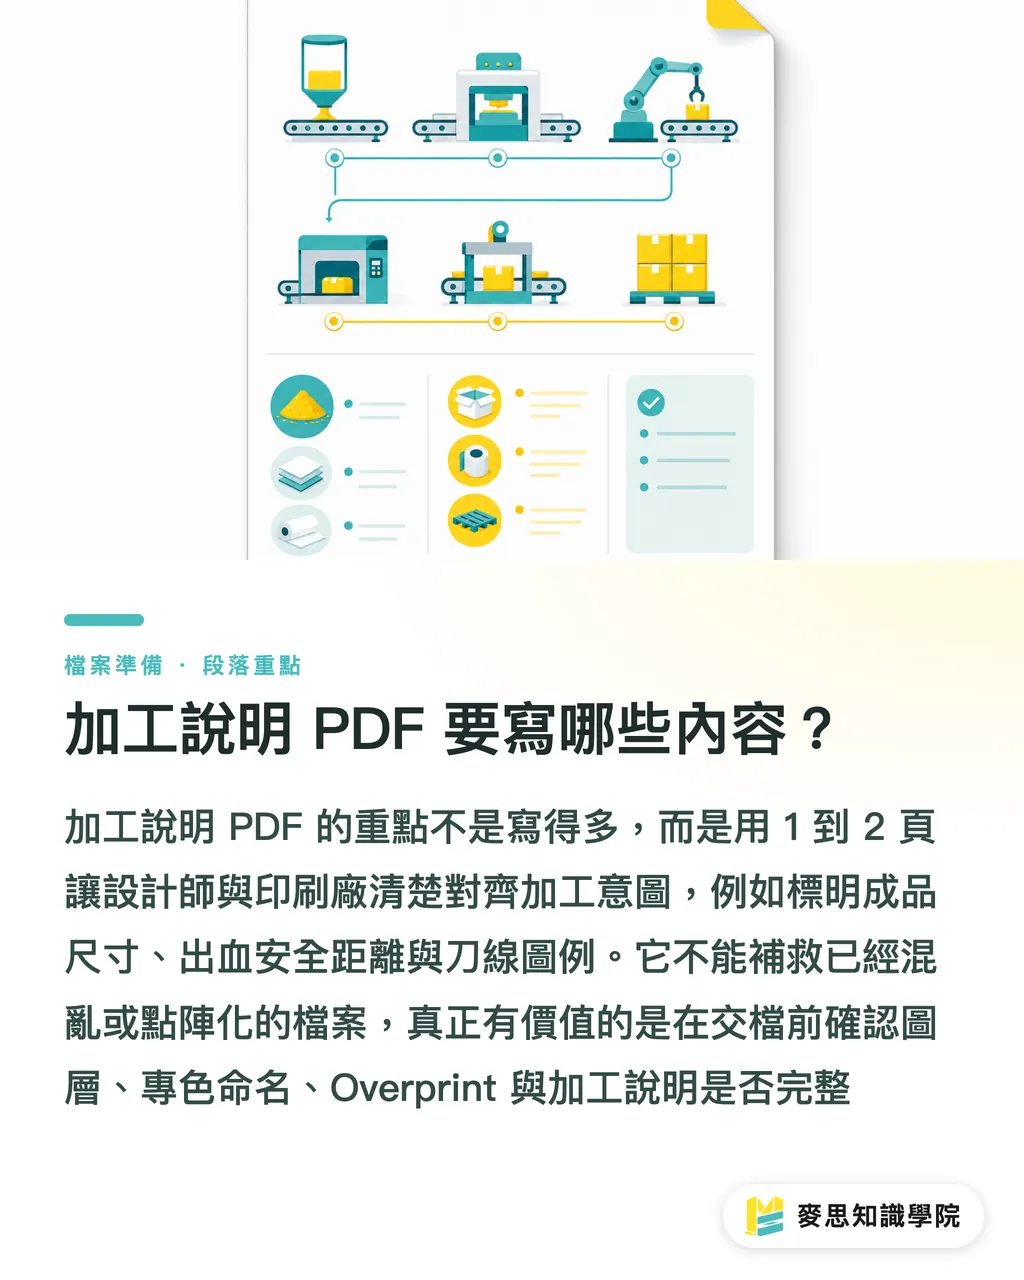
A finishing-notes PDF is the document that lines up the designer's intent with what the print shop does. It's best sent together with the final artwork file
A useful notes PDF doesn't need to be a 20-page deck. 1 to 2 pages is usually enough. The point is that every line gets understood
A finishing-notes PDF should cover the following
・Finished and unfolded dimensions, for example finished 90 x 55 mm, with bleed 96 x 61 mm
・Paper and thickness requirements, for example coated sticker paper, synthetic paper, white card, E-flute laminated board
・A processing-line legend, for example red solid line is DIE-CUT, blue dashed line is FOLD, green dotted line is PERF
・Bleed and safe-zone notes, for example 3 mm bleed on all four sides, text at least 3 mm from the die line
・Special processing notes, for example matte film before die-cutting, coating avoiding the fold line, 5 mm hang-hole diameter
・Mockup or finished reference, to confirm opening direction, front/back relationship, and how the artwork wraps across panels
Worth saying clearly to designers: a PDF isn't there to rescue a messy file
If AI-generated art, 3D mockups, or deck images have already baked the die line and the artwork into one raster blob, no amount of notes attached afterward will rescue prepress accuracy
For SaaS teams or print workflows bringing AI into the loop, the highest-value check isn't having the tool "guess" where the die line is. It's turning file rules into fields the system can flag: does the layer exist, is the spot color named, is the processing line set to overprint, does the PDF include finishing notes
These rules sound ordinary. In practice they stop a lot of errors that only blow up once they're on the production line
Key Takeaways
・A die line is not a decorative line. Once it slips into CMYK, there's a real chance it ends up on the finished print
・A packaging file should split out at least 5 categories: print, die line, fold, crease, perforation
・Spot color naming should serve prepress and finishing, not the designer's own memory
・A mockup can explain how it looks, but it can't replace a 2D vector die file plus a finishing-notes PDF
・Turning on Overprint Preview before submission is a lot cheaper than reprinting a batch of boxes
Further Thoughts
On the print manufacturing side, "printable" and "processable" need to be checked separately. On the design side, the die layer should be treated as a production drawing, not a visual aid. AI and SaaS tools should prioritize checking those 5 things: layers, spot colors, bleed, safe zone, and the finishing-notes PDF. When a third-party consultant is needed to set up internal file specs, the Mai Strategy Knowledge Academy consulting team can help turn common product submission rules into internal templates first
FAQ
- Why does the die line end up printing on the finished piece?
- The die line usually prints because DIE-CUT wasn't set as a spot-color processing line, or it was converted into a regular CMYK element. Before submission, check Overprint Preview and Separation Preview to confirm
- What layers should a packaging file be split into?
- A packaging file should be split into at least 5 layers: Artwork, Dieline, Fold, Crease, and Perforation, so printing, cutting, folding, creasing, and drilling each stay independent
- How should die-line spot colors be named?
- Die lines can be named DIE-CUT, fold lines FOLD, crease lines CREASE, and perforation lines PERF. Actual naming still has to match the print shop's spec
- Can a mockup be sent straight to the print shop for die-making?
- A mockup is only for showing appearance and direction. It can't replace a production-ready die file. Die-making needs 2D vector lines, correct dimensions, processing layers, bleed, and safe zone
- Is a finishing-notes PDF always required?
- For custom cuts, fold lines, creases, perforation, glue flaps, or wrap-around designs, a finishing-notes PDF is strongly recommended. 1 to 2 pages with clear dimensions, line-type legend, and processing notes is plenty useful
Related articles



The Print × AI weekly
The print and AI know-how designers, brands and enterprises can use before they commit — one email, every week
MINDS Free Tools
Imposition calculator and preflight file check — free prepress tools, right in your browser.
MINDS Group
Need actual printing or gifting services?
From premium printing to online ordering and festive gifts — the MINDS Group sister brands take it from here.