

What Are Rhinestone Stickers, and How Are They Different from Ordinary Stickers?
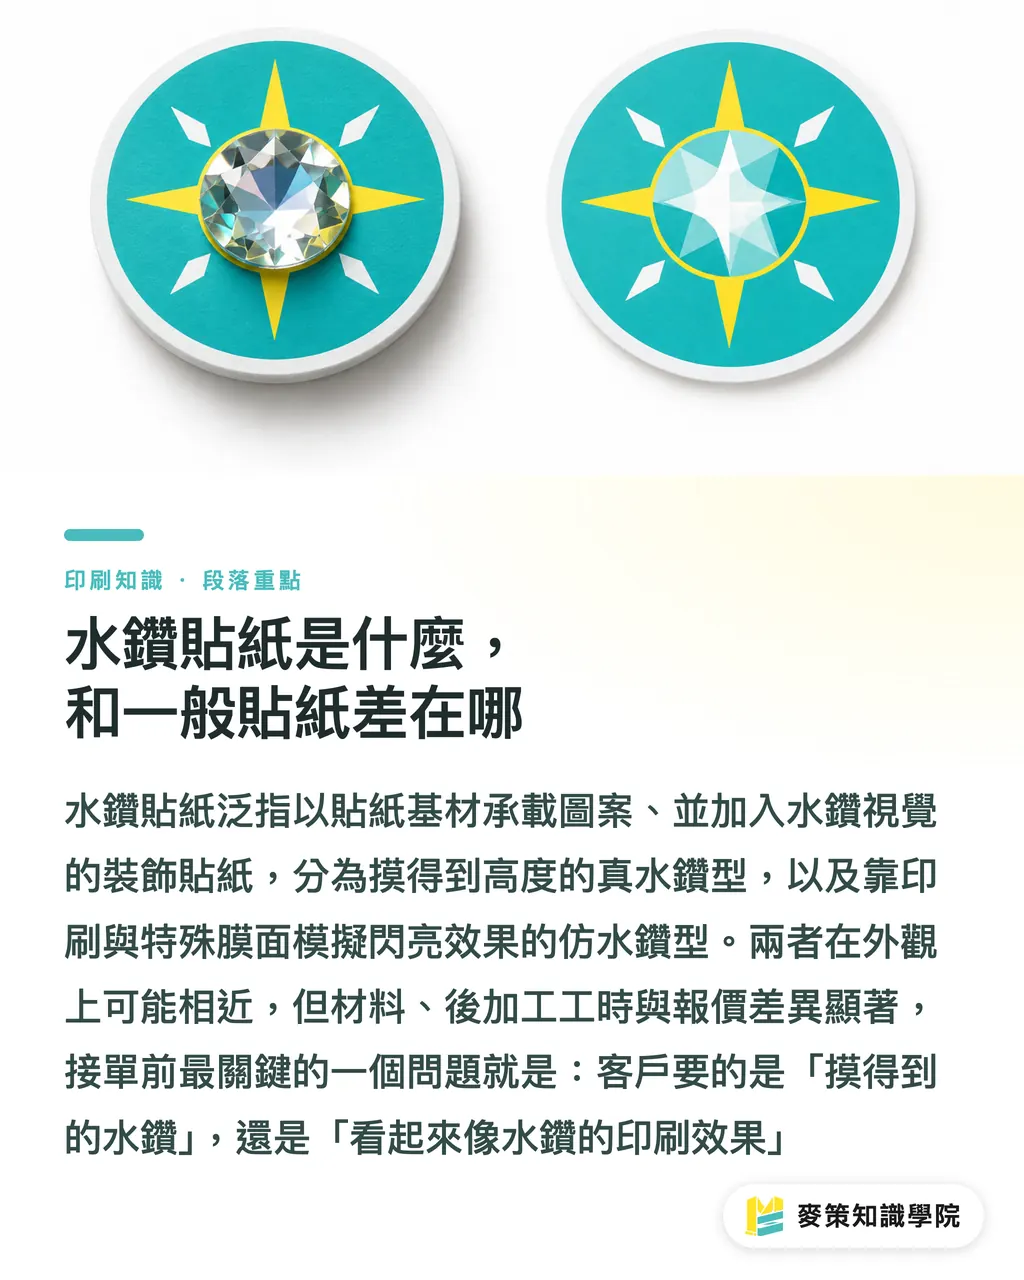
Rhinestone stickers are decorative stickers that combine a printed design, adhesive, and a rhinestone look on a sticker substrate. The surface may include actual three-dimensional components, or it may use a flat sparkling effect
In Taiwan's printing industry, the term rhinestone sticker refers to a decorative sticker that carries a design on a sticker substrate, then adds three-dimensional rhinestones or a reflective visual effect, and uses adhesive to attach it to products, packaging, or display materials
・Real rhinestone type: Rhinestone components are arranged or attached to the substrate. You can feel the raised surface, and the finishing and assembly take more labor
・Printed faux-rhinestone type: Printing, spot gloss, or a special film creates a sparkling effect. The surface stays flat, making it suitable for mass reproduction
The same brand logo may require different production methods when it goes on a flat gift box versus a curved container
When I take an order, my first question is whether the customer wants rhinestones you can actually feel or a printed effect that only looks like rhinestones. That one answer directly changes the materials, workflow, and quote
How Does a Rhinestone Sticker's Structure Work?
A rhinestone sticker's durability and feel depend on whether the surface effect, print layer, sticker substrate, adhesive, and release liner work well together
Printing and postpress (the processing steps completed after printing) need to be considered separately. Printing handles the image and color. Postpress handles protection, shaping, adhesion, and the final surface finish
・Print layer: CMYK (four-color printing in cyan, magenta, yellow, and black) handles the basic image. Transparent or dark substrates may also require an underbase and white ink
・Surface layer: Lamination adds a transparent film over the printed surface. Gloss lamination heightens reflections, while matte lamination reduces harsh glare
・Substrate and adhesive: Paper, plastic film, or another sticker substrate affects stiffness, how the sticker peels, and how well it adheres
・Release liner: It keeps the sticker peelable during processing, inspection, and shipping. If it is too thin or soft, imposition and application become more difficult
For example, a sticker applied to a transparent bottle cannot be judged by the front-side artwork alone. You also need to check whether the adhesive suits curved surfaces, whether the film affects adhesion, and whether the edges will lift
How Do You Choose the Adhesive, Lamination, and Die Line?
The adhesive, lamination, and die line should be chosen according to the application surface, environment, and application method. Do not judge them only by how glossy the finished sticker looks
・Adhesive: Paper boxes, plastic, glass, and rough surfaces need different adhesion performance. Permanent and removable adhesives also need to be specified up front
・Lamination: Gloss lamination suits a stronger sparkle, while matte lamination reduces reflections. With real rhinestones, also make sure the film and bonding method are compatible
・Die line: It cuts the outline to shape. It usually cuts through the face stock and adhesive layer while leaving the release liner intact, so the sticker can be peeled off as one piece
・Files: Keep the die line on its own layer. Mark the artwork, finishing effects, and rhinestone positions separately
Make a physical application sample first
The files I send back most often are the ones where the die line is drawn as a black outline around the artwork, but no one labels that line as a production die line. Prepress staff cannot tell whether the black border is meant to print or whether the sticker should be cut along it, so rework becomes likely
How Should the Printing and Finishing Workflow Be Arranged?
Confirm the application first, then lock in the materials and die line, and only then send the complete files into proofing and mass production
Mai Strategy's three checkpoints for sending a job to print keep the communication sequence fixed
・1. Use-case checkpoint: Explain where the sticker will go, whether it will be used indoors or outdoors, whether it will be handled often, and whether you want real rhinestones or a faux-rhinestone effect
・2. Materials checkpoint: Confirm the substrate, adhesive, lamination, release liner, and die-cut format. If needed, run an application test first
・3. File checkpoint: Provide an editable vector file. Separate the die line, artwork, text, and finishing layers, and mark the rhinestone positions
Once all three checkpoints are cleared, production usually proceeds in this order: confirm the materials, print the base artwork, apply lamination or other surface effects, die-cut, inspect the appearance, and package. Real rhinestone products also need placement, attachment, and impact checks
Don't rush into die-cutting
The more complex the die line, the more likely it is to add time for imposition, material use, tooling, and inspection. Confirming the appearance and application method with one physical sample first is often less trouble than making corrections after mass production
How Is the Price of a Rhinestone Sticker Calculated, and How Can You Avoid Rework?
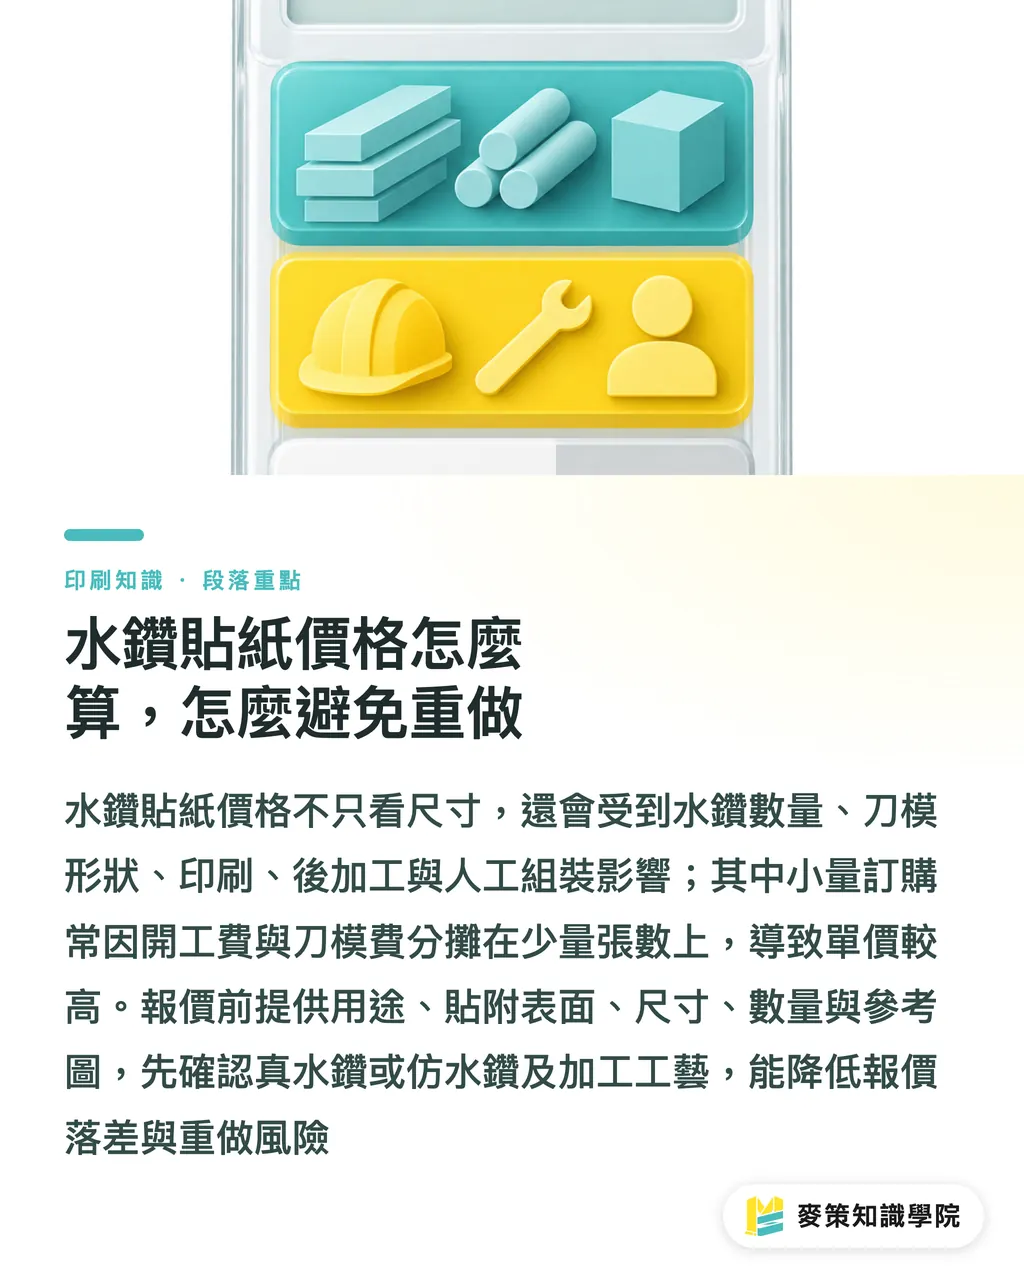
The price of a rhinestone sticker usually combines fixed setup costs with materials, printing, finishing, and manual assembly. Even stickers of the same size can vary widely in price because the rhinestone count, die-line shape, and processing method may differ
When reviewing a quote, break it into a few items
・Substrate and adhesive: Material, thickness, adhesion method, and release liner
・Printing: Number of print colors, plus underbase treatment for transparent or dark substrates
・Die line and setup: Die production, imposition, and prepress setup
・Lamination and special effects: Gloss lamination, matte lamination, spot gloss, or other surface treatments
・Assembly and packaging: Rhinestone placement, attachment, inspection, individual packing, and protection
Unit prices for small orders are often higher, mostly because fixed setup and die costs are spread over fewer pieces. Real rhinestone products are also affected by placement and manual assembly
If you have not decided between real rhinestones and a faux-rhinestone print, send MINDS the use case, application surface, size, quantity, and reference images. Let prepress break down the process before discussing the quote, and the pricing will be more accurate
Key Takeaways
・First distinguish real rhinestones from faux-rhinestone printing. That gives the process and quote the same starting point
・Choose the adhesive based on the application surface. Choose lamination based on feel and reflectivity. Choose the die line based on how the sticker will be applied
・Keep the die line, artwork, and finishing positions on separate layers. Prepress communication will take one less round
・A higher unit price on small orders is often driven by fixed setup costs and assembly time
Further Thoughts
On the manufacturing side, rhinestone stickers can be broken into fields for substrate, adhesive, surface, die line, and assembly, giving quoting and proofing a fixed sequence. On the design side, if AI is used to generate the visual, first convert the concept image into editable vector artwork, separate the die line and finishing layers, and have prepress review it. Do not send the generated image straight in as final artwork. A SaaS order form can also require the application surface, whether real rhinestones are needed, lamination, and quantity, reducing back-and-forth. When the specifications need to be confirmed together, contact the Mai Strategy Knowledge Academy consulting team
Further Reading
・MINDS official website
FAQ
- Can rhinestone stickers be waterproof?
- You cannot judge this from the rhinestones alone. Check whether the sticker substrate, printing method, lamination, and adhesive are all suitable for exposure to moisture or cleaning conditions. Before mass production, run an application test
- How do you choose between real rhinestones and faux-rhinestone printing?
- Choose real rhinestones when you need a raised feel and a sparkling effect. Choose faux-rhinestone printing when you need a flat surface, easy imposition, and easy reproduction. Their finishing processes and pricing structures are different
- How should the die-line file for a rhinestone sticker be prepared?
- Keep the die line on its own layer. Mark the artwork, text, and finishing positions separately, and make sure the die does not cut into important text or decorative details
- Why are small-quantity rhinestone sticker orders more expensive?
- Die production, setup, proofing, and assembly all involve fixed costs. With a small order, more of that cost is allocated to each sticker, so price cannot be judged from material area alone
Related articles



The Print × AI weekly
The print and AI know-how designers, brands and enterprises can use before they commit — one email, every week
MINDS Free Tools
Spine width and imposition calculators — skip the manual math, free in your browser.
MINDS Group
Need actual printing or gifting services?
From premium printing to online ordering and festive gifts — the MINDS Group sister brands take it from here.